Well works continue on the locost.
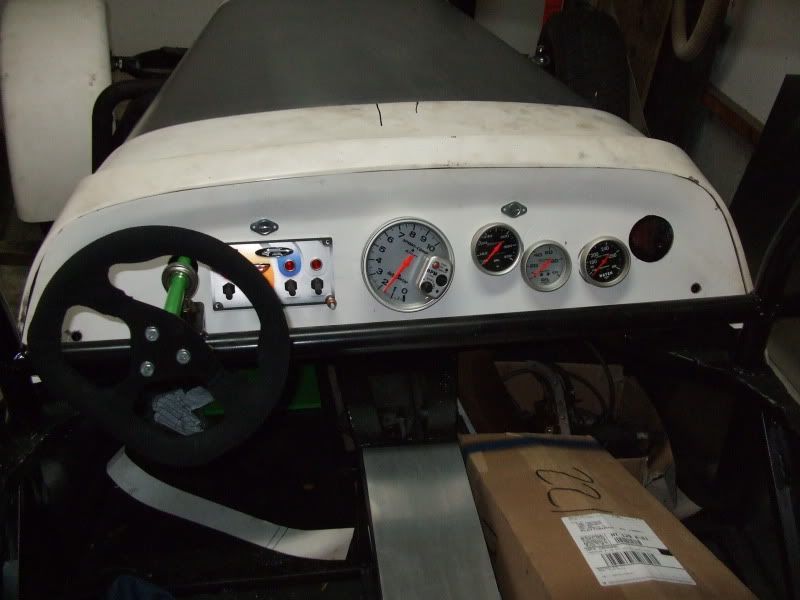
Started the dash. I made a mistake in my dimentions for the gauges and realised after I had already cut 2 holes... Well no big deal, I've done a quick fix. I'm still missing my voltmeter and oil pressur Light, plus the Logger push button and LED. I'll make a new dash next winter. Right now I need to finish this car Since I'm redoing some renovation in the garage and need to get everything out for April 1st, well deadlines can abe a good thing. Yes I have 2 colors of gauge on purpose... Black is temperature ( water and oil) Silver is oil pressure...
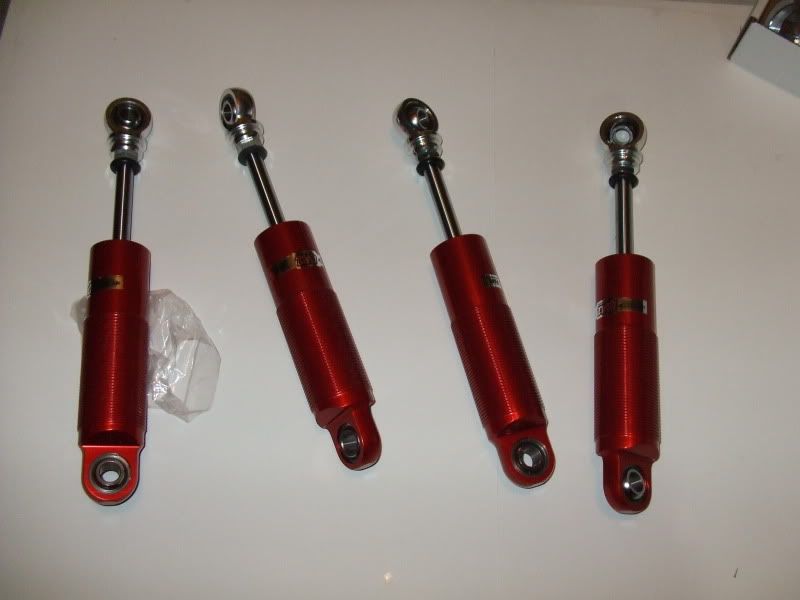
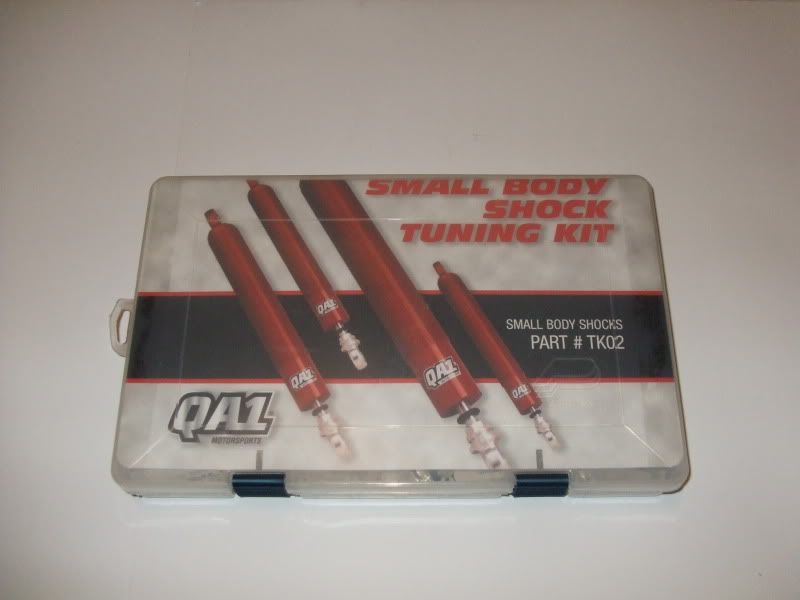
Made a Decision on the shocks, I went with QA1 82 series small body shock. I like the fact that I can revalve them and rebuild them. I'm also happy that my local supplier can get me anything from QA1 at a very good price. Yup that means a Shock Dyno... I've got some locost ideas and will exp-lore them once the car is done. I've kept the same spring selection as Marc's car. 300lbs up front 200 at the rear, first indication it may be a bit stiff for rough surfaces, but on smooth track It should work out good. In either case I'll be playing with valving and springs.

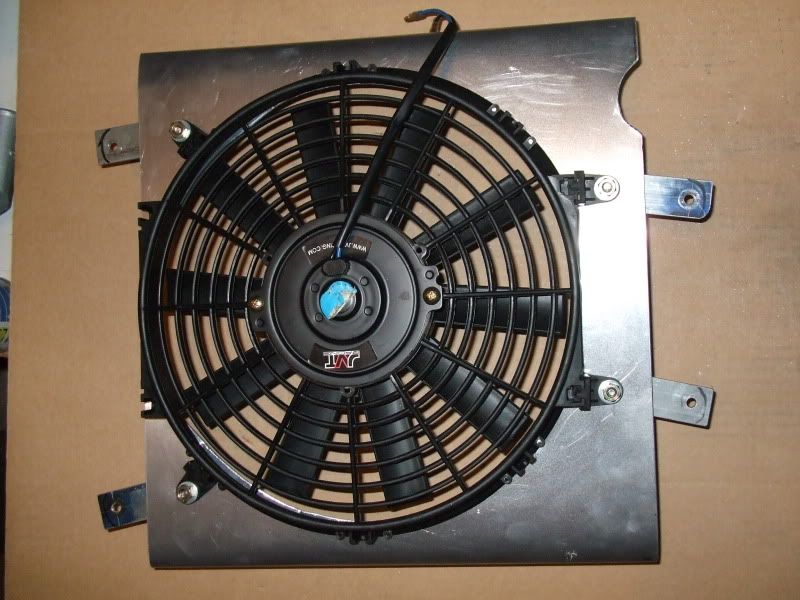
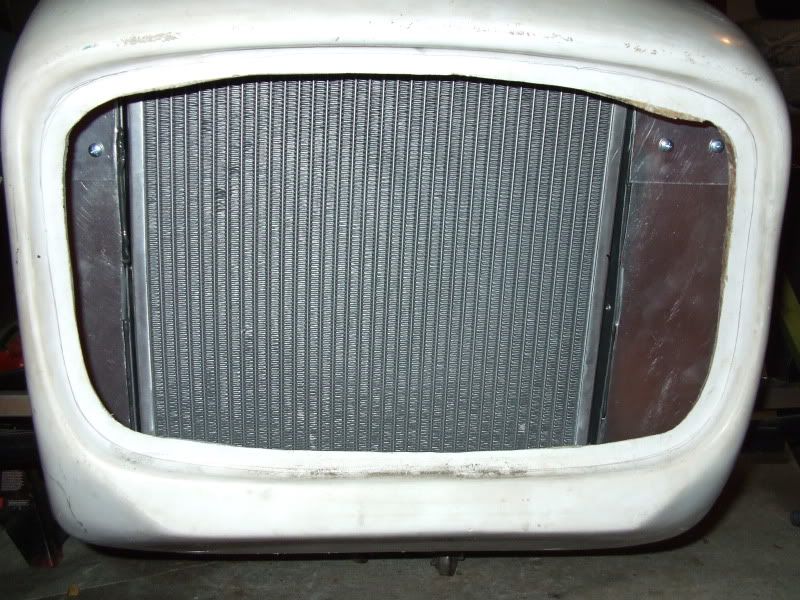
I also worked on th rad & fan shroud. Nothing fancy, nothing complicated. The fan is an ebay unit... It's pretty slim and the price was right. I have to admitt that I don't have much space between the rad and the chassis. I didn't have much freedom in the shroud design. Will see how it works.
The fan bracket are just aluminium tabs, I've seen a few people do it and it made sense to me so why reinvent the wheel.
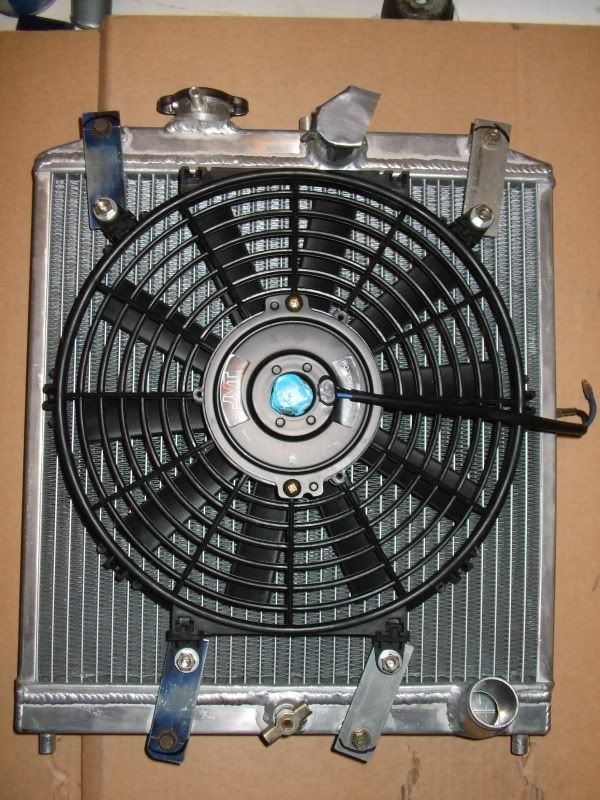
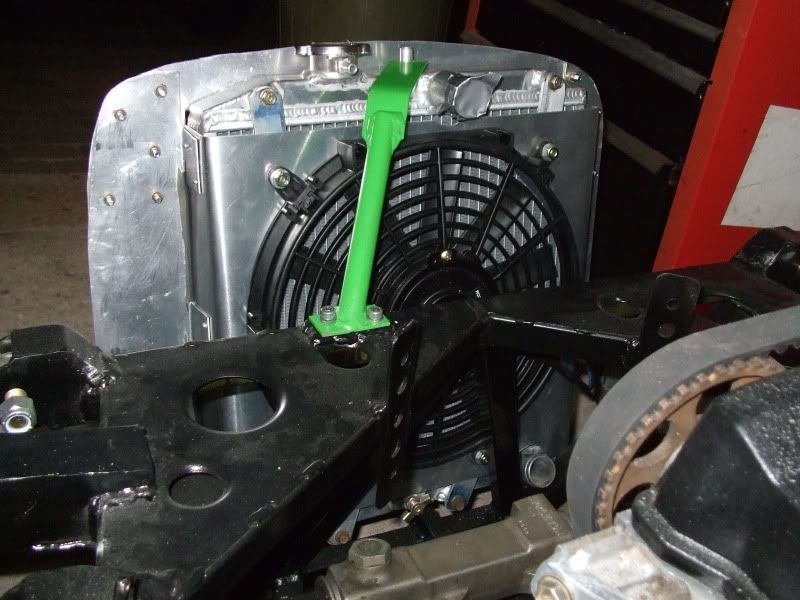
The Shroud is just a piece of aluminium that I bended the sides. I then cut the opening for the fan.
For the radiator shroud I revited the sides to the fan shroud and put in some rivnuts to screw the top piece.
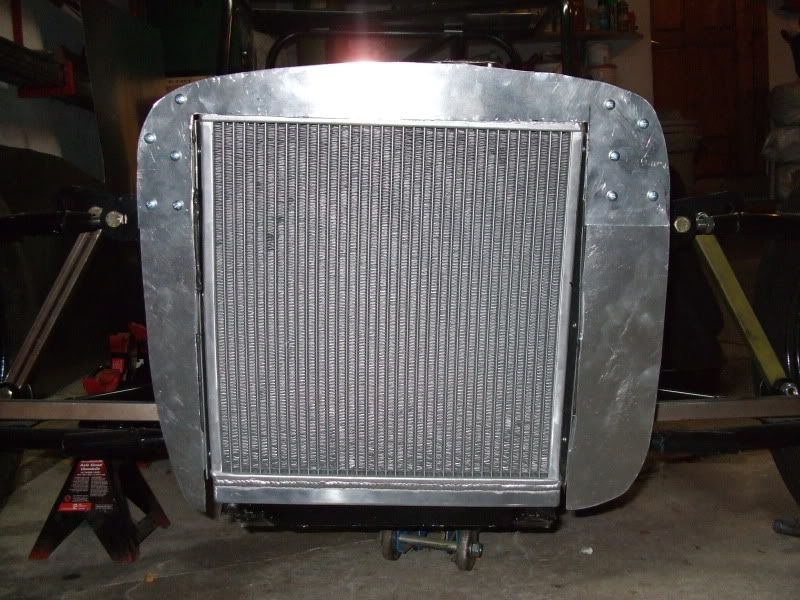
Without the nose.
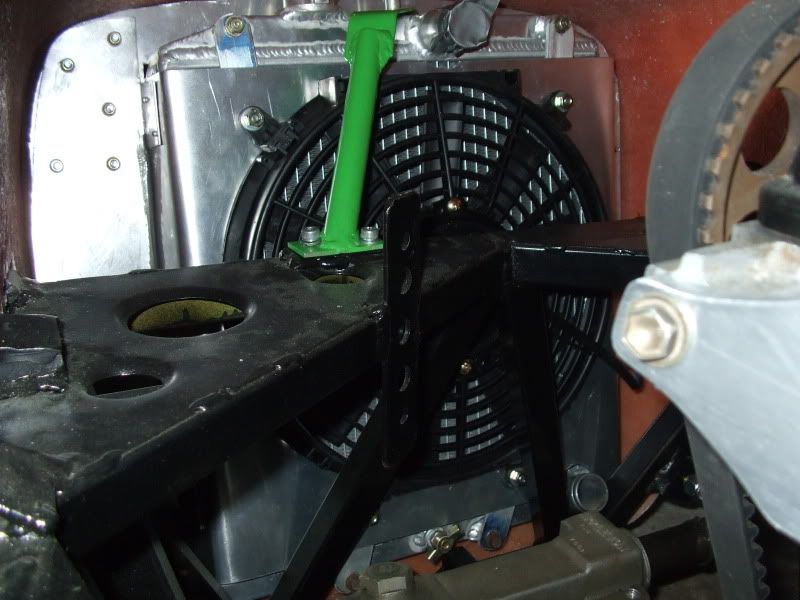
With the nose.
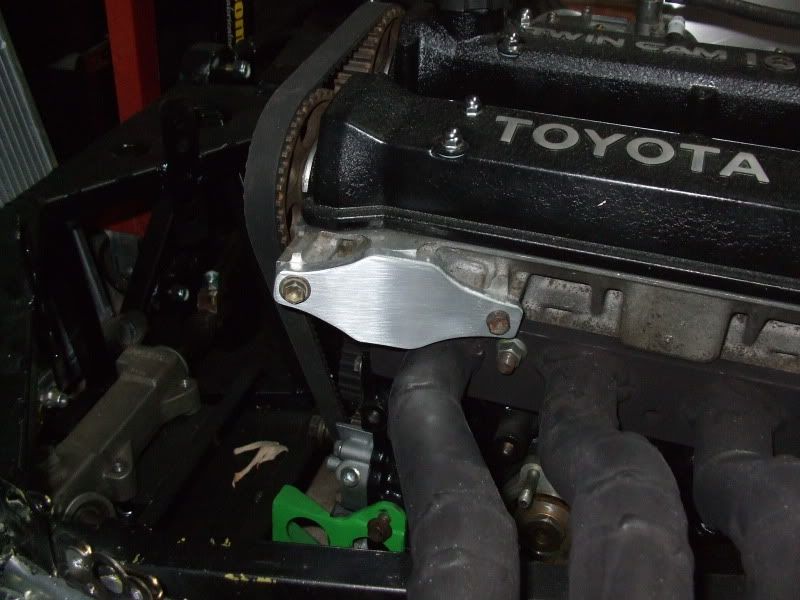
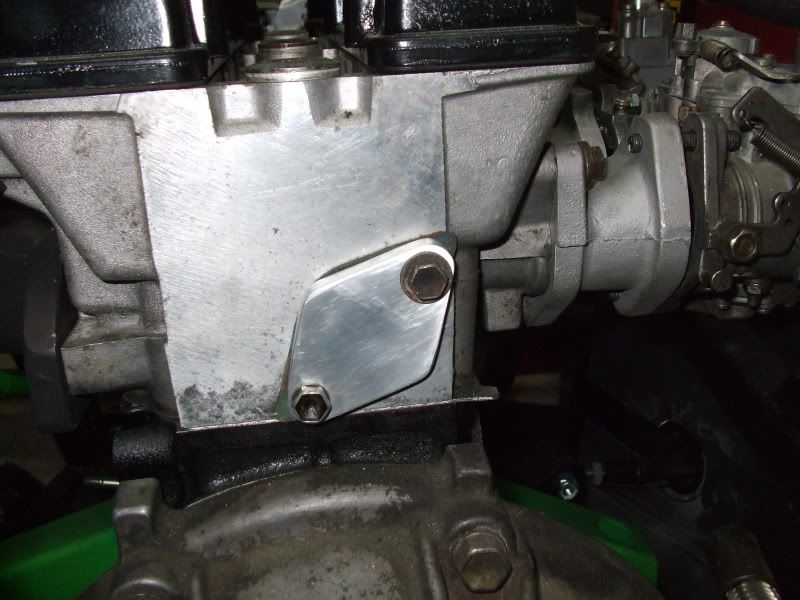
I also made a couple of covers for some water opening that I wont need and the distributor cap.
I know quite a few people use freeze plugs. I just went with a piece of aluminium that screws in. I made me feel more confortable... Yup I know stupid, but on the track I'd rather not have my stupid wories on my mind.
one of the water port for the heater. No heater in a race car.
Cheers,
Fred