nick47 wrote:
Take some of that wood and build a jig. You can load the upper and lower L tubes into the jig, then file the sides until they fit.
BrokeAssSeven wrote:
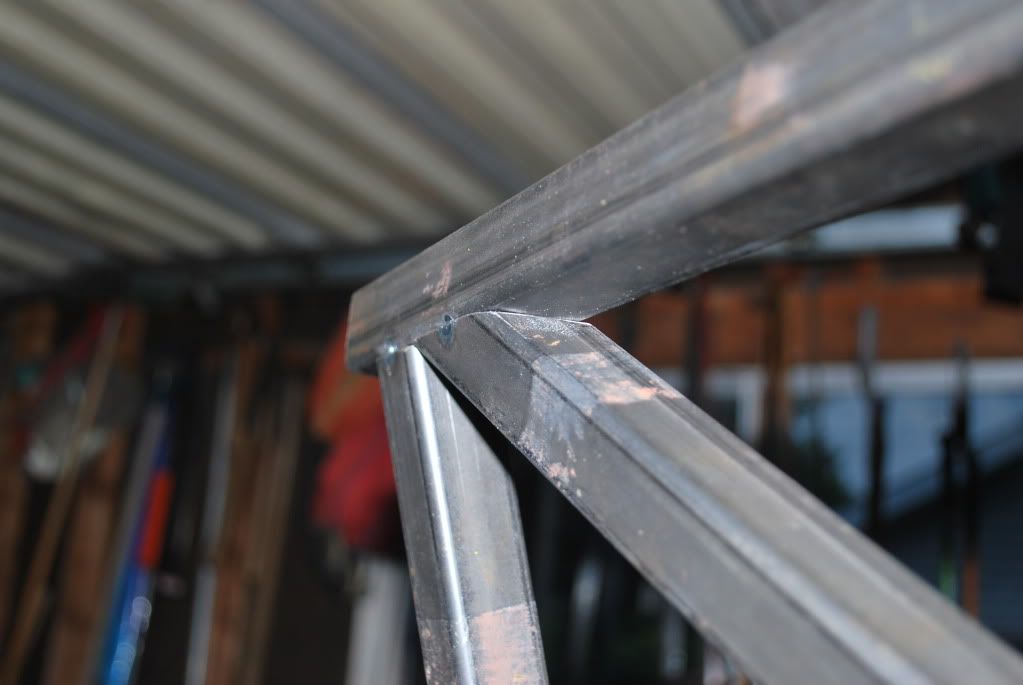
I've got the upper and lower tubes cut and jigged up to receive the side members
Done

.
a.moore wrote:
Bench grinder. If you don't have one (and a face shield, ear muffs, and respirator) already you'll need it later for something.
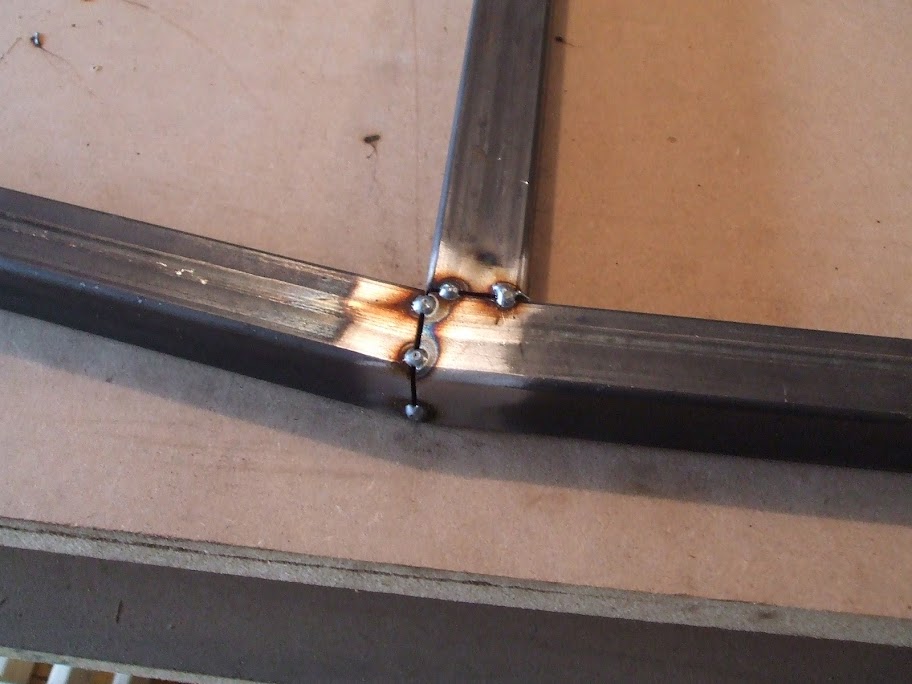
I do have a bench grinder.. that's what I'm using for final fitment right now, cleaning up burrs, and cleaning off the ends for welding. (It's a 6" bench grinder, stone on one side, wire brush on the other). And also have muffs and a respirator.. went to school back in the day for mobile electronics.. had to buy all that stuff for loud noises and fiberglass. Fun stuff.
So are you saying, just load the upper and lower arms, cut the side members to the longest length on the plan, and just grind the piss out of them until they fit? I see this going wrong, haha. It's probably going to be what happens though.
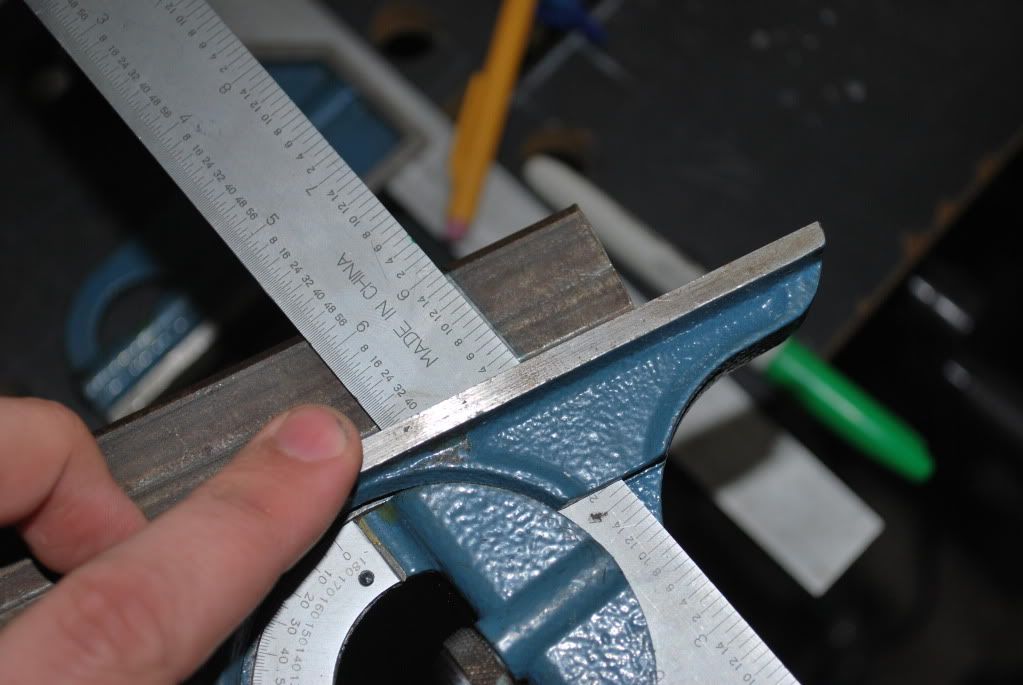
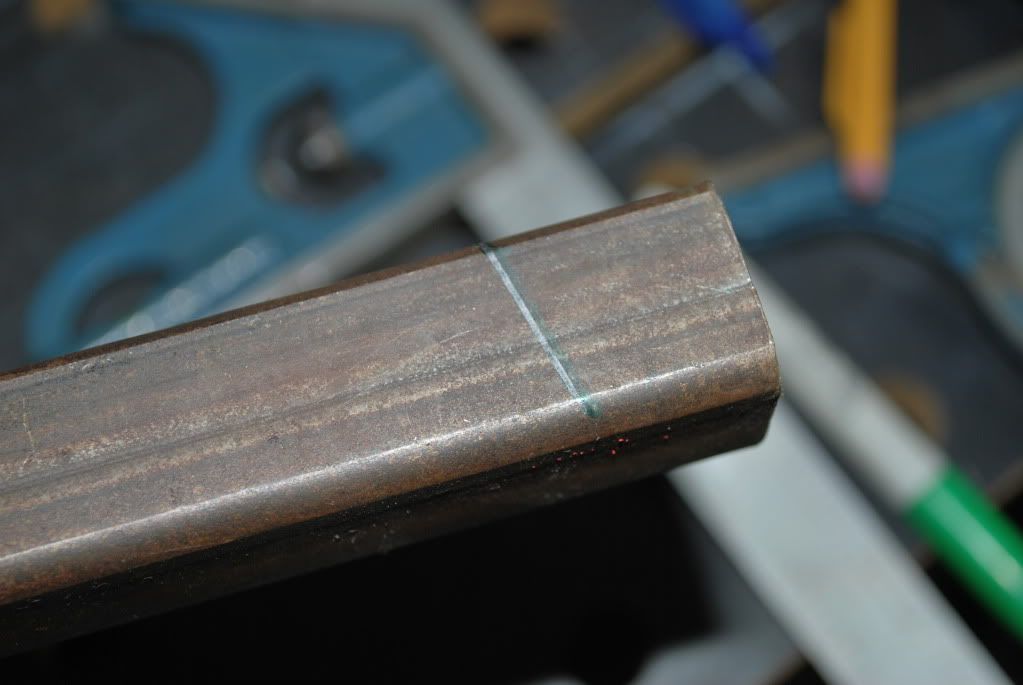
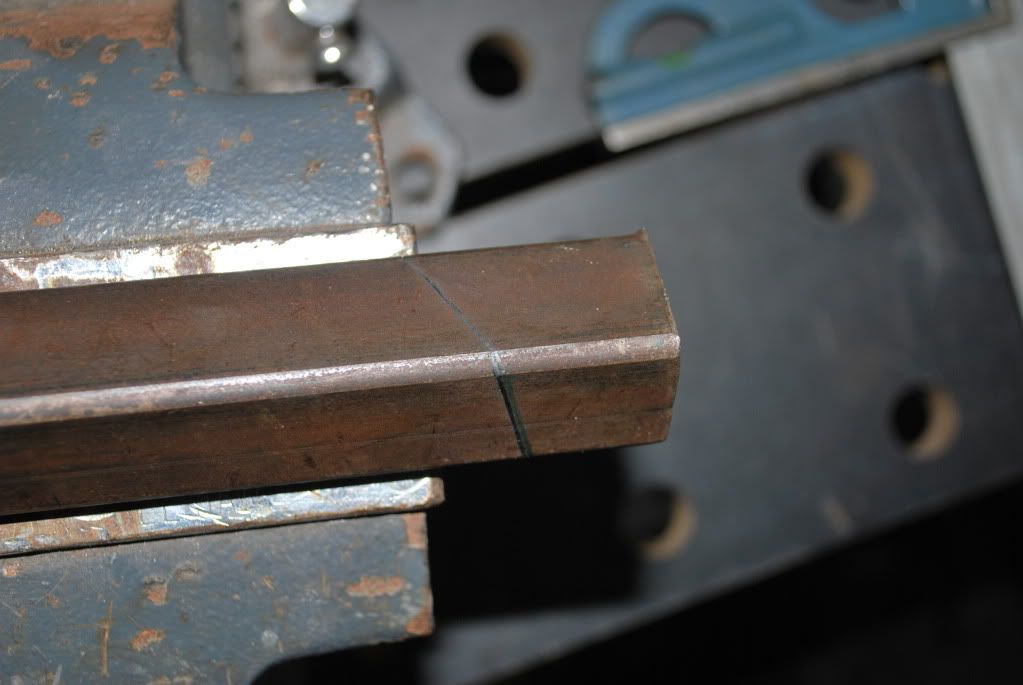
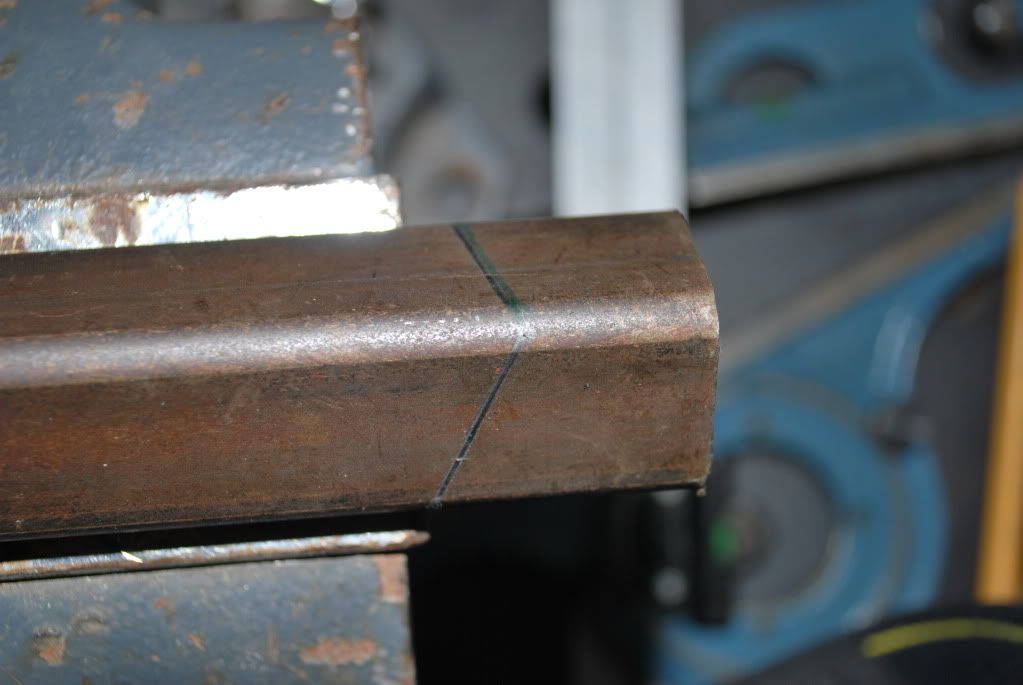
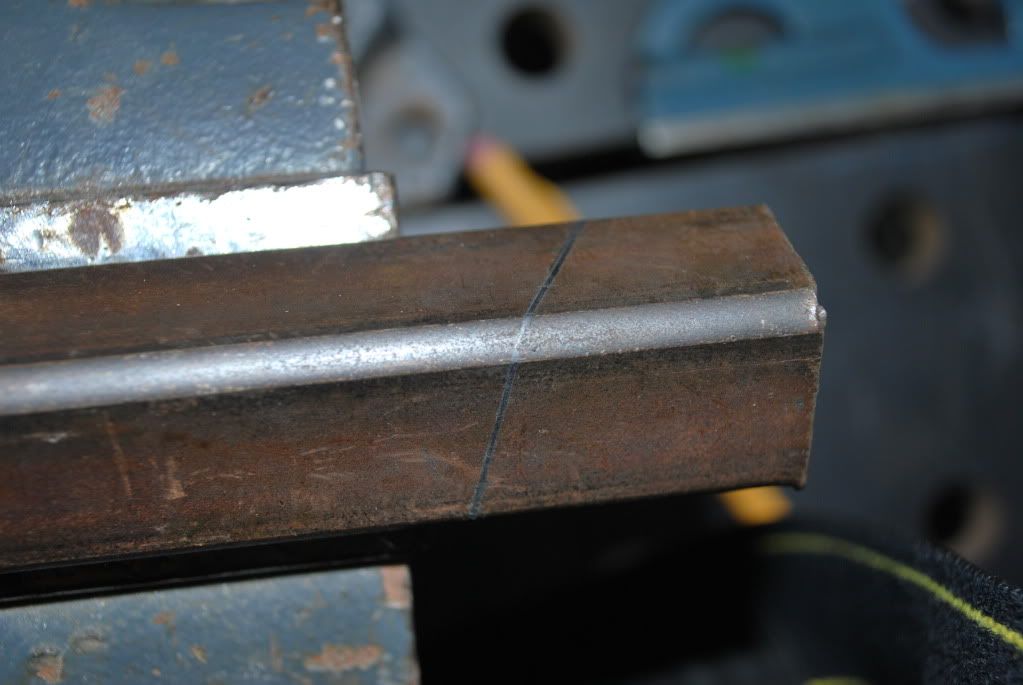
WelderLee wrote:
I laid out the the angles on all four sides with a protractor then took a hack saw and cut along each line. It takes like 10 min, and is way simpler than trying to set up the saw, trust me. I spent a good hour and a half trying to get the angles cut right on my power hack saw what a wast of time, and materials.
My problem is I can't visualize the angles/sides/etc in real life after looking at the plans. I can't tell what side is what, and there are angles everywhere. If I do figure it out your way, I'm going to be taking lots of pictures and writing lots of notes to help people in the future. So they can basically look at my pictures, look at the plans, and figure out what needs to be done. I'll be honest, I haven't looked to see if anyone else has done this...... time to go digging!