horizenjob wrote:
Quote:
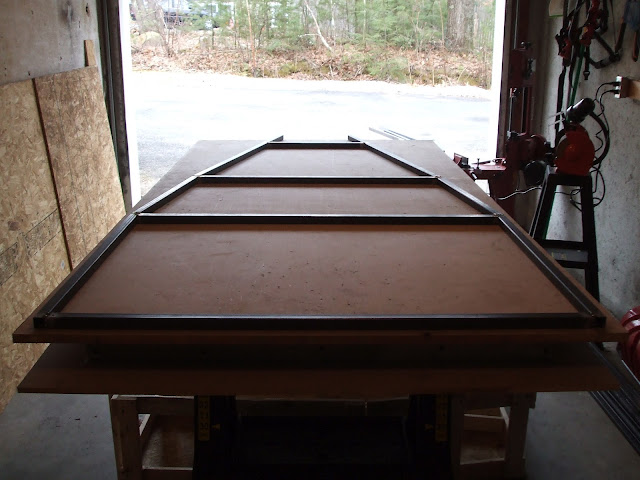
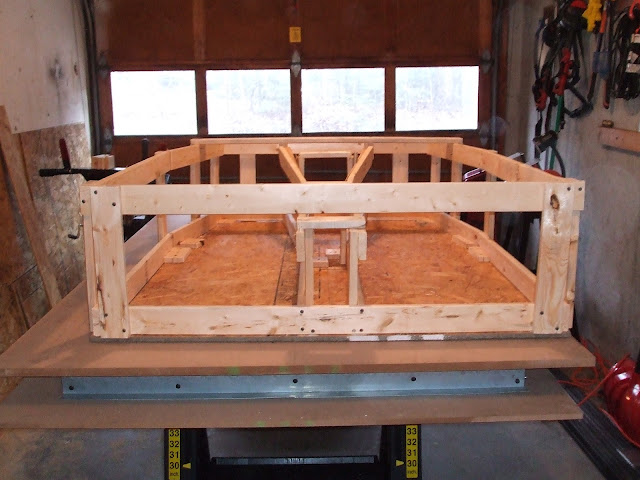
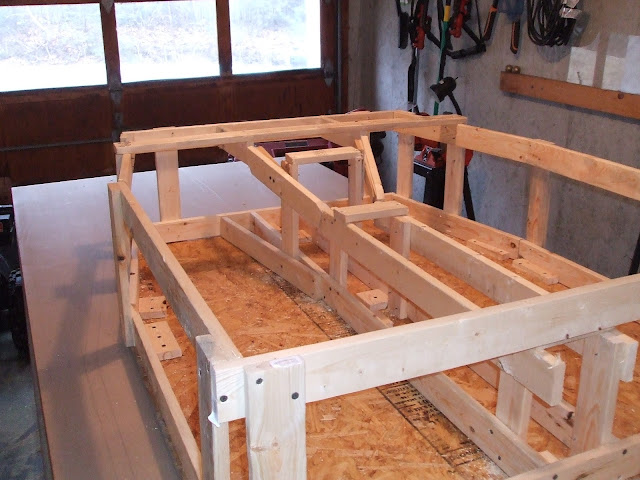
I ended up removing the front tranny tunnel angled pieces.. I read the plans wrong, extended them back from C to B2 and reattached. Also -- It's 3D!!! Hahahaha
Time and effort paid for right there. It has to be less fun doing that with steel, not even counting you know you're already sawing pieces of your new car up almost right away. I wouldn't take this apart until you have a few pieces like transmission and differential on the table too. Then you'll be able to plan the transmission/driveshaft tunnel by the tranny and the rear bulkhead. You want these things to all connect up well and sometimes that doesn't seem to happen...
Your off to a good start.

I have a friend up in Manchester I should visit one of these days. I could swing by and cheer you on if you like someday...
Very true. Though, I'm going to be so paranoid when actually working with the steel, that I'm likely not to make a dumb mistake like this (the wrong attach point for tranny tunnel members). Who knows, at least now I'll be aware moreso of it. I'm hoping to have a lot of the frame tacked together by wednesday night. Taking the whole day to just go crazy on it. At what point do you guys go ahead and make the final welds on the frame? Before building the rear bulkhead section, since it gets added on later anyway? Or after it's all in place.. and does that include the tranny tunnel, or can the frame be final welded before that point?
Also, the tack welds should be strong enough to pull the frame off the table to do final welding, right? I mean i'll be doing as much on the table as I can, but at some point it's going to have to be removed from the table to weld the bottom area, as well as get to the hard-to-reach areas. I would just hate to tack it together, pick it up from the 'jig', and have it go all wendy bendy on me. I plan on tacking at all 4 corners of each tube, to minimize warping.
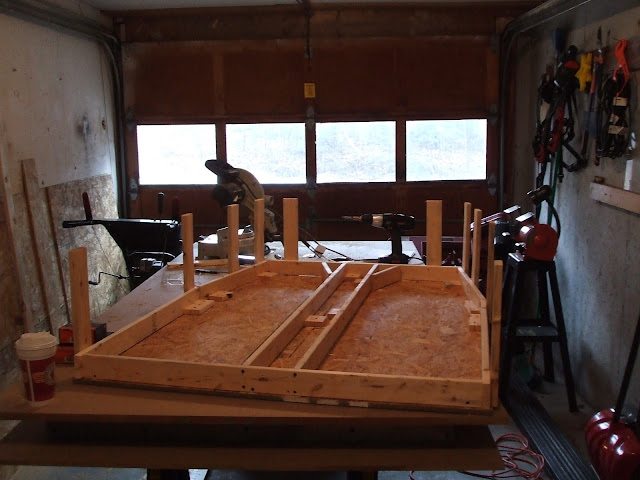
For my table jig.. I'm thinking just small pieces of wood nailed/screwed to the table, on the outsides of the tubes. You know, one on each side.. and on each end, so 4 peices per tube to keep it from moving/bending laterally. I think I'm going to cut all the tubes for the lower frame assembly prior to tacking anything in place. Or should I cut, tack, cut, tack, etc.?
Oh, and yea, feel free to come on by! I see no reason not to take in as much knowledge as I can from fellow local locosters. You've done it, I haven't. Where in Mass are you located?
carguy123 wrote:
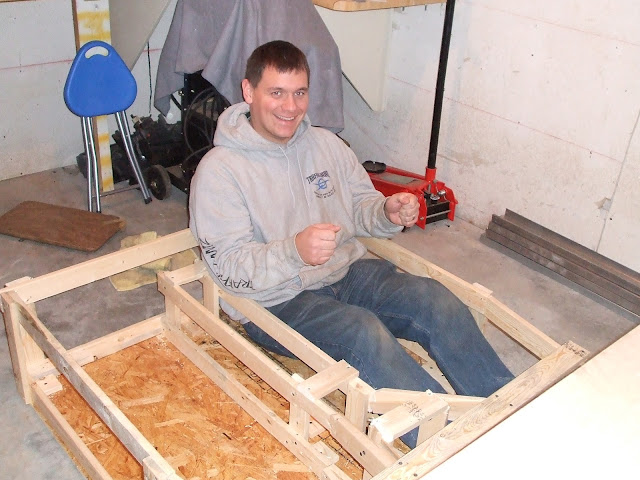
Now put someone in the passenger seat and simulate wild sawing of the wheel and the G forces of a right and left turn. See if there's room to COMFORTABLY move the wheel and control the car. That's the problem areas, not when you're just sitting still.
My wife and I sat in it at the same time. Plenty of room, even she thought so! I won't be doing much 'wild sawing' of the wheel as I won't be tracking it or pulling of pit maneuvers anytime soon! Haha! The G forces will be fine.. planning on having at least 4 point harnesses with bolstered racing-type seats (even if i have to cut them down to fit in this damn thing). I once owned a Toyota MR2 Turbo w/ 4 points... another pretty small car, with a small interior (reminds me a lot of the locost actually... the fuel tank was between the passengers, so real high tunnel through the middle of the car. Ah, I miss it!), and fit in that thing perfectly fine also!


 WHEEEEHAAWWWWW!!!!!