LocostUSA.com

Learning how to build Lotus Seven replicas...together!
It is currently April 18, 2024, 3:11 am

All times are UTC - 5 hours [ DST ]


Post new topic Reply to topic  [ 313 posts ]  Go to page Previous  1, 2, 3, 4, 5 ... 21  Next
Author Message
 Post subject:
PostPosted: March 30, 2008, 6:33 pm 
Offline
User avatar

Joined: January 7, 2007, 3:24 pm
Posts: 682
Location: Visalia, Ca
John, I forgot to tell you, your progress on the car is amazing. I like what you did with the seats, they look very comfortable.

Rod

_________________
Driving a +442E with 450 Hp Ford 347 v8, T5, 8 stack EFI w/EDIS8 & MegaSquirt ITB Mode.
12,000+ enthusiastic miles as of 1/1/11
http://www.youtube.com/watch?v=jqvYJlYc4GU
http://s124.photobucket.com/albums/p3/beergodrod/
Now building a 1953 Chevy 1 ton panel with Frito Lay truck parts and a Cummins 4BTA
and a 1963 Nova SS


Top
 Profile  
Reply with quote  
 Post subject:
PostPosted: March 31, 2008, 1:28 am 
Offline
User avatar

Joined: November 17, 2007, 1:30 am
Posts: 573
Location: Guelph, Ontario, Canada
Locost 5.0 wrote:
Looking at your rear panhard rod bar, I think it might cause you some problems. Is there a reason its so short? The short bar is going to cause a lot of sideways axle movement on bumps, it doesn't look like there is much tire clearance plus you will feel the axle movement when you drive. It also puts more stress on the frame bracket because of the increased movement. If you can't extend the bar to the other side of the axle, at least reinforce the frame bracket. I'm worried that it may fail when you least expect it. Could be dangerous in my opinion.

Rod


I made it that length, because that is all the steel I had left of that size. :roll: And I didn't realized it needed to be so long. I understand now that I look at it. Hopefully I can get more of that size.

Quote:
A 2nd tube just under the hiem joint running diagonally across to the other side frame would help a lot.


I will still be adding more bracing. I wanted to wait till I bought my tank before I finished the rear. I was originally looking at getting a 16 gallon tank, but was convinced by others that it would be overkill.

I just got my tank, so hopefully this week I can mount it and finish up the triangulation in the rear and on the transmission tunnel. Then, I will beef up my engine mounts, and connect them with more diagonals to the corners of the engine bay.

Thanks for the advice, and keep it coming...

_________________
"The decision to build a car is not one reached through a rational mindset. It is a decision that is made because we have to do it! It makes no sense, but neither does love, children and taxes" -Sam Buchanan

My Build Log: http://www.locostusa.com/forums/viewtopic.php?f=35&t=3054


Top
 Profile  
Reply with quote  
 Post subject:
PostPosted: March 31, 2008, 3:26 am 
maxlessca wrote:
...This is my fuel cell. It is a 10 gallon from Jaz, with foam. I am going to use my stock Mustang fuel pump and fuel gauge, and install them in the tank.
Image...

I believe this will be underkill, you might want to use another or you will be able to make lots of stops.


Last edited by locostv8 on March 31, 2008, 7:19 pm, edited 1 time in total.

Top
  
Reply with quote  
 Post subject: Panhard attachment
PostPosted: March 31, 2008, 7:20 am 
Offline
User avatar

Joined: September 22, 2005, 8:12 am
Posts: 1880
Location: 4AGE in S.E. Michigan
Jon

You can run a shorter Panhard rod, The dirt trackers do that all the time to get quick load transfer.

What I'm suggesting is for the panhard attachment bracket on the frame. It is cantilevered off the lower tube. You need to brace that attachment tube that is projected up to the hiem joint on the panhard rod, with a diagonal tube running across to the other side of the frame to prevent the tube from deflecting and causing a failure in the weld.

Actually you are much better off lower the bracket on both the frame and the axle. That would lower your roll center.

Keep plugging away Dave W


Top
 Profile  
Reply with quote  
 Post subject:
PostPosted: March 31, 2008, 11:20 am 
Offline
User avatar

Joined: January 7, 2007, 3:24 pm
Posts: 682
Location: Visalia, Ca
You can run the shorter bar, longer is always better if you have room. Have you checked the rear tire clearance through the full rage of suspension travel? I had clearance problem on full bump on one side and full droop on the other, even though I thought I left plenty of room, the tire would hit near the top shock mount area.

Rod

_________________
Driving a +442E with 450 Hp Ford 347 v8, T5, 8 stack EFI w/EDIS8 & MegaSquirt ITB Mode.
12,000+ enthusiastic miles as of 1/1/11
http://www.youtube.com/watch?v=jqvYJlYc4GU
http://s124.photobucket.com/albums/p3/beergodrod/
Now building a 1953 Chevy 1 ton panel with Frito Lay truck parts and a Cummins 4BTA
and a 1963 Nova SS


Top
 Profile  
Reply with quote  
 Post subject:
PostPosted: April 3, 2008, 1:47 am 
Offline
User avatar

Joined: November 17, 2007, 1:30 am
Posts: 573
Location: Guelph, Ontario, Canada
Yesterday, I cut off the old Panhard Rod. I made a new one which is twice as long and much lower. It is the same height as the bottom of the frame in the rear. I will get pictures soon.

_________________
"The decision to build a car is not one reached through a rational mindset. It is a decision that is made because we have to do it! It makes no sense, but neither does love, children and taxes" -Sam Buchanan

My Build Log: http://www.locostusa.com/forums/viewtopic.php?f=35&t=3054


Top
 Profile  
Reply with quote  
 Post subject:
PostPosted: June 4, 2008, 7:37 pm 
Offline
User avatar

Joined: November 17, 2007, 1:30 am
Posts: 573
Location: Guelph, Ontario, Canada
Its been too long since I've posted here. I been so busy, I haven't been able to work on the car. I got some work today. I changed the position of the steering wheel a bit, so it would be more comfortable and I started working on the parking brake. The parking brake works, but it needs to be adjusted a bit.
Image

Image

Image

I said earlier that I re-did the Panhard rod, and this is what I looks like now. I still need to add a piece to brace the metal I welded to the axle.

Image

Image

_________________
"The decision to build a car is not one reached through a rational mindset. It is a decision that is made because we have to do it! It makes no sense, but neither does love, children and taxes" -Sam Buchanan

My Build Log: http://www.locostusa.com/forums/viewtopic.php?f=35&t=3054


Top
 Profile  
Reply with quote  
 Post subject:
PostPosted: September 2, 2008, 9:42 pm 
Offline
User avatar

Joined: November 17, 2007, 1:30 am
Posts: 573
Location: Guelph, Ontario, Canada
Wow. Its been 3 months since my last post. I've just been so busy, I haven't had much time to work on the car. I've been trying to make up for it this past week. I've been working like crazy on it. I have started school now, so I don't know how much time/money I will have to work on the car in the near future.

Anyways, for some updates.
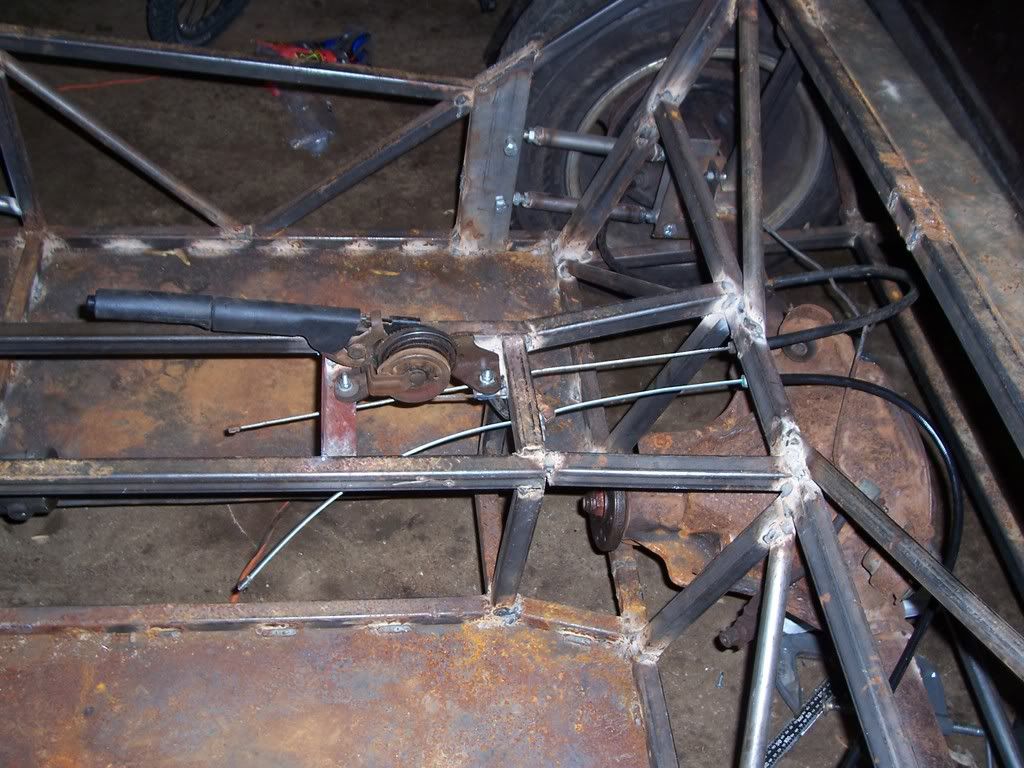
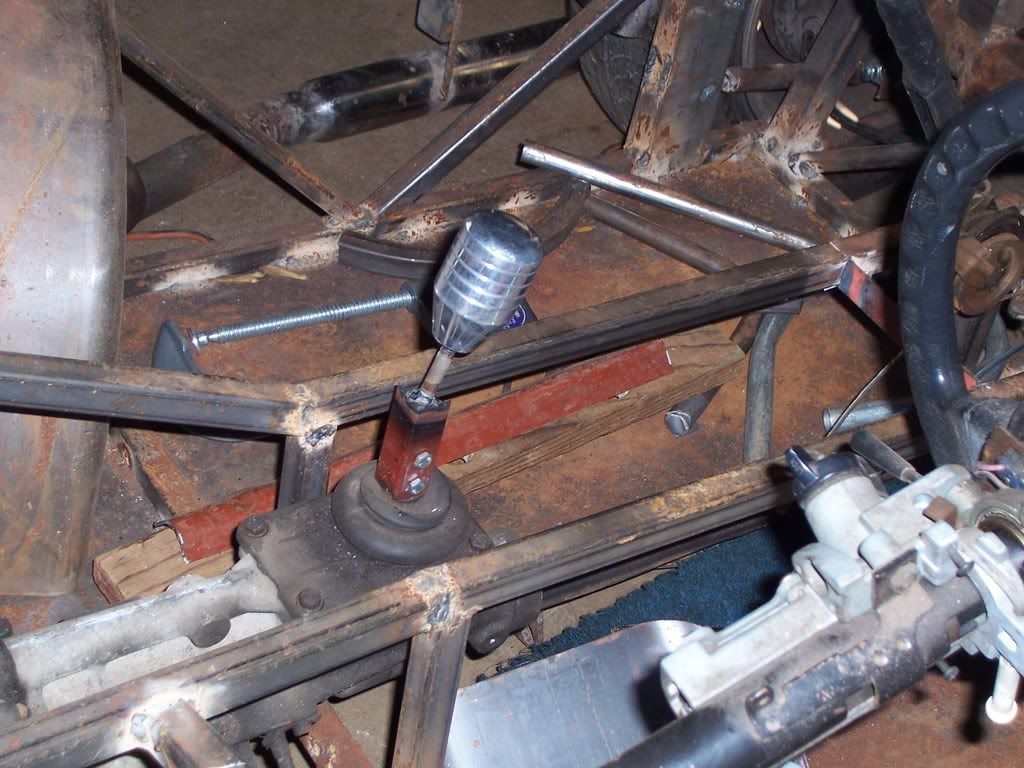
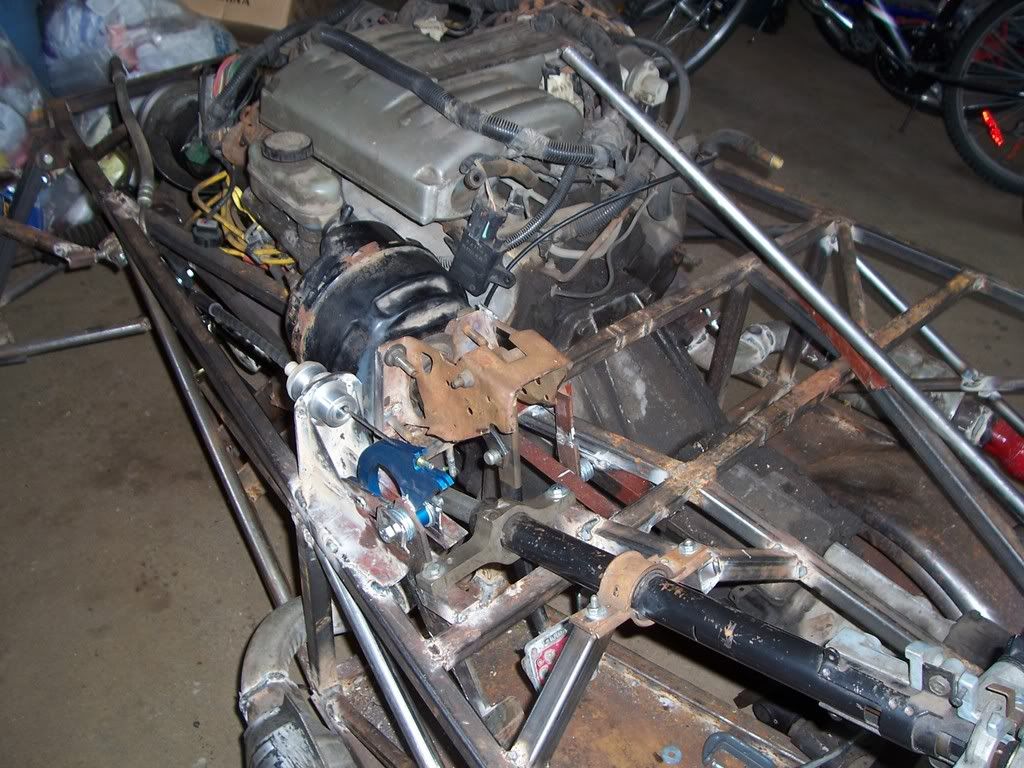
First of all, I had the transmission sitting in the car, and I wanted to play with the gears really bad. So I threw a make-shift shifter together. I make that nob years ago in metal shop, and never used it. Its pretty heavy, so I don't know if I'll use it.
Image
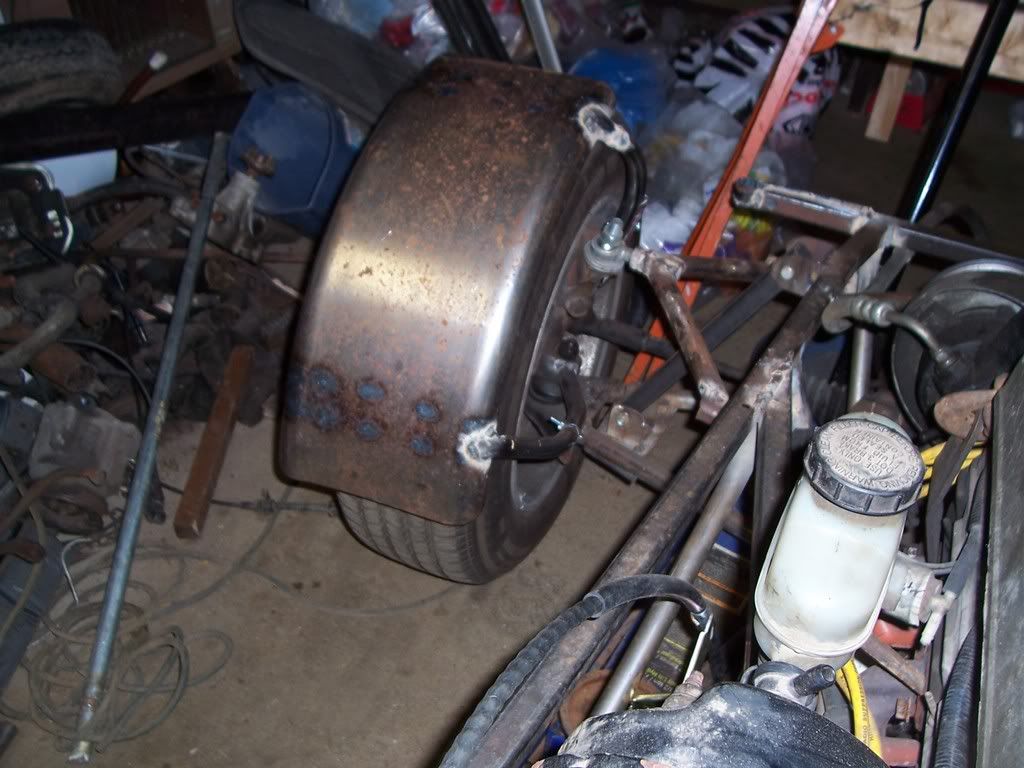
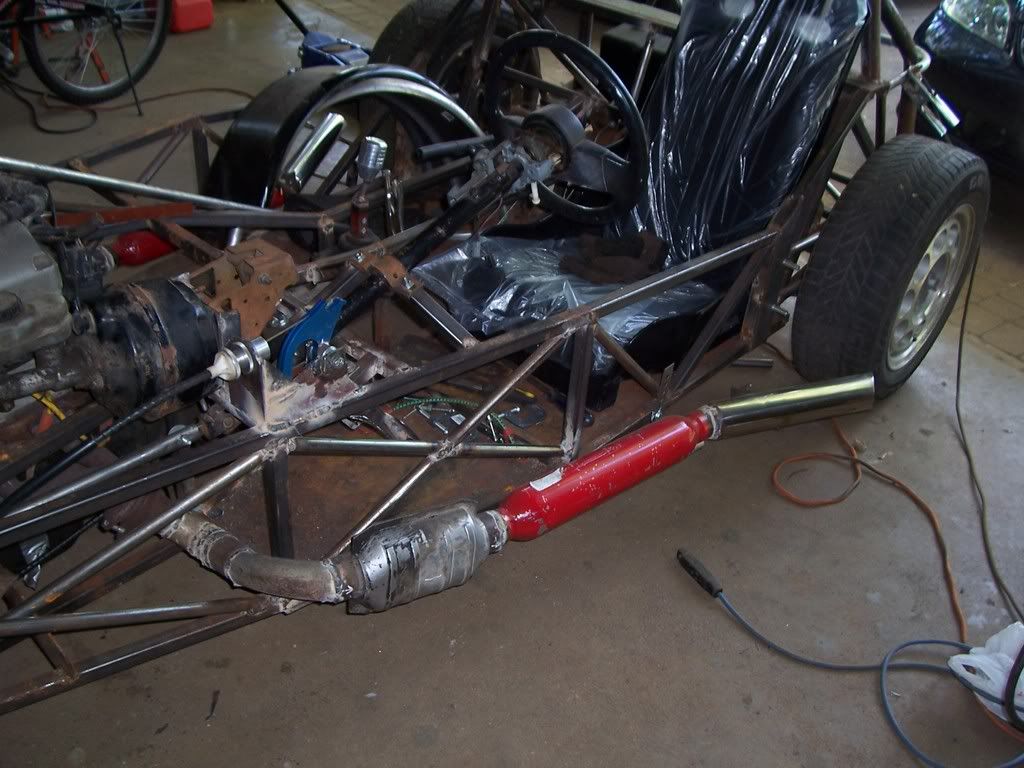
Secondly, I've finished the exhaust system, on both sides. I'm using Cherry Bombs with cats. They will eventually be painted black with high temp paint and the ends will be left chrome.
Image
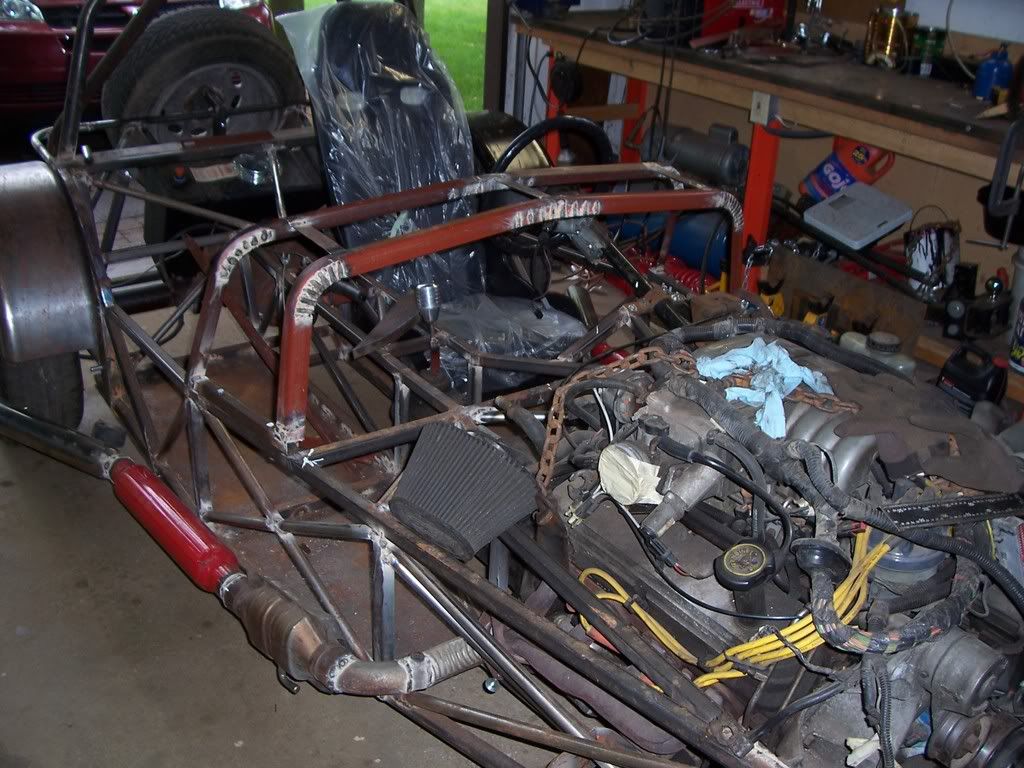
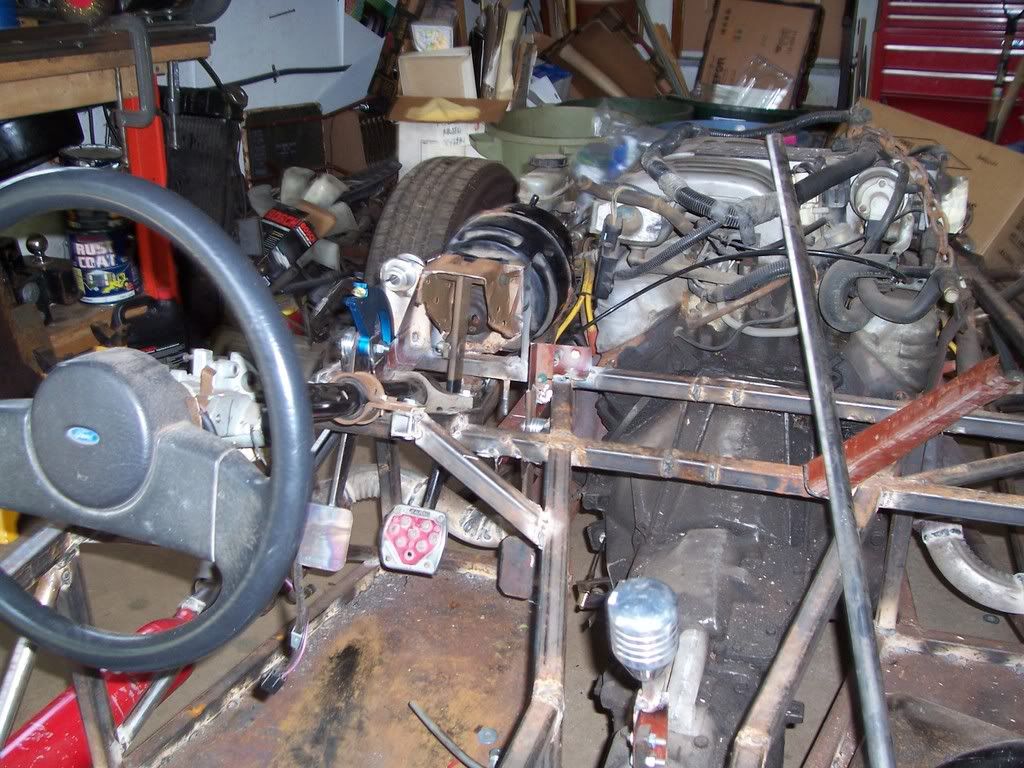
I have also started the pedals. The Clutch and gas are being made entirely from scratch. The brake pedal is right out of the Mustang.
Image
Image
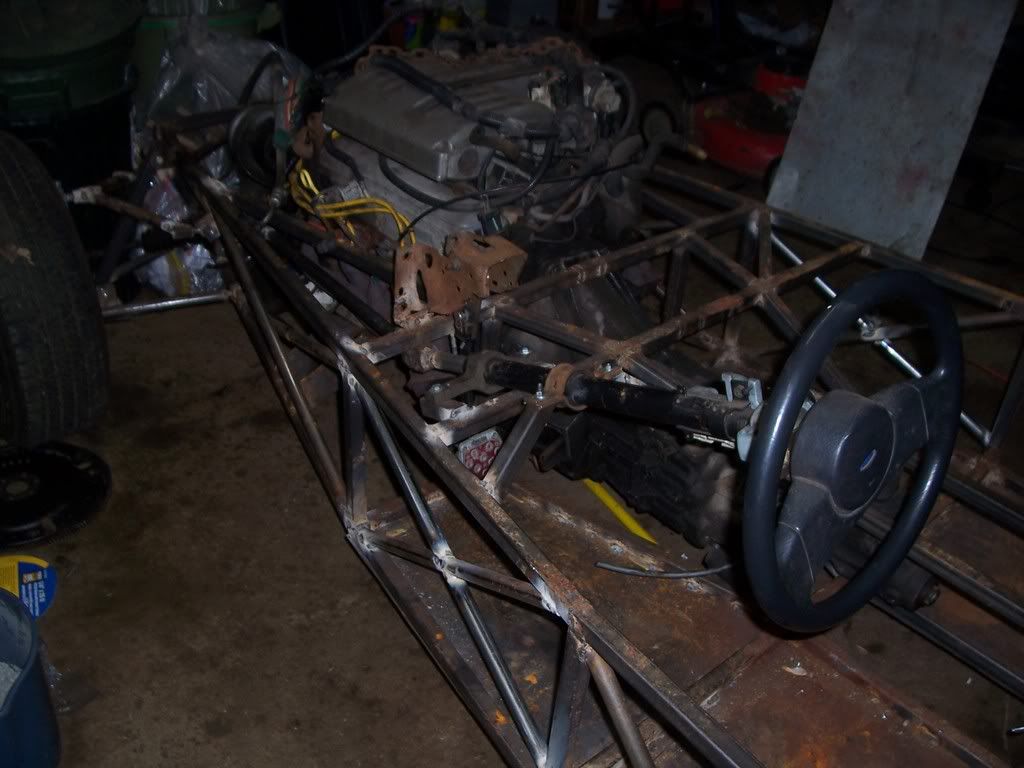
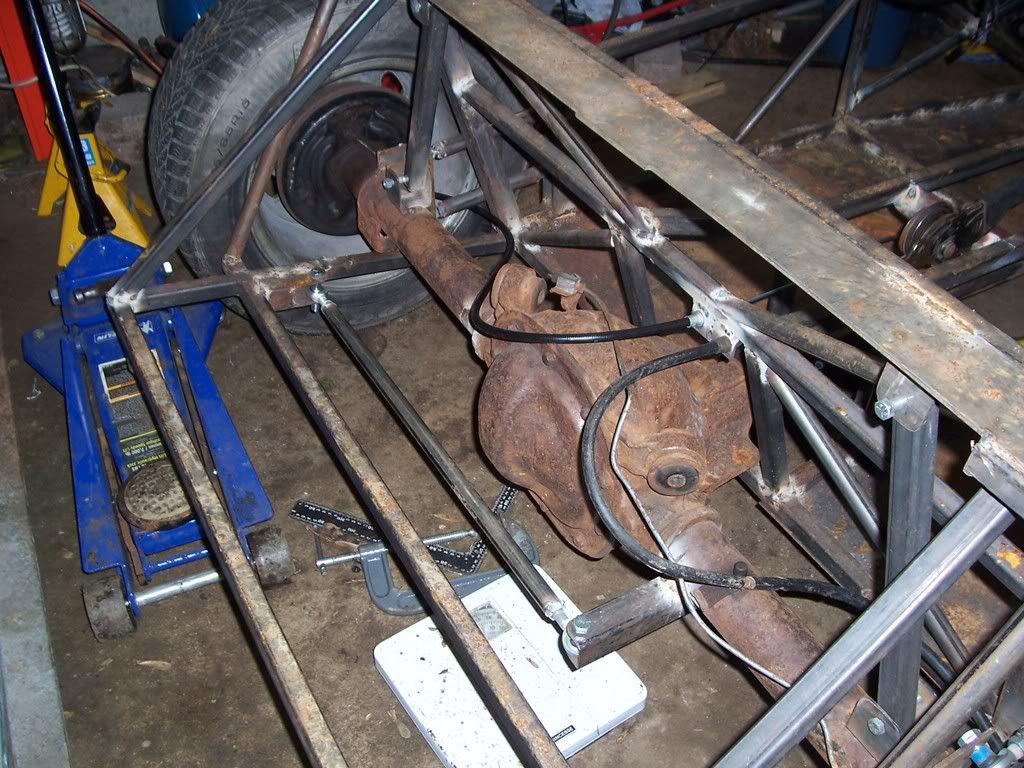
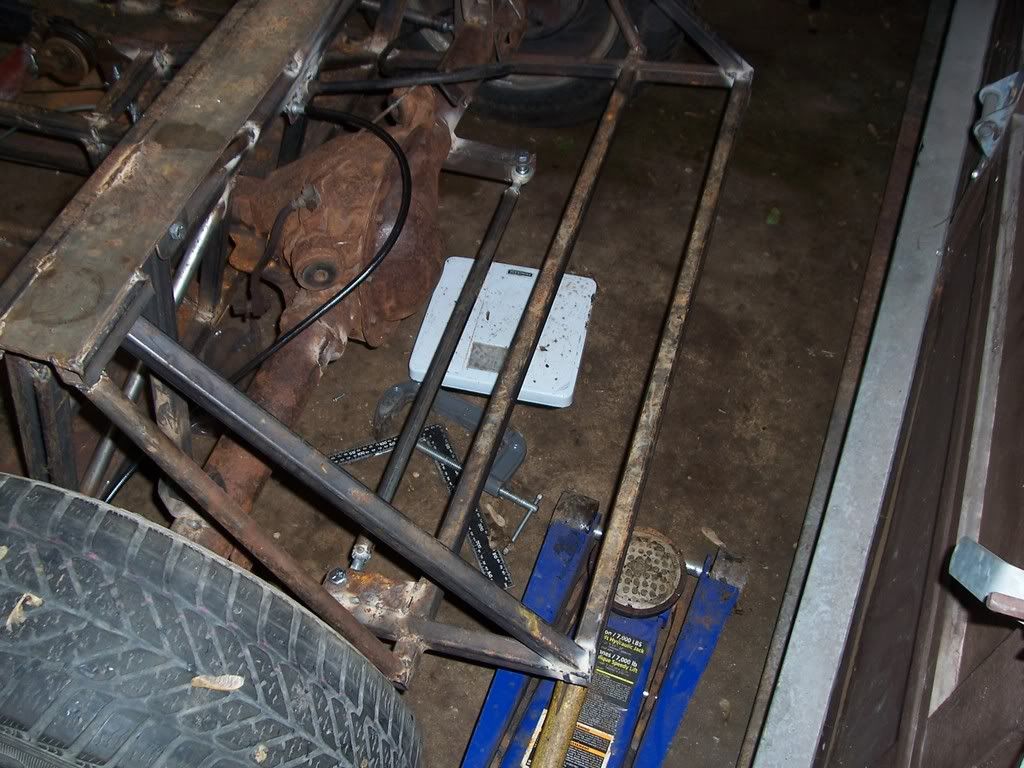
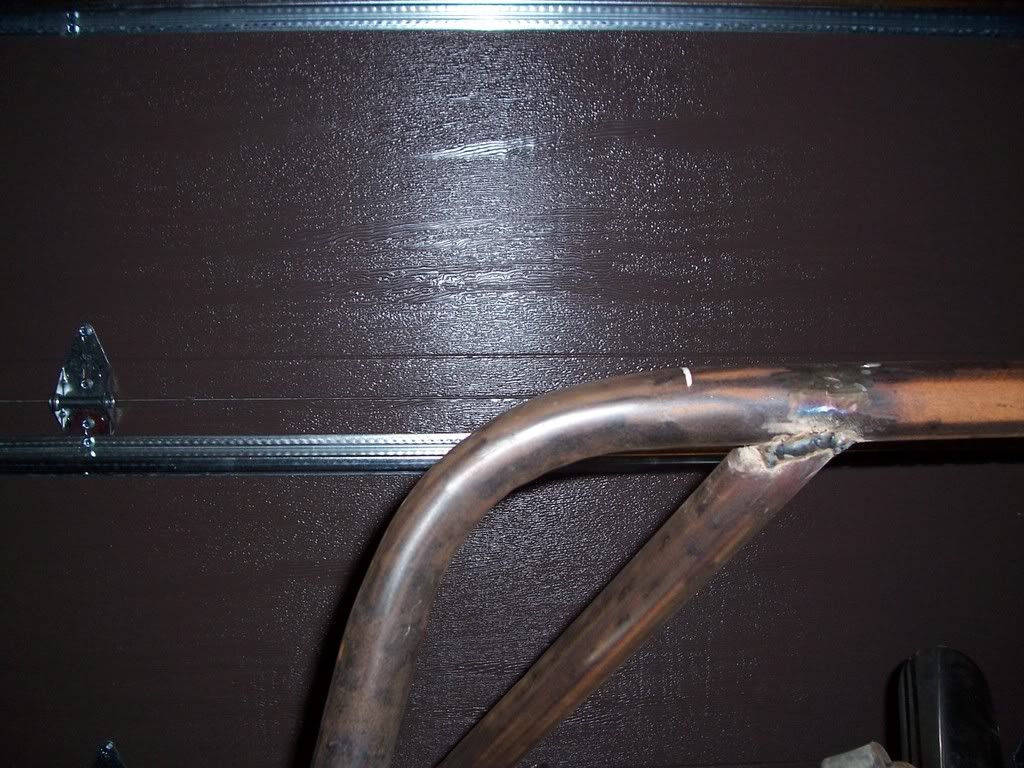
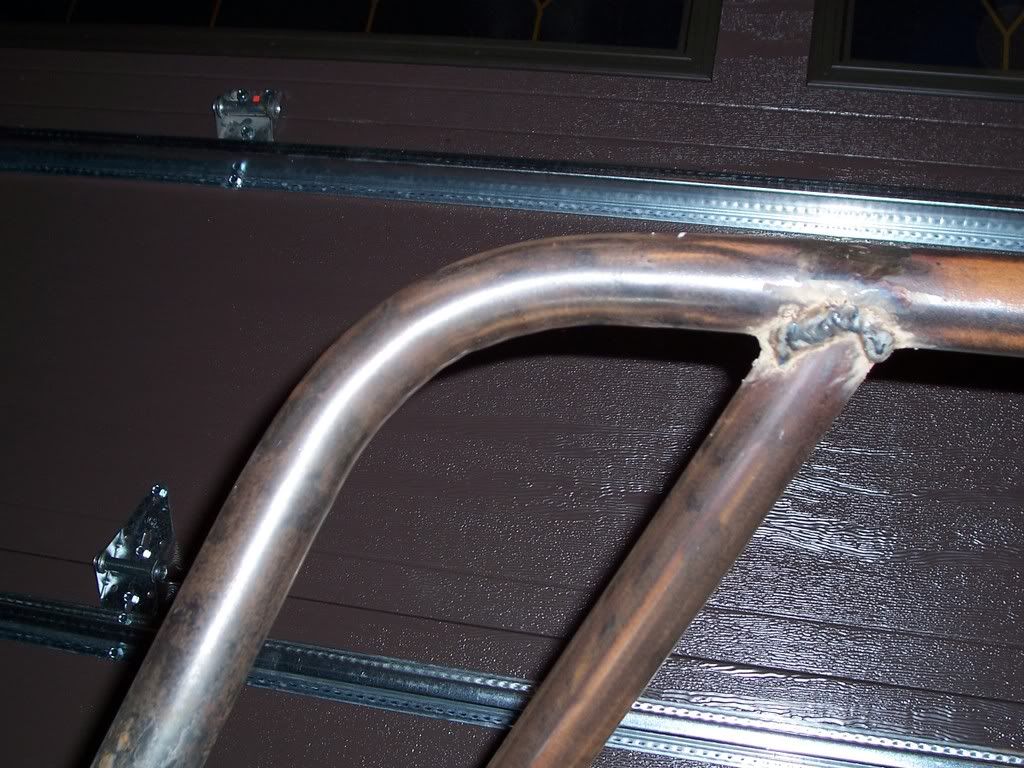
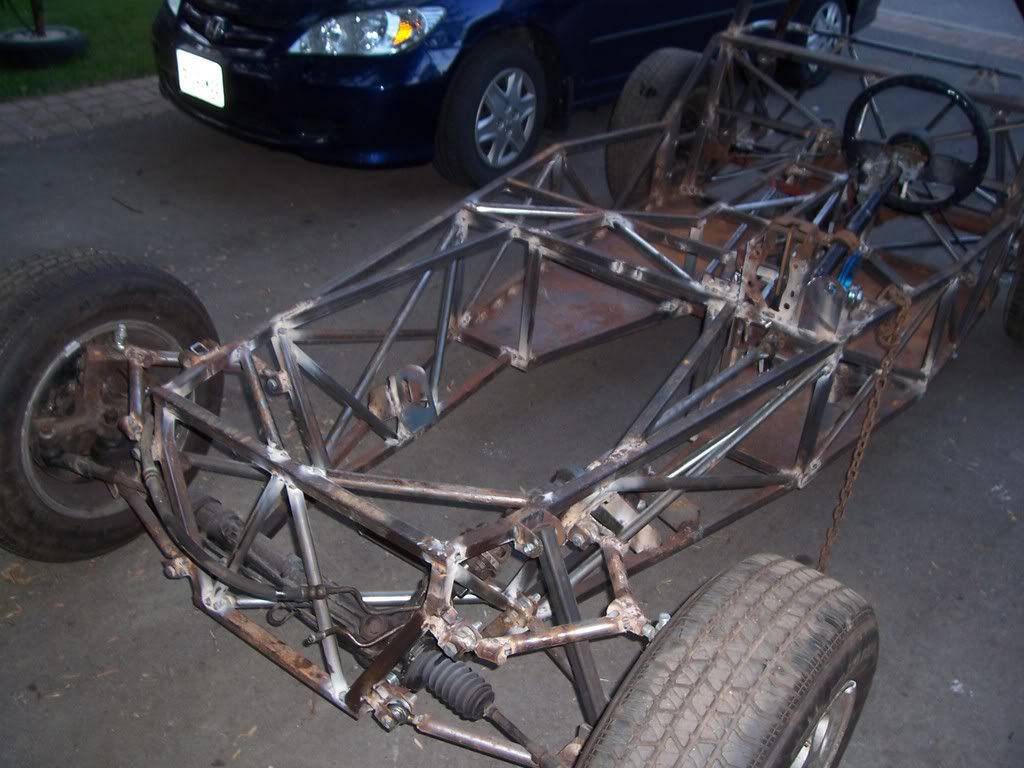
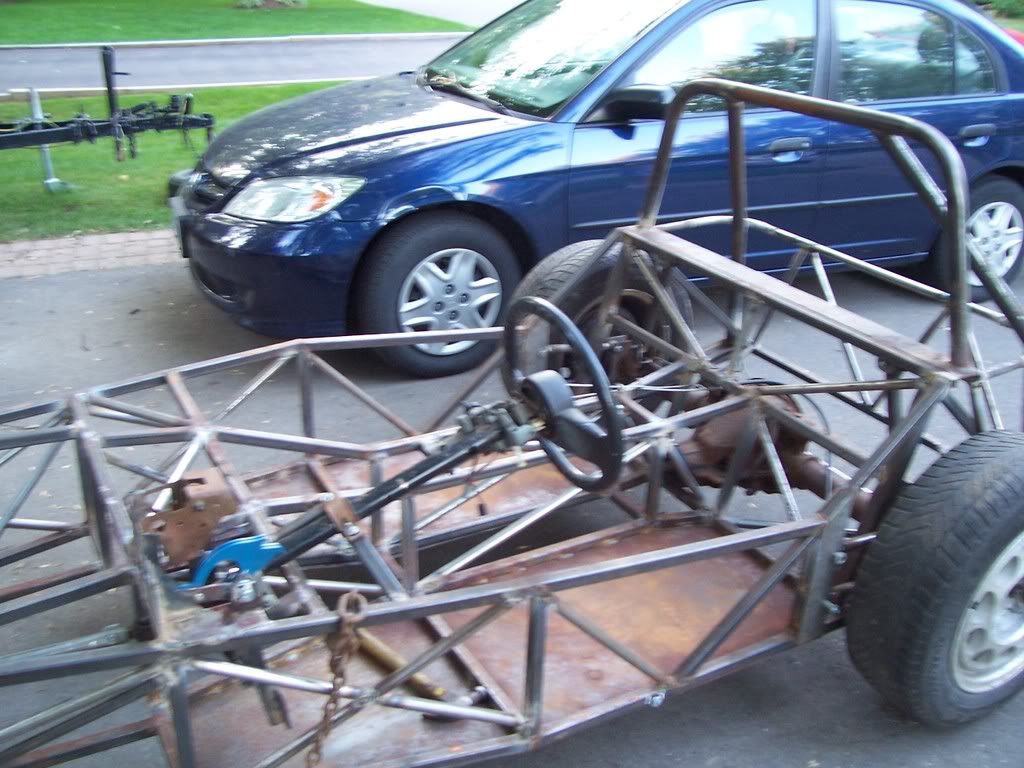
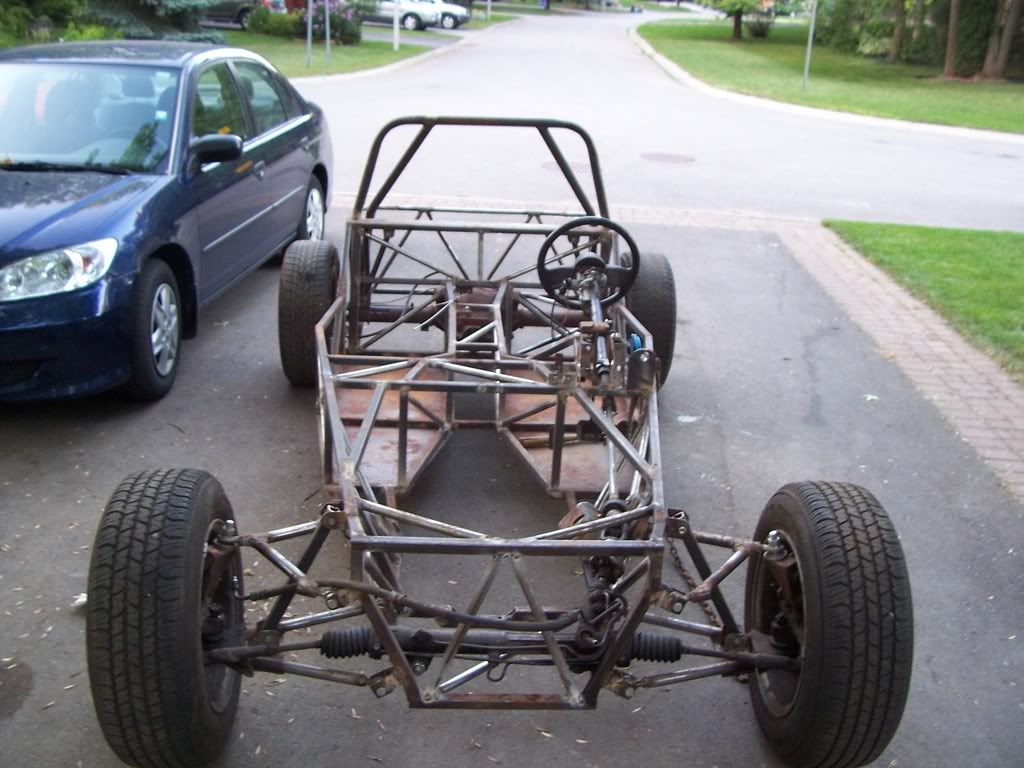
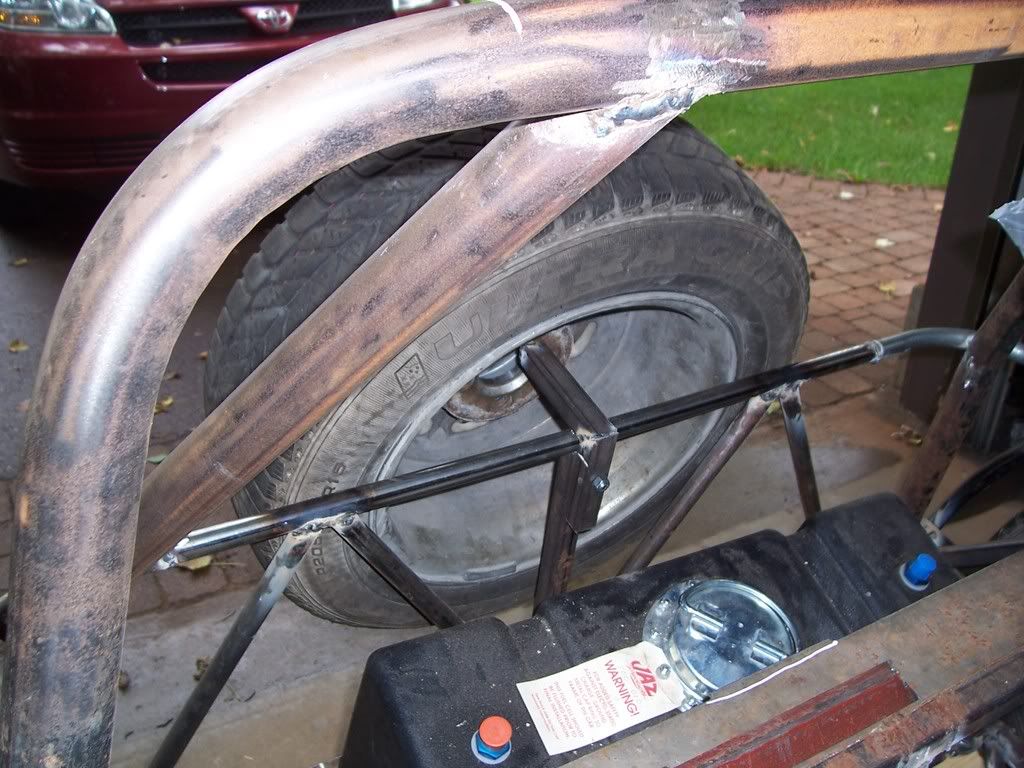
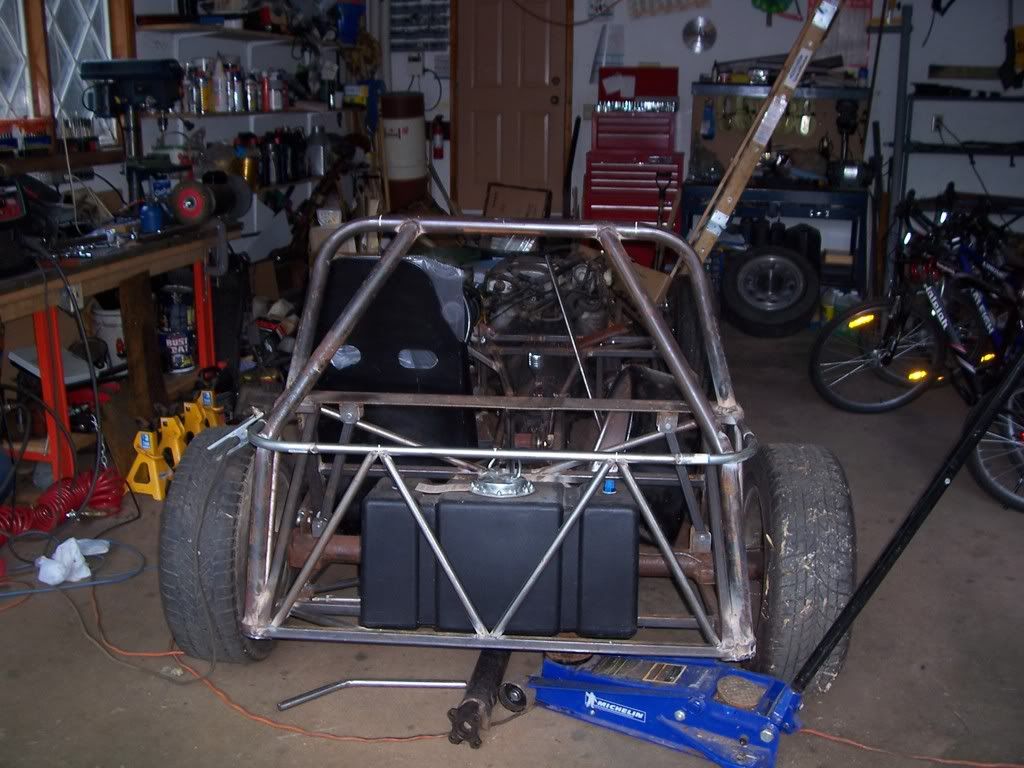
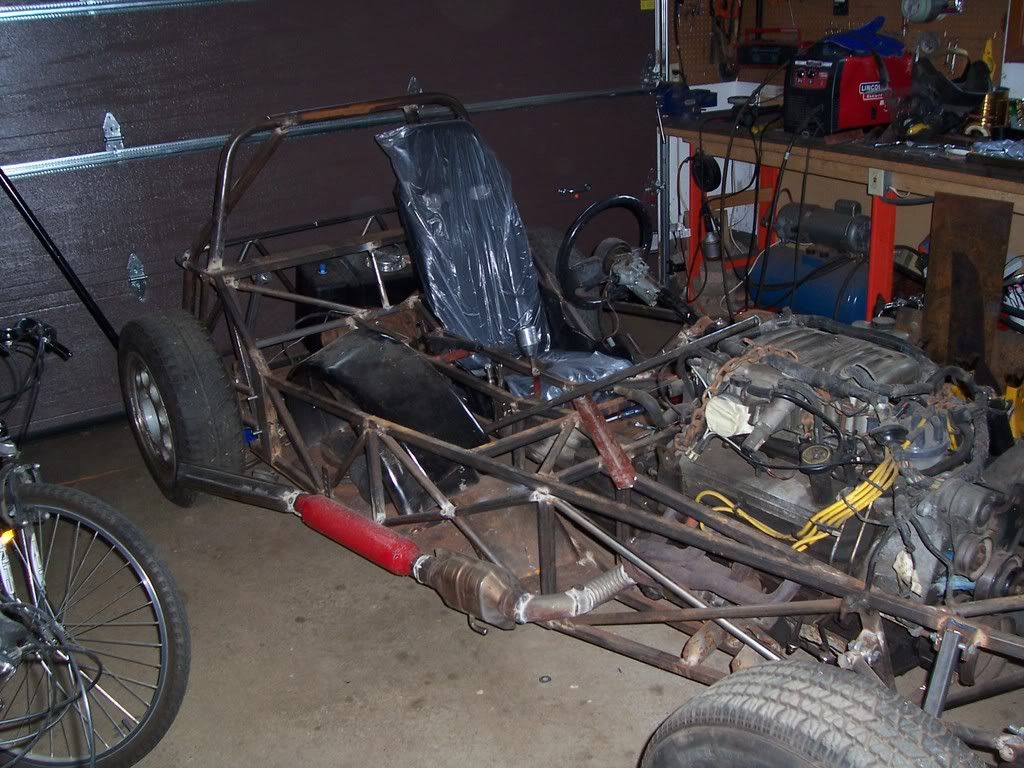
I have done the roll bar as well. It was bent up using a bottle jack bender. It turned out well. The back frame is finished as well.
Image
Image

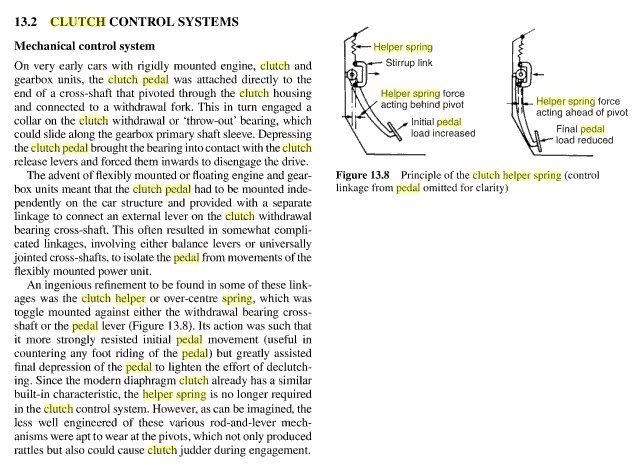
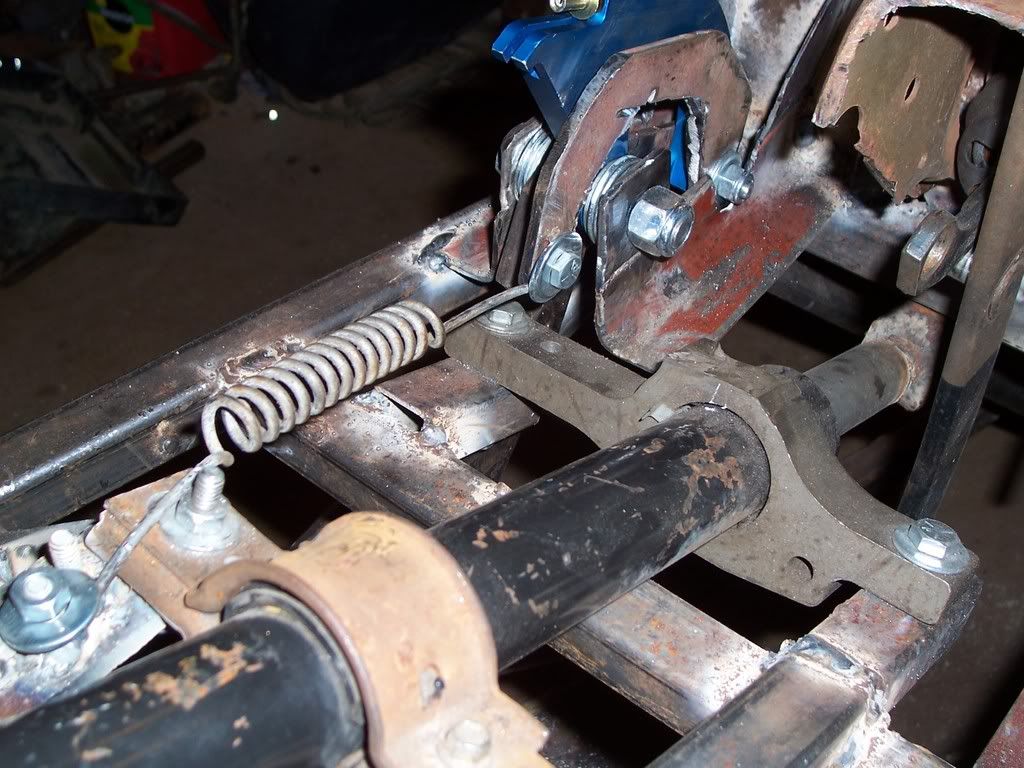
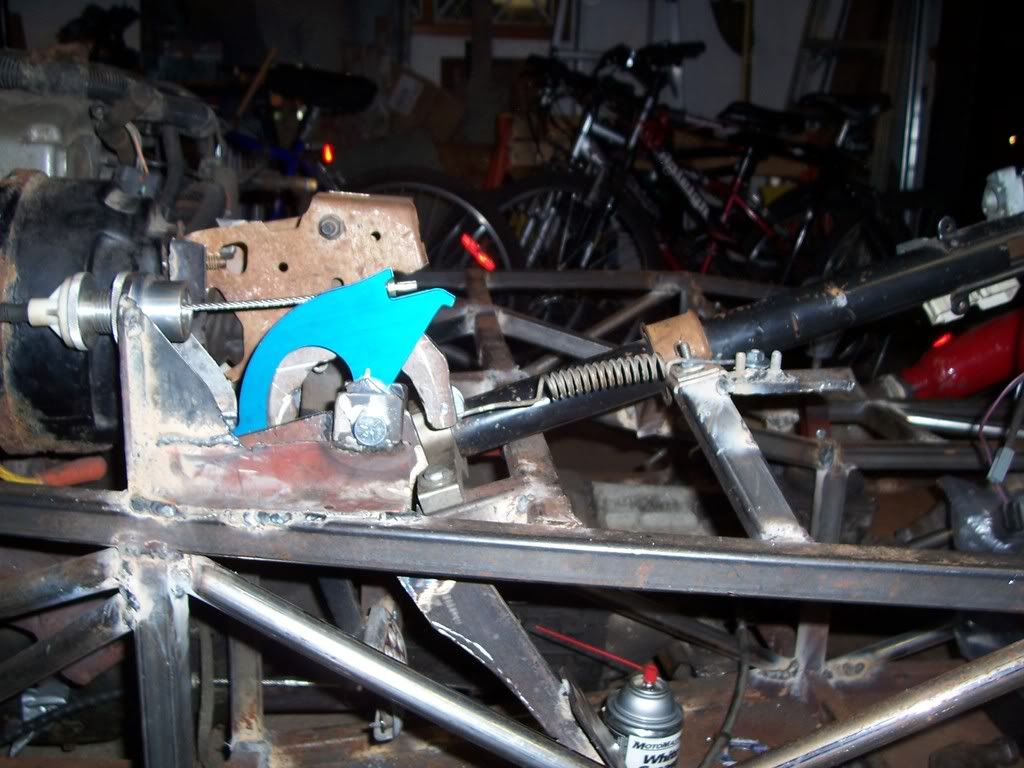
I am working on the clutch right now. After making it and testing it, I found it very stiff. I did research on it, only to find that I could use whats called a "Clutch Pedal Helper Spring". Its hard to explain how it works, so once I'm done making it, I will show pics.
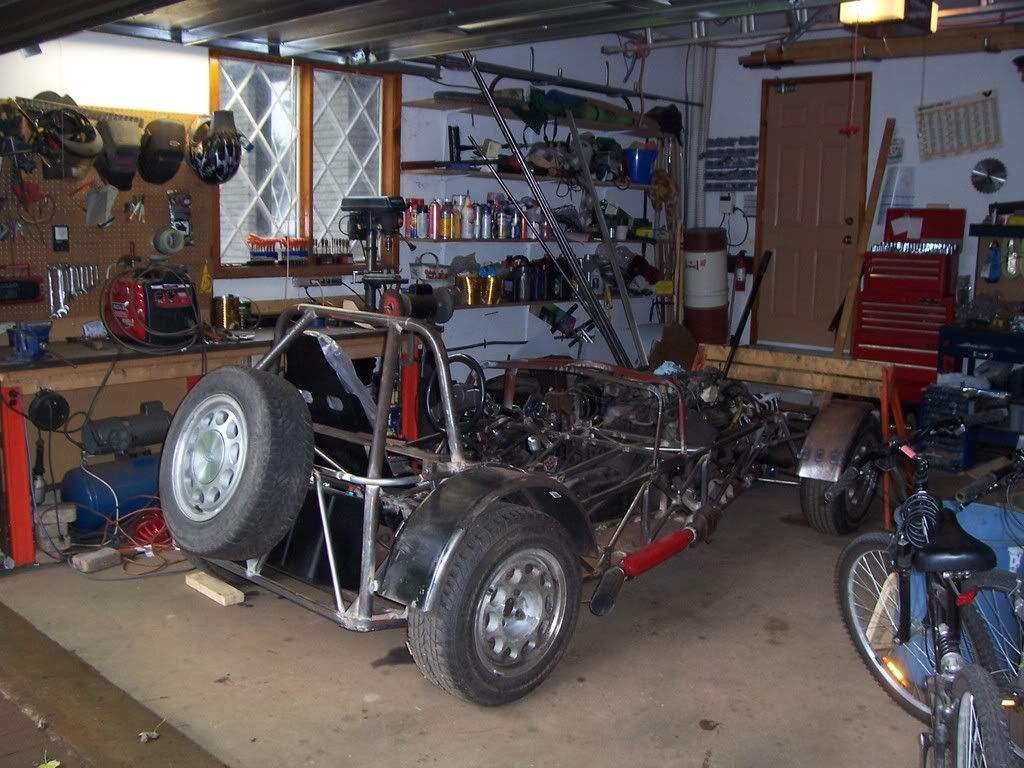
I'm at the point now, where I am starting to say that something is DONE! (such as the roll bar, the exhaust, etc) Its great. I finally feel that I'm making good progress. I'm starting to have confidence that the car will be finished one day....

_________________
"The decision to build a car is not one reached through a rational mindset. It is a decision that is made because we have to do it! It makes no sense, but neither does love, children and taxes" -Sam Buchanan

My Build Log: http://www.locostusa.com/forums/viewtopic.php?f=35&t=3054


Last edited by maxlessca on September 2, 2008, 10:12 pm, edited 1 time in total.

Top
 Profile  
Reply with quote  
 Post subject:
PostPosted: September 2, 2008, 9:50 pm 
Offline
Weight watcher
User avatar

Joined: March 7, 2006, 6:15 pm
Posts: 2401
Location: Northridge, CA
It's hard to tell from the pics, but you should watch for kinks in the tube that you bent for the main hoop of the roll bar, or you may run into serious problems trying to run any track day that has a tech inspection (and for a reason).

Reason I'm pointing this out is because most bottle jack benders I've seen are made for pipe bending (a much thicker tube that's used to carry liquid / gas) rather than the structural tubes that we use for our cars.

BTW, your kind of roll over protection is normally being referred to as a roll bar, as opposed to roll cage that has a front hoop as well like the one you can see in my build -
http://www.locostusa.com/forums/viewtop ... 4129#44129

Moti

_________________
Moti

My R1 powered Locost build log

Visit the Blackbird Fabworx Facebook Page!


Top
 Profile  
Reply with quote  
 Post subject:
PostPosted: September 2, 2008, 10:24 pm 
Offline
User avatar

Joined: November 17, 2007, 1:30 am
Posts: 573
Location: Guelph, Ontario, Canada
Quote:
your kind of roll over protection is normally being referred to as a roll bar, as opposed to roll cage


That was a typing mistake of mine. Thanks for pointing it out.

Quote:
It's hard to tell from the pics, but you should watch for kinks in the tube that you bent for the main hoop of the roll bar, or you may run into serious problems trying to run any track day that has a tech inspection (and for a reason).


I've never thought about this. I took a look at the roll bar outside. I don't have any idea what degree is acceptable for the tubing. I just measured it, and the tubing is 1 5/8" diameter, and it is squished a bit at the bends. At the thinnest part of the bends is 1 3/8". I don't have any clear pictures the bends at the moment. I will take one tomorrow.

_________________
"The decision to build a car is not one reached through a rational mindset. It is a decision that is made because we have to do it! It makes no sense, but neither does love, children and taxes" -Sam Buchanan

My Build Log: http://www.locostusa.com/forums/viewtopic.php?f=35&t=3054


Top
 Profile  
Reply with quote  
 Post subject:
PostPosted: September 3, 2008, 12:02 am 
Offline
Weight watcher
User avatar

Joined: March 7, 2006, 6:15 pm
Posts: 2401
Location: Northridge, CA
Sorry to be the one to bring the potentially bad news but having any kind of kink in the roll over protection is by large unacceptable.

You need to have your roll bar hoop bent with a tube bender and use a tube that's up to spec.
There's are some reference materials in the racing forum that you should look through, check out the stickies and be sure to check with your local track day organizing body what's acceptable prior to showing up at the track.

On a good note, it's much easier to corrct things right now than after your car is done, painted etc... :wink:

Moti

_________________
Moti

My R1 powered Locost build log

Visit the Blackbird Fabworx Facebook Page!


Top
 Profile  
Reply with quote  
 Post subject:
PostPosted: September 4, 2008, 8:41 pm 
Offline
User avatar

Joined: November 17, 2007, 1:30 am
Posts: 573
Location: Guelph, Ontario, Canada
I took a look at websites of a couple tracks around here, and they were somewhat vague about requirements for track days. I don't plan to race it, but I'd like to drive it around the track a couple times a year. I will have to talk to a couple people who know more about those tracks around here before I cut anything off. This is what the bends look like
Image
Image


Monday was a holiday for me, so I spend the entire day welding. Basically from 9am till 8pm. I went through a whole spool (10lbs) of wire. A lot of the tubes were only tacked or 1/2 welded, and I felt I needed to finish what I have. I'm not done all the braces in the tunnel. I'm not set on the position of everything yet, mainly the parking brake.
Image
Image
Image


Lastly, as I was talking about the "clutch helper spring" earlier. This is an explanation of it from a textbook:
Image
I made my own for my car. Its adjustable and seems to work perfectly. There is a slight increase in initial pedal pressure needed, but as soon as it passes a certain point, you can feel it help you push the pedal the rest of the way.
Image
Image

I'll still keep my eye open for a stock Mustang clutch assembly.

_________________
"The decision to build a car is not one reached through a rational mindset. It is a decision that is made because we have to do it! It makes no sense, but neither does love, children and taxes" -Sam Buchanan

My Build Log: http://www.locostusa.com/forums/viewtopic.php?f=35&t=3054


Top
 Profile  
Reply with quote  
 Post subject:
PostPosted: September 13, 2008, 12:15 pm 
Offline
User avatar

Joined: November 17, 2007, 1:30 am
Posts: 573
Location: Guelph, Ontario, Canada
After talking to a couple people around here about the local tracks, I've found that my roll bar should be fine. As long as I go to the track with a club, I wouldn't even be required to have a roll bar. I only need to meet the safety standards if I plan to race my car.

I've started my scuttle and I made it tall. My main problem with it is where the intake is situated. It is the highest part of the engine, and it is off to the passenger side. I don't want any part of the engine to stick out the side of the hood, so I made a tall scuttle to compensate. I don't want a bulge in the hood either. The scuttle turned out to be a little too tall. I may have to re-do it. I just don't know how high it needs to be, yet. I have ordered supplies to make the nose cone. Once that is made, I can figure out what size I need the scuttle to be, in order to clear the engine.
Image

I've also finished mounting the fenders.
Image

I've starting making a spare tire holder. It is removable for when I want to loose weight. When it is removed, it wont show any signs on the body panel that it was there.
Image
Image

_________________
"The decision to build a car is not one reached through a rational mindset. It is a decision that is made because we have to do it! It makes no sense, but neither does love, children and taxes" -Sam Buchanan

My Build Log: http://www.locostusa.com/forums/viewtopic.php?f=35&t=3054


Top
 Profile  
Reply with quote  
 Post subject:
PostPosted: September 13, 2008, 6:14 pm 
Offline

Joined: May 25, 2007, 11:13 am
Posts: 34
Location: Canada
Hey

Nice build, put some more bracing on the fenders they will proably crack if that is all that is braced


Top
 Profile  
Reply with quote  
 Post subject:
PostPosted: September 13, 2008, 7:55 pm 
Offline
Weight watcher
User avatar

Joined: March 7, 2006, 6:15 pm
Posts: 2401
Location: Northridge, CA
The bends look better than I thought they will, but I'm not a 100% sure because it's still a bit hard to see.
BTW, what kind of tube did you use for the roll bar?

Moti

_________________
Moti

My R1 powered Locost build log

Visit the Blackbird Fabworx Facebook Page!


Top
 Profile  
Reply with quote  
Display posts from previous:  Sort by  
Post new topic Reply to topic  [ 313 posts ]  Go to page Previous  1, 2, 3, 4, 5 ... 21  Next

All times are UTC - 5 hours [ DST ]


Who is online

Users browsing this forum: No registered users and 50 guests


You cannot post new topics in this forum
You cannot reply to topics in this forum
You cannot edit your posts in this forum
You cannot delete your posts in this forum
You cannot post attachments in this forum

Jump to:  
POWERED_BY