LocostUSA.com

Learning how to build Lotus Seven replicas...together!
It is currently May 14, 2024, 12:55 pm

All times are UTC - 5 hours [ DST ]


Post new topic Reply to topic  [ 122 posts ]  Go to page Previous  1 ... 4, 5, 6, 7, 8, 9  Next
Author Message
PostPosted: July 19, 2010, 12:12 pm 
Offline

Joined: December 18, 2006, 11:21 am
Posts: 215
Location: Houston TX
looks great -- very close to being done :)

_________________
William Keeling
Houston Texas
Spec Miata Racer


Top
 Profile  
Reply with quote  
 Post subject: Re: front fenders
PostPosted: July 25, 2010, 2:16 pm 
Offline
User avatar

Joined: July 29, 2006, 9:10 pm
Posts: 3169
Location: Oregon, usually
That car is lookin' good there! I didn't see the taillight you referred to off-list, is there a pic up of it somewhere? I looked back over the current year and didn't see one, but it brought a thought to the front of my brain:

Going back a full year (July '09), when front fender mounts were under discussion...
dhempy wrote:
I've thought about a bike-fender stay as well, but not with a bearing. I've imagined tapping a hole in the spindle and bolting in there. It would make tire changes a pain, but would look clever. Or maybe stupid.
Or maybe both; clever and stupid are not mutually exclusive.

Rather than tap the spindle, I might try making some special spindle nuts (or whatever you call the nut that adjusts wheel bearing preload) with internal threads on the outside end to bolt the fender stay to. In my case I'd be doing it so I could run ultra-slippery front fenders (a la aircraft wheel pants) but it would be suitable for a conventional motorcycle-like brace as well.

_________________
Locost builder and adventurer, and founder (but no longer owner) of Kinetic Vehicles


Top
 Profile  
Reply with quote  
PostPosted: October 31, 2010, 2:06 pm 
Offline

Joined: April 16, 2006, 8:48 am
Posts: 143
Location: Freelton, Ontario
I have been a bit slack with the updates, so here are some more pictures as I sort through the details:

First off - here are the redone front fender stays.

Image

Image

The new fender stays are much stronger. However with the original fender stays I needed to add standoffs to raise the headlights to clear the fenders when the wheels are turned. Now the newer bigger fender brackets hit again, I may need to do some trimming again.

Image

I have also made the hood. I wasn't expecting this to be easy, but it went better than I expected. I bent the hood over a piece of pipe so the radius is not quite right (in fact no where near close), but I reckon when I add some rubber trim to the edges it will look okay. I also ordered some rally clips for the UK to hold the hood down. I got the shape right by drawing all over the scuttle and nose cone. Nothing a bit of paint will not fix.

Image

I have added the dash and tunnel cover - this just needs some covers for the gear stick and hand brake. I also have a finishing piece to tie the dash and tunnel together. This should help cover up the last few wires.

Image

I had a neighbour bend a bit of tube to make a rollbar. (Same neighbour that made my rear frame) The rollbar was more to locate the shoulder belts and a high level brake light than to save me if I roll it (lets face it, if I roll the car I am done for!)

Image

Image

The most recent piece of owrk was the windshield. I have opted to use the kit from Jack at Kinetics. He sent me the stanchions first so I could provide him with dimensions for the frame. Here is the car with a cardboard windshield to get the measurements.

Image

I am also in the process of changing the rear lights (again I got some proper lights of Jack) as my Princess Auto lights are no good. Unfortunately I now have big holes in the fenders, and the fenders have curves so the new lights do not fit (yet)

Image

Image

No snow on the ground yet, so I have a bit of time to do some more jobs.


Top
 Profile  
Reply with quote  
PostPosted: October 31, 2010, 6:18 pm 
Offline
User avatar

Joined: July 29, 2006, 9:10 pm
Posts: 3169
Location: Oregon, usually
I'm not sure where to get it in small amounts (though it's readily available from commercial auto paint supply wholesalers in 50 foot rolls...maybe throw yourself on the mercy of an auto body shop for a scrap of it) but sticky back sandpaper exists, as coarse as 80 grit...maybe a couple strips of that stuck to the back of the fender, and rub the Britax tail light's rubber backing block against the gritty side to conform to the fender shape? It sounds like it would work.

_________________
Locost builder and adventurer, and founder (but no longer owner) of Kinetic Vehicles


Top
 Profile  
Reply with quote  
PostPosted: October 31, 2010, 11:33 pm 
Offline
Always Moore!
User avatar

Joined: November 9, 2007, 3:40 pm
Posts: 4076
Location: Pittsburgh, PA
Looking good. 8)

Image

Not sure if it matters for you or not but be careful with that shoulder belt routing around the seat. In an accident, the belts could slide sideways and let your torso fly free.

_________________
-Andrew
Build Log
Youtube


Top
 Profile  
Reply with quote  
PostPosted: December 4, 2010, 3:50 pm 
Offline

Joined: April 16, 2006, 8:48 am
Posts: 143
Location: Freelton, Ontario
A couple more photos to finish the year off.

I used a belt sander to contour the rear lights, they fit nicely, especially with a small amount of black silicon sealant to fill in the gaps.

Image

I also finally found somewhere that sells strips of weather proofing. I used this to finish of the edges of the hood. I may need to tweak the fit, but overall it is better than the rough edges I had before.

Image

I plan on using some more of this to finish the scuttle/dash board


Top
 Profile  
Reply with quote  
PostPosted: May 8, 2011, 8:49 am 
Offline

Joined: April 16, 2006, 8:48 am
Posts: 143
Location: Freelton, Ontario
The great white north has once again turned green, which means I have pulled the car out of hibernation.

I also had some kitchen cabinets donated in return for babysitting a friends 1970 MGB, so the garage looks quite good :)

Image

Image

As for the locost,

the windshield frame has been fitted, just need to find a glass supplier which should be easy

at this stage I think I have the following jobs:
install windshield and wipers (haven't decided how I am going to do wipers yet)
add an exhaust mount
check headlight wiring (I think I have main beam and dipped switched)
add mirrors
complete fuel tank install (I have a few holes to blank off)
finish dashboard (1 small piece to be added, gaiters for handbrake and gearstick)
set up ride heights and corner weights
touch up paint

The biggest issue I have is the brakes. I used the original Miata master cylinder, with the booster removed. The pedal is firm, but I have to push really, really hard to get any king of slowing action. I guess the unassisted cylinder is too small. To top it off, the master cylinder leaked all winter and trashed the firewall paint. I am thinking I need to change the master cylinder for a better one, hopefully that will be a straight swap - any suggestions. (I will look and post on the appropriate forum too)

try and get it licensed :)

Image


Last edited by locost_adam on September 23, 2011, 6:09 pm, edited 1 time in total.

Top
 Profile  
Reply with quote  
PostPosted: May 9, 2011, 7:32 am 
Offline
User avatar

Joined: September 22, 2005, 8:12 am
Posts: 1880
Location: 4AGE in S.E. Michigan
Adam
After you rebuild the brake master cylinder try increasing the brake pedal leverage. Either by extending the actual lever or alert the pivot point to get a ratio of about 5 to 1. That should make a more liveable brake pedal pressure.
Dave W


Top
 Profile  
Reply with quote  
PostPosted: May 9, 2011, 11:10 am 
Offline
User avatar

Joined: November 7, 2008, 4:48 am
Posts: 1097
Location: snow city - it's wet!
davew wrote:
Adam
After you rebuild the brake master cylinder try increasing the brake pedal leverage. Either by extending the actual lever or alert the pivot point to get a ratio of about 5 to 1. That should make a more liveable brake pedal pressure.
Dave W

Yes, start with that. Increasing the leverage factor will probably also increase the amount brake pedal travel.

If that doesn't get you the pressure you need (it should), you could go to a slightly smaller diameter master cylinder. That would again increase your brake pedal travel, but also change the master cylinder to caliper ratios and allow you to apply more pressure at the calipers. The rule of thumb is a larger master cylinders means a firmer brake pedal and more brake feel, but more leg energy is required to apply the brakes. A smaller master cylinder means less leg energy, but more pedal travel and a bit less brake feel.

I'm not sure if you retained the Miata's original brake bias proportioning valve. If not then I would also look at adding a bias adjuster so you can properly adjust the front to rear brake bias. Willwood makes a good unit for about $50 that is very light weight.

_________________
.. in the world


Top
 Profile  
Reply with quote  
PostPosted: May 9, 2011, 2:33 pm 
Offline

Joined: April 16, 2006, 8:48 am
Posts: 143
Location: Freelton, Ontario
Thanks for the input guys, however further research on my end has shown that removing the booster reduces the brake load by 10x. I have already changed the brake lever ratio as much as I can (as much for packaging as functionality) and I am going to go to the wreckers yard and see if I can find a MC with a bore of 5/8" rather than the MIata's 7/8" . I do have the Miata proportioning valve, I just hope it gives me the right split.


Top
 Profile  
Reply with quote  
PostPosted: May 16, 2011, 7:51 pm 
Offline

Joined: April 16, 2006, 8:48 am
Posts: 143
Location: Freelton, Ontario
This weekends update

1 step forward 2 steps back.

I picked my windshield up on the way home from work on Friday. Lots of soapy water and the glass slipped nicely into the frame, with the channel packing in place. Actually fitting the assembly back on the car was a bit more challenging, I actually needed help to hold the second side down while the bolts were put through the holes. I hoped that was just the glass seating into the frame all the way.

Image

Glass installed :)

30 minutes later

Image

Glass cracked - I guess the piece was just a little bit big. This sucks becasue the glass wasn't cheap. Hopefully I can get a deal on the next one as it will be a little bit smaller :(

That was enough for 1 night


Top
 Profile  
Reply with quote  
PostPosted: May 16, 2011, 8:17 pm 
Offline

Joined: April 16, 2006, 8:48 am
Posts: 143
Location: Freelton, Ontario
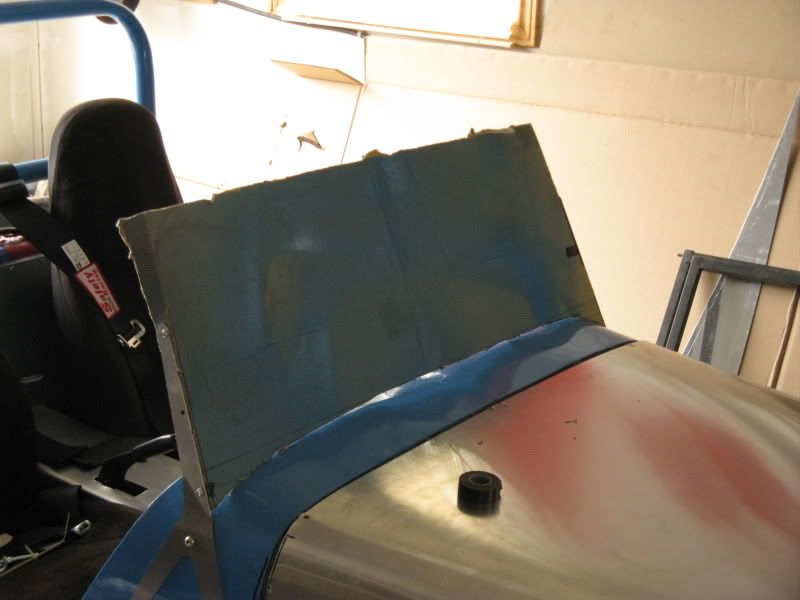
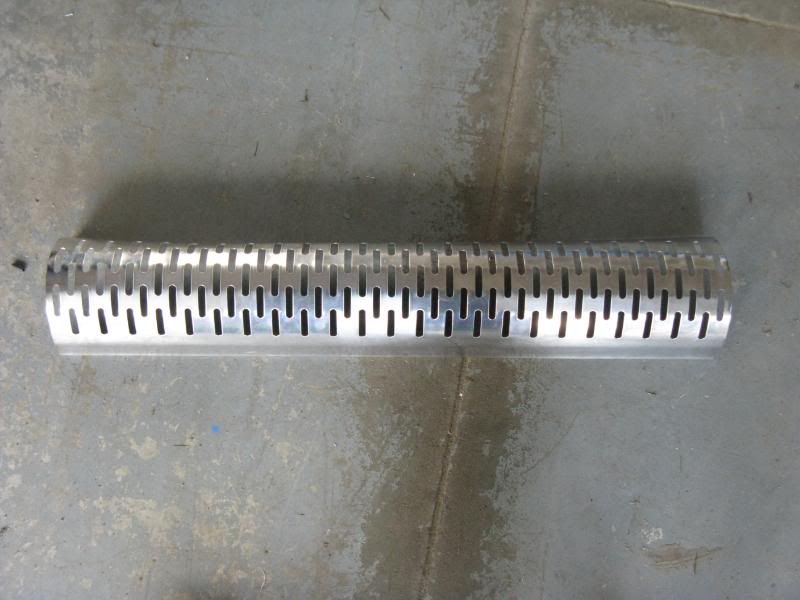
As there was nothing I could do about the windshield I decided to carry on with some of the other jobs on my list:

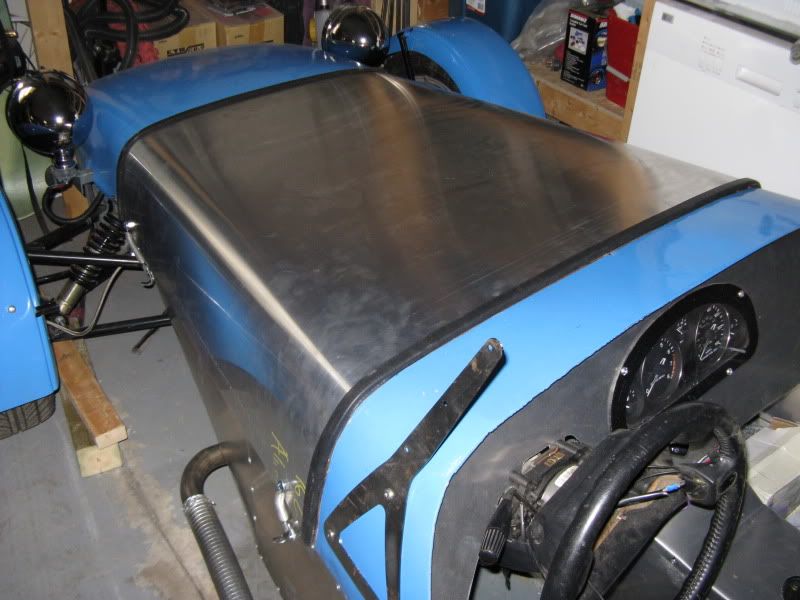
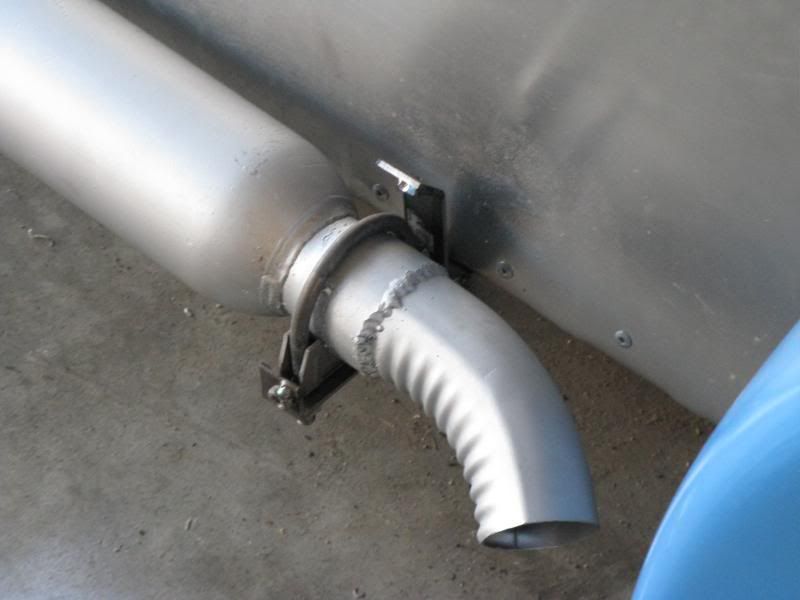
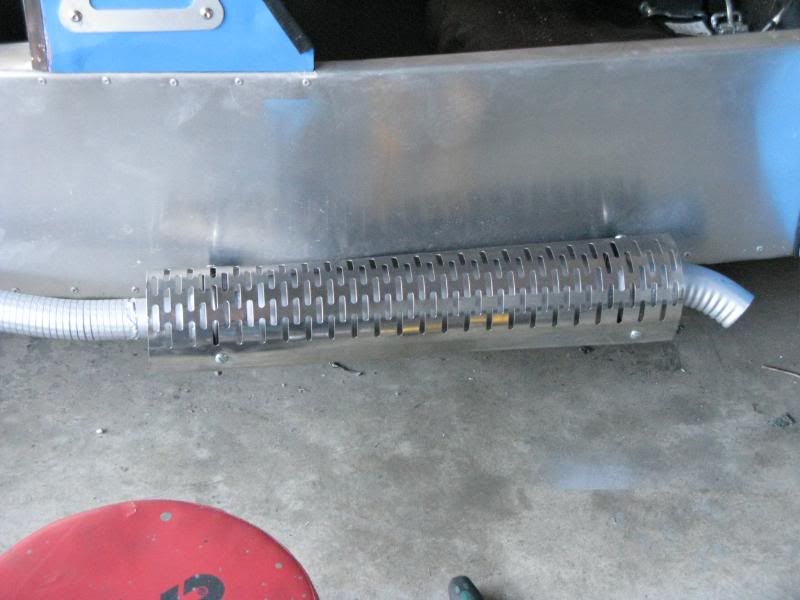
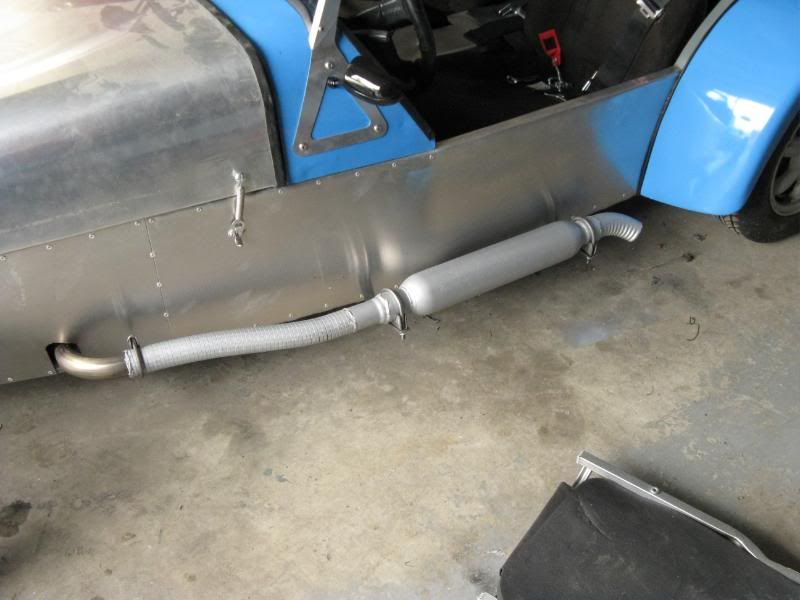
Finish the exhaust - 1 turndown to direct the gas away from the rear arch and a touch of high temp paint

Image

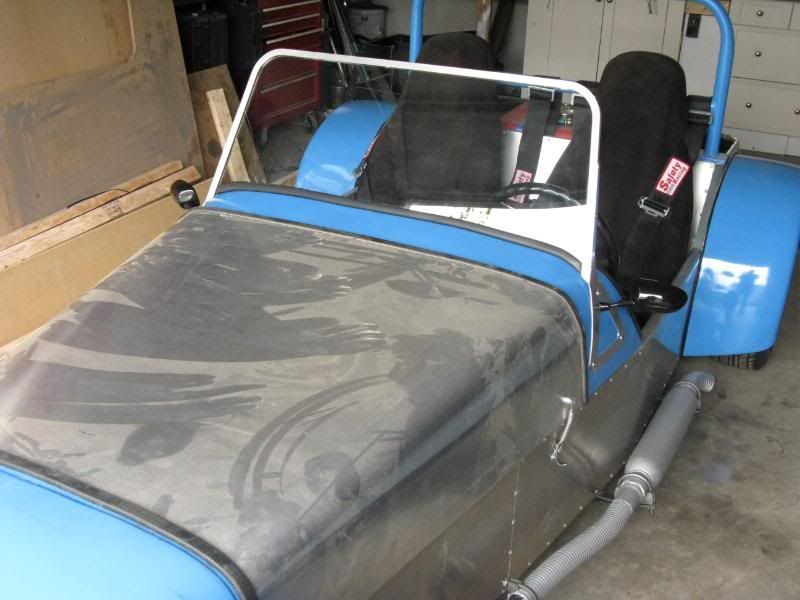
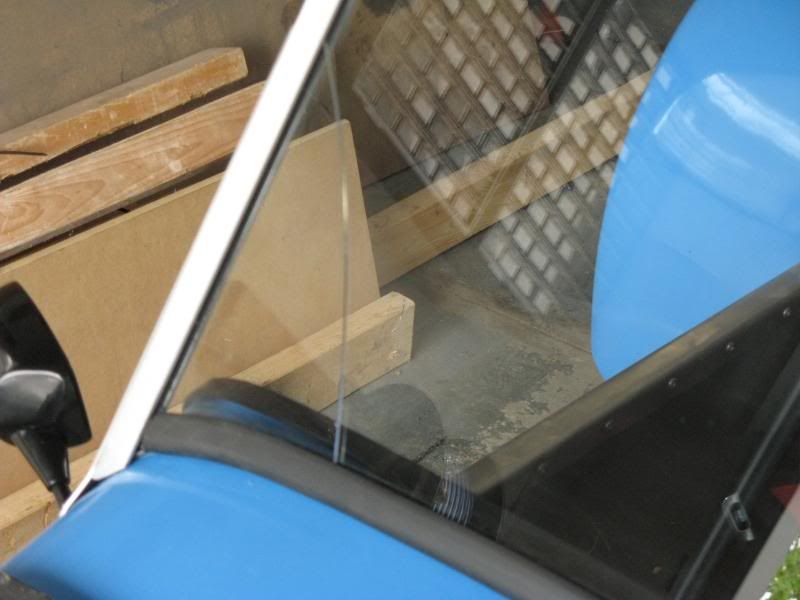
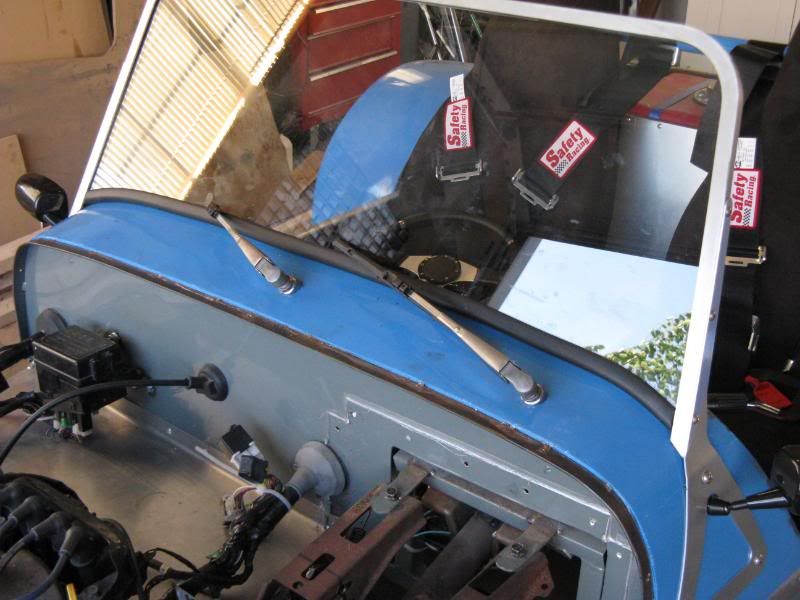
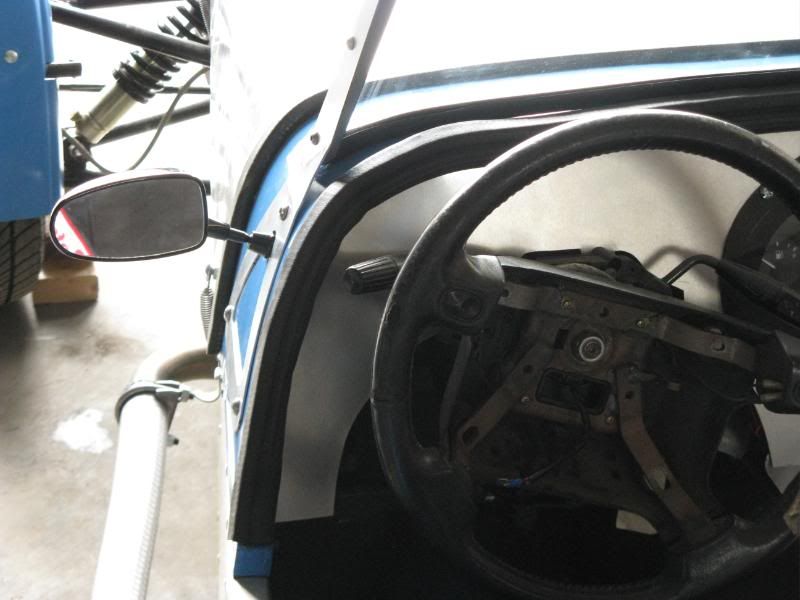
Mirrors that I got from ebay last year some time. I had to use some cardboard for packing to get the clamping load right for my thickness of scuttle (I guess it is not the same as the bike the mirrors were designed for)

Image

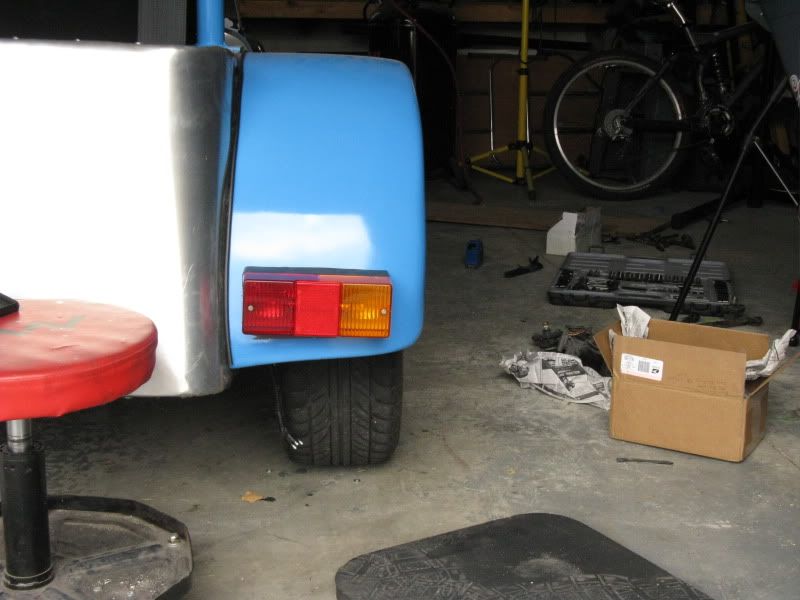
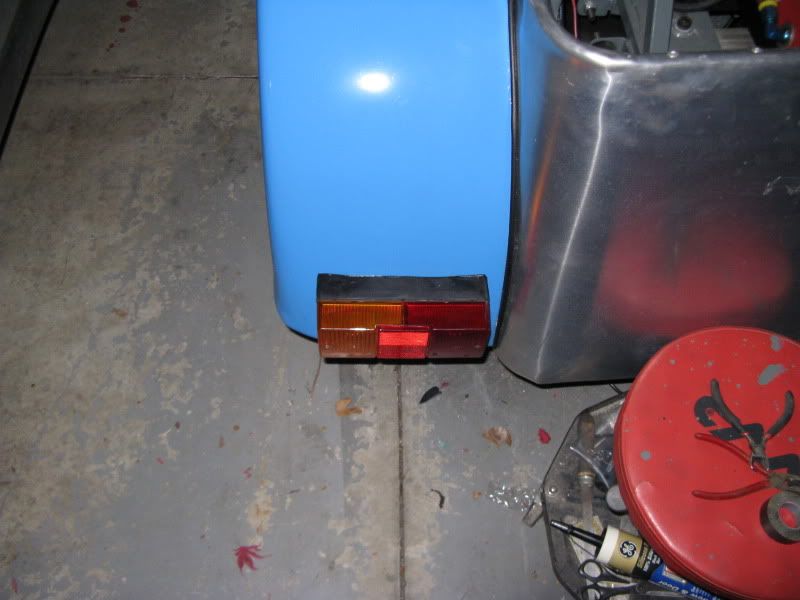
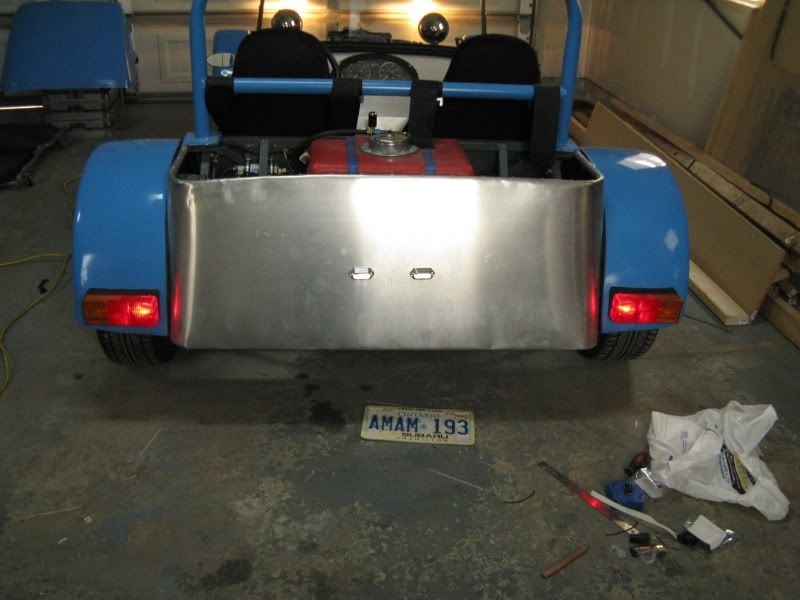
I finally found the red LED strips that I have been looking for to use as a third brake light. (Princess Auto keeps these lights behind the counter as they have a habit of walking off. I should have asked the first time I went looking for them)

Image

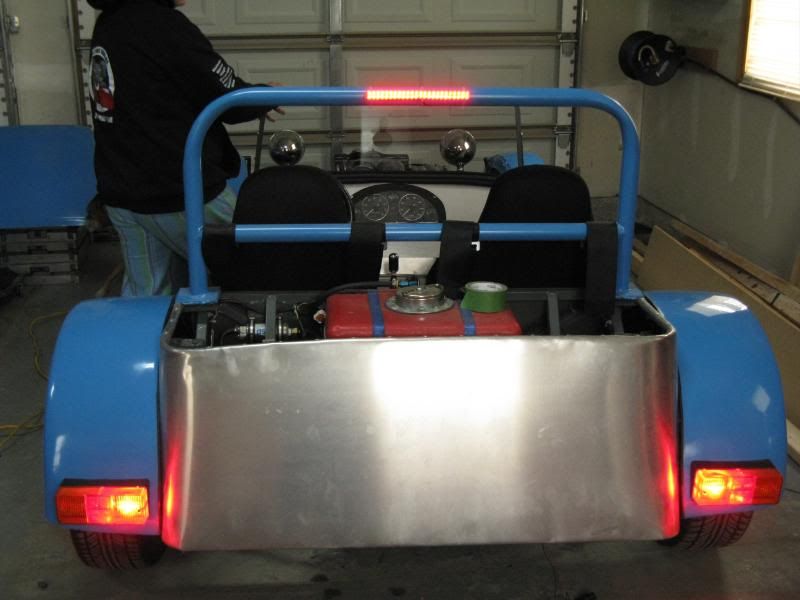
I also added the license plate lights, also from Princess Auto

Image

Finally I measured the cars corner weights with some scales I borrowed from work.

Image

Image

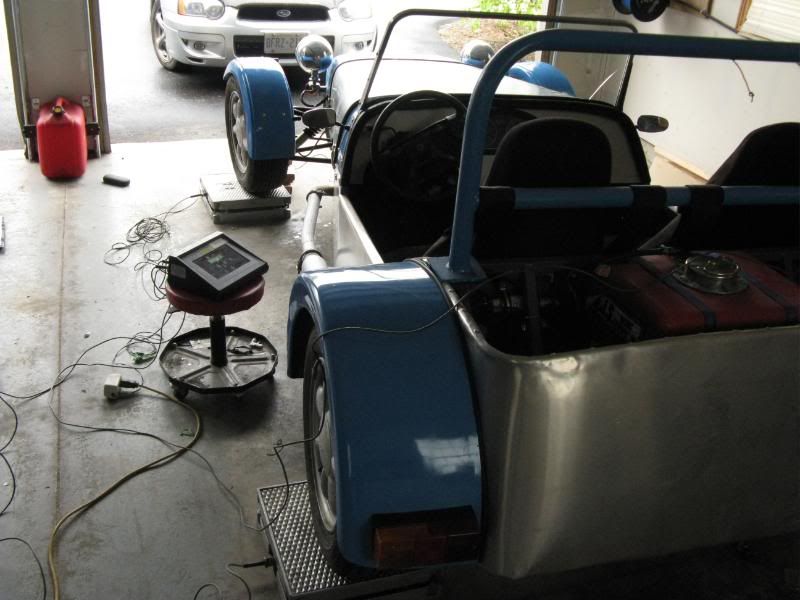
My first weights with me in the car were:
FL - 351
FR - 318
RL - 434
RR - 397

Total - 1500lbs

After a bit of fiddling I managed to get the left right split more even

343
326
440
392

These figures were very similar to Keiths example in his book, his book also stated that diagonals are more important than left right splits. In then took me several hours to get back to where I started.

Final weights
351
316
434
400

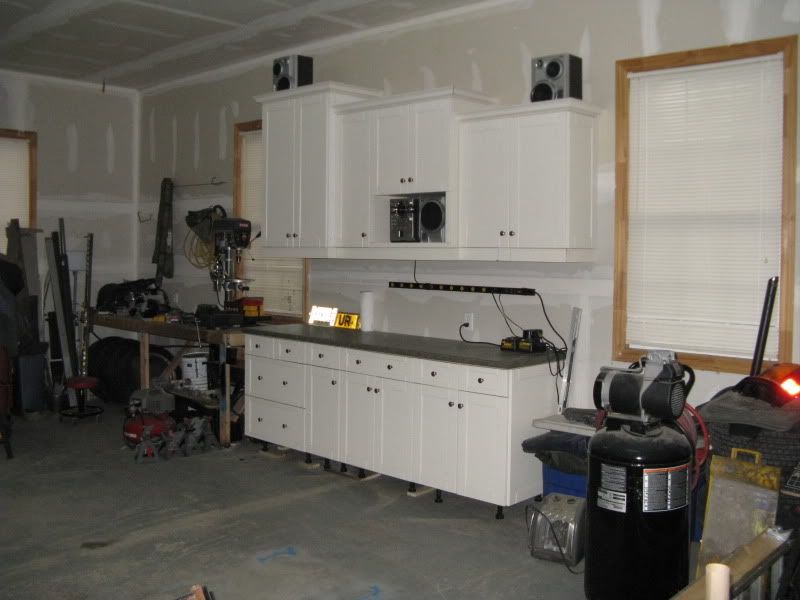
One of the many projects I have at home is finishing the basement, so my books are all packed away. Is using the diagonals for the baseline correct? I don't remember this from before, but Keith's car got good write ups when it was in a magazine.

Another oddity I found when playing with the front spring perches was that as I increased the ride height the corner weight went up - isn't this the wrong way round? Mind you I also found that if I decreased the ride height the corner weight went up Not sure what this means other than I seemed to have set the car up in a sweet spot by pure luck.

I also went to a wreckers yard and found that an older Toyota Tercel has a similar MC to the Miata but 3/4 so slightly smaller. However I found a couple of other posts here from people using the Miata MC so I figure I will have one more go using the standard MC


Top
 Profile  
Reply with quote  
PostPosted: May 17, 2011, 2:41 am 
Offline
User avatar

Joined: November 7, 2008, 4:48 am
Posts: 1097
Location: snow city - it's wet!
An easy way to think about weight jacking is like fixing an uneven table. It's usually easier to add length (increase height) to make the short leg (light corner) longer than to cut the long leg (heavy corner) down. It all seems a bit backwards at first.

And yes, getting the diagonal splits closer to 50%/50% are more important that left/right at each end. Better still if you can minimize the left/right axle differences and still get 50%/50% cross-weights.

_________________
.. in the world


Top
 Profile  
Reply with quote  
PostPosted: June 12, 2011, 8:34 am 
Offline

Joined: April 16, 2006, 8:48 am
Posts: 143
Location: Freelton, Ontario
1 of the things that I have to add for the safety inspection is a heat shield for the exhaust. We have a truck wreckers just down the road, so I went there and picked up a cheap heat shield then trimmed it down to fit my exhaust.

Image

I bent up a couple of simple brackets to mount the heat shield

Image

Image

The next step was to fit the fuel level sender. I bought a Jaz 0-90Ohm unit to fit the fuel cell. When I opened the box I had instructions for fitting a throttle cable, a float that was not contained in the tube and chewed up terminal blocks, so that went back and I will have to wait for a new one to arrive.


Top
 Profile  
Reply with quote  
PostPosted: June 12, 2011, 8:49 am 
Offline

Joined: April 16, 2006, 8:48 am
Posts: 143
Location: Freelton, Ontario
Next up was the wheels

The original Miata wheels were a bit scratched so I decided to paint them white. I did use some paint stripper to get the old paint off, then a good cleaning before applying the white and a clear coat.

Image

Image

My second windscreen was also ready, this one was made slightly smaller (1/16" all the way round). I was more careful, no forcing required.

Image

It has cracked yet!

With the windscreen in, the next job was the wipers. I had hoped that this would not be required, but they are. I was ready to start cutting the Miata wiper system up to make it fit somehow. However as soon as I started I came up with a problem. What I thought was the wiper motor was a headlamp motor - which meant I had thrown the wiper motor away. Last week when I was at the local breakers I remembered seeing a Spitfire tucked away in a corner. I went back and it was still there. And the whole wiper assembly was still there. $20 later and I have the ideal solution.

Of course when I got it home it didn't work so I pulled it apart, cleaned all the contacts and unsiezed the spindles and all is good. After several attempts the system is all installed and fully functional inc. intermittent and 2 speeds. I had to cut the drive cable tubes several times, and you do need to flare the ends. Then I had to turn the spindles 180 degrees as the wipers were going the wrong way. But finally:

Image

The wiper arms needed to be cut, and I had to bend the ends down to get the angles right. The wipers are generic 11" blades, sold as rear wipers.

Image


Top
 Profile  
Reply with quote  
Display posts from previous:  Sort by  
Post new topic Reply to topic  [ 122 posts ]  Go to page Previous  1 ... 4, 5, 6, 7, 8, 9  Next

All times are UTC - 5 hours [ DST ]


Who is online

Users browsing this forum: No registered users and 14 guests


You cannot post new topics in this forum
You cannot reply to topics in this forum
You cannot edit your posts in this forum
You cannot delete your posts in this forum
You cannot post attachments in this forum

Jump to:  
POWERED_BY