LocostUSA.com

Learning how to build Lotus Seven replicas...together!
It is currently April 17, 2024, 9:03 pm

All times are UTC - 5 hours [ DST ]


Post new topic Reply to topic  [ 313 posts ]  Go to page Previous  1, 2, 3, 4, 5, 6, 7, 8 ... 21  Next
Author Message
 Post subject:
PostPosted: November 21, 2008, 12:12 am 
Offline

Joined: August 6, 2008, 9:40 am
Posts: 532
Location: Greenville/Charlotte NC
Pretty soon we're gonna have to require you to have a 5.0 Locost drag race with Rod :)

_________________
+442E, SR20det, Thunderbird/Markviii IRS with clutch lsd, R1 suspension all around, Mustang II 2" drop spindles, Woodward steering rack


Top
 Profile  
Reply with quote  
 Post subject:
PostPosted: November 21, 2008, 10:00 am 
Offline
User avatar

Joined: November 17, 2007, 1:30 am
Posts: 573
Location: Guelph, Ontario, Canada
I'd love to have a 5.0 drag race with Rod. He lives in California, and I live in Ontario, Canada, so it would be a long drive to meet up. It would be a nice drive though... Maybe some day...

_________________
"The decision to build a car is not one reached through a rational mindset. It is a decision that is made because we have to do it! It makes no sense, but neither does love, children and taxes" -Sam Buchanan

My Build Log: http://www.locostusa.com/forums/viewtopic.php?f=35&t=3054


Top
 Profile  
Reply with quote  
 Post subject:
PostPosted: November 22, 2008, 12:49 am 
Offline
User avatar

Joined: January 7, 2007, 3:24 pm
Posts: 682
Location: Visalia, Ca
How close are you to the Canada/Idaho border? I was just up there last summer! You never know....

Just finished bleeding my brakes. It goes for its first drive tomorrow morning!

Rod

_________________
Driving a +442E with 450 Hp Ford 347 v8, T5, 8 stack EFI w/EDIS8 & MegaSquirt ITB Mode.
12,000+ enthusiastic miles as of 1/1/11
http://www.youtube.com/watch?v=jqvYJlYc4GU
http://s124.photobucket.com/albums/p3/beergodrod/
Now building a 1953 Chevy 1 ton panel with Frito Lay truck parts and a Cummins 4BTA
and a 1963 Nova SS


Top
 Profile  
Reply with quote  
 Post subject:
PostPosted: November 22, 2008, 1:14 am 
Offline
User avatar

Joined: November 17, 2007, 1:30 am
Posts: 573
Location: Guelph, Ontario, Canada
I was in Idaho/Colorado/Montana/Wyoming etc. this summer with the family. We visited Yellowstone park, Denver, and a lot of other major places in the area. But, the closest boarders to me are the Buffalo NY boarder and the Detroit boarder. So, California is quite a distance from here.

I'm glad to hear that your ready for your test drive Rod! I always get excited when you reach each big milestone.

_________________
"The decision to build a car is not one reached through a rational mindset. It is a decision that is made because we have to do it! It makes no sense, but neither does love, children and taxes" -Sam Buchanan

My Build Log: http://www.locostusa.com/forums/viewtopic.php?f=35&t=3054


Top
 Profile  
Reply with quote  
 Post subject:
PostPosted: November 23, 2008, 10:47 am 
Offline
User avatar

Joined: November 17, 2007, 1:30 am
Posts: 573
Location: Guelph, Ontario, Canada
Despite the cold, and snow on the ground, I got a lot of work done yesterday.
I got new wheels and tires!! They are 15" rims and they have almost new tread on them. I bought them for only $225. (~$175US) I couldn't believe how cheap I got them for. I've spent so many hours searching for cheap wheels that will look good, and all that work has paid off.
Image
Old compared to new:
Image

I finally moved my rear shock mounts to a better location. I love these coilovers...
Image
Image

These are pictures of the unfinished fenders I was working on 2 weeks ago:
Image
Image

After finishing the shock mounts, I stripped the entire frame down. I welding in metal to cover the passenger area. (Don't know what the proper name for that piece is.)
Image

As you can see from this picture, I'm getting very close to the painting stage:
Image

And lastly, I removed my transmission from the engine, to install the clutch. Before, I didn't have the pilot bearing in the block, so I needed to put that in, and align everything. I used a wood lathe that I have to make my own clutch alignment tool. I didn't want to spend $25 to buy one. It worked excellently:
Image

The last things I have to do before paint are:
-round all sharp corners
-fully weld the rear shock mounts from the bottom
-grind down any welds which I've missed
-take off any paint which is already there
-clean and prep for paint


I hope to start painting by wed. This is exciting stuff!

_________________
"The decision to build a car is not one reached through a rational mindset. It is a decision that is made because we have to do it! It makes no sense, but neither does love, children and taxes" -Sam Buchanan

My Build Log: http://www.locostusa.com/forums/viewtopic.php?f=35&t=3054


Top
 Profile  
Reply with quote  
 Post subject:
PostPosted: November 23, 2008, 11:16 am 
Offline
Man of Constant Hazard
User avatar

Joined: February 20, 2006, 11:18 am
Posts: 3186
Location: Lexington, KY
maxlessca wrote:
I welding in metal to cover the passenger area. (Don't know what the proper name for that piece is.)


Cockpit!

Great prorgress, Max. Looks like you'll be cruising by springtime!

-dave

_________________
...nowadays people are so intellectually lazy and lethargic that they can't build ANYTHING with their hands. They'll spend hours watching whiny people marooned on an island, but won't spend a second adding anything to the world. -weconway
Visit my [Locost 7 build log]


Top
 Profile  
Reply with quote  
 Post subject:
PostPosted: November 23, 2008, 12:36 pm 
Offline
User avatar

Joined: October 2, 2008, 12:37 pm
Posts: 191
Location: Indianapolis, IN
Good Score on the new Wheels and tires ! !

I'm a sucker for a deal too. It sure feels good to be on the winning end of the transaction!

I like the work you did on the fenders. They look much better this time around.

Keep up the good work!

_________________
Starting a Scratch Build - ThunderBird Turbo Coupe Donor Car - being dismantled
Build Log Started: http://www.locostusa.com/forums/viewtopic.php?t=4914


Top
 Profile  
Reply with quote  
 Post subject:
PostPosted: November 26, 2008, 10:43 am 
Offline
User avatar

Joined: November 17, 2007, 1:30 am
Posts: 573
Location: Guelph, Ontario, Canada
So, I managed to start painting yesterday. It was quite the adventure. I went about 11hours straight (minus 30mins for food). It was hovering around freezing, and I needed to prep the frame outside.

I battled through compressor problems, tripped breakers, cold weather, and having to paint 30 parts, including the frame of course. I've got the full story and pictures comming later today or tomorrow...

_________________
"The decision to build a car is not one reached through a rational mindset. It is a decision that is made because we have to do it! It makes no sense, but neither does love, children and taxes" -Sam Buchanan

My Build Log: http://www.locostusa.com/forums/viewtopic.php?f=35&t=3054


Last edited by maxlessca on November 27, 2008, 12:14 pm, edited 1 time in total.

Top
 Profile  
Reply with quote  
 Post subject:
PostPosted: November 27, 2008, 12:13 pm 
Offline
User avatar

Joined: November 17, 2007, 1:30 am
Posts: 573
Location: Guelph, Ontario, Canada
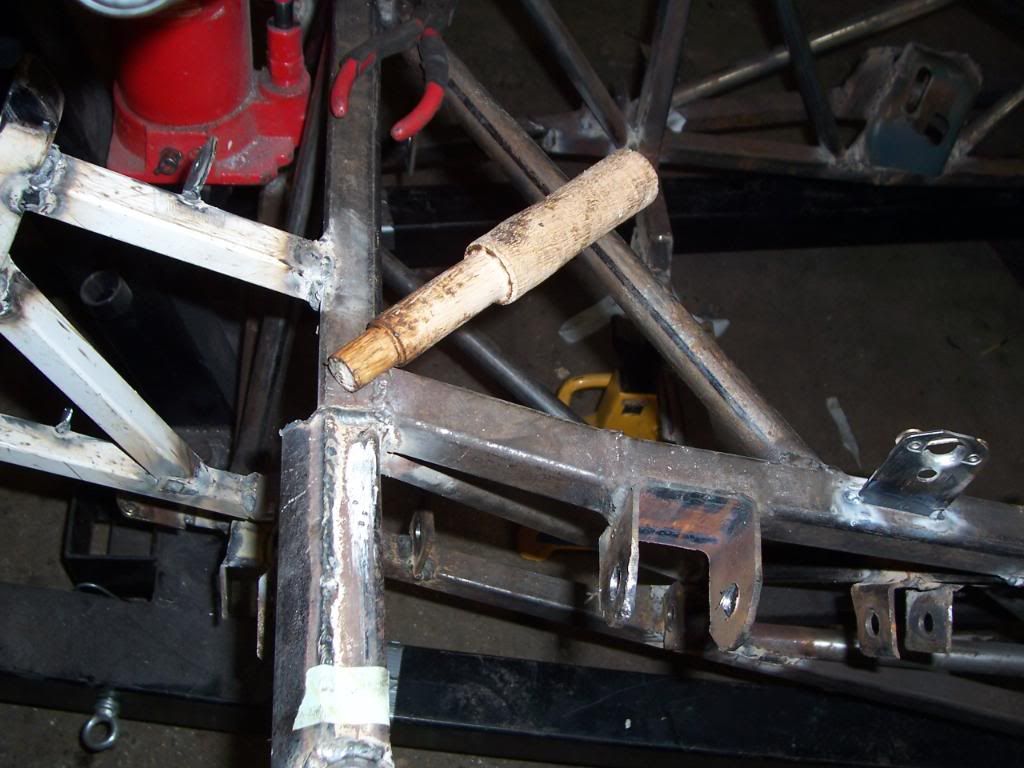
So, yesterday was the big day to start painting. It was suppose to be one of that last days with temperatures above freezing, so I had to make the most of it. I started off by clearing out the garage, to get as much space as possible. I bought 6 clear sheets (9x12ft) to cover all my tools, the new garage door etc. I pressure washed my frame and differential, and used Marine Clean degreaser as recommended by POR-15. I then applied the Metal Ready to the frame. After about 30mins of waiting, it became clear that the temperature needed to be higher in order for the Metal Ready to take effect. So, I put my 2 propane heaters on the frame, and slowly heated up the frame, one spot at a time in order for the metal ready to turn a cloudy white powder. The then hosed it off.
Image
Image

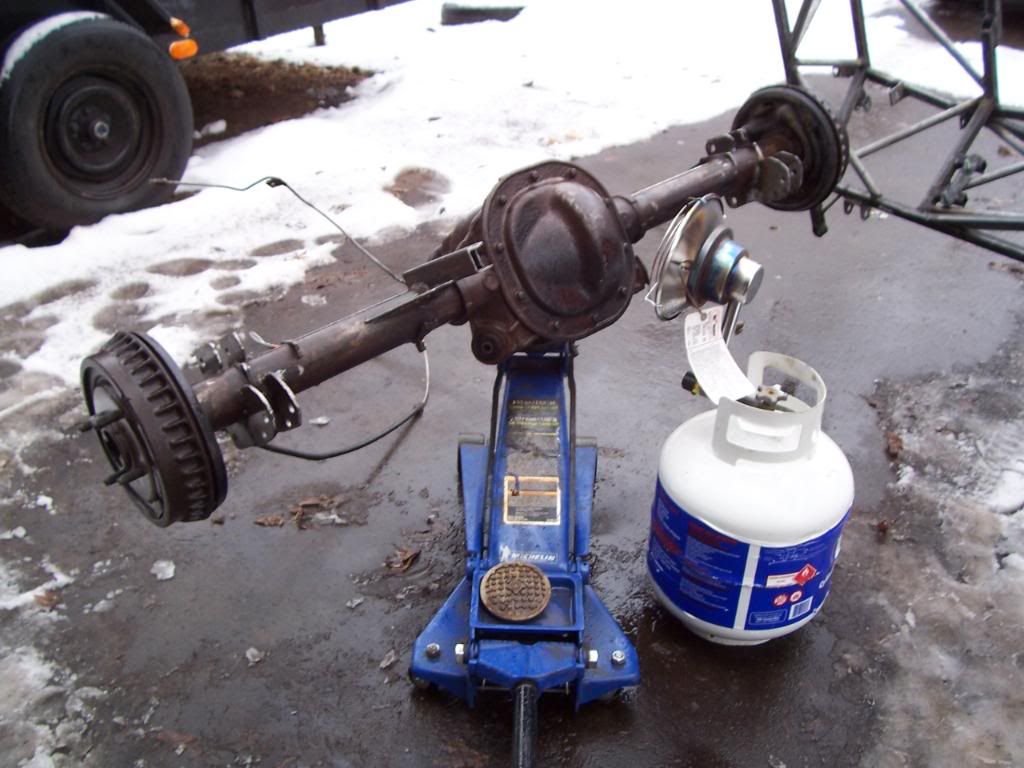
This is what the powder looks like for those who would like to know:
Image

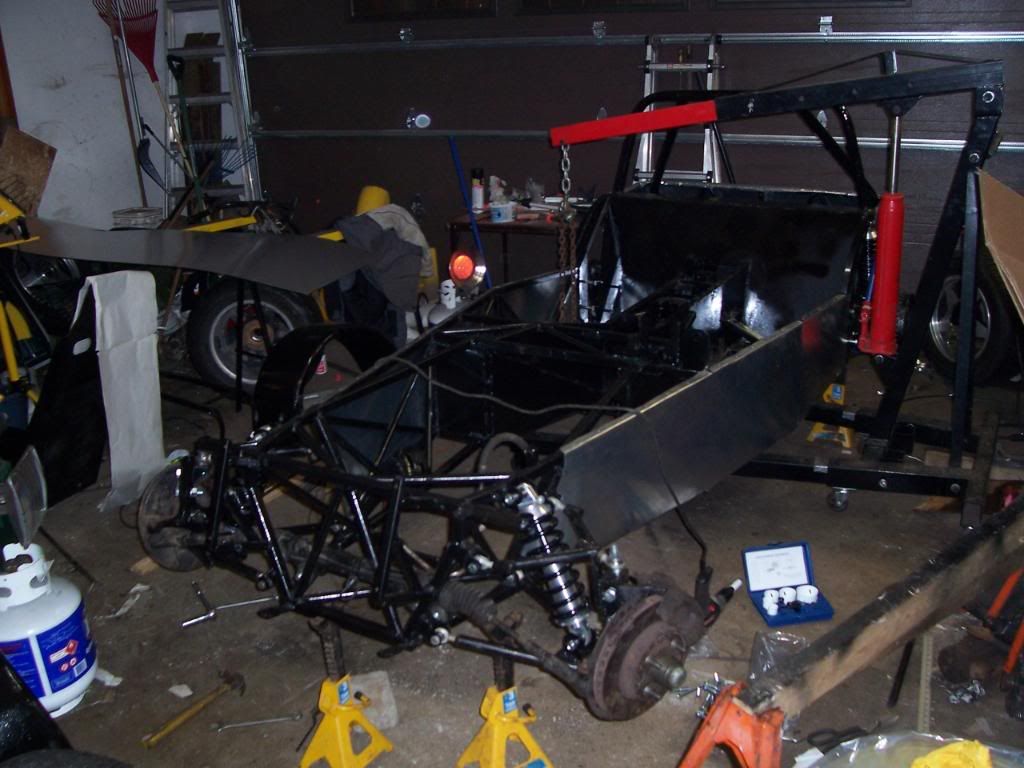
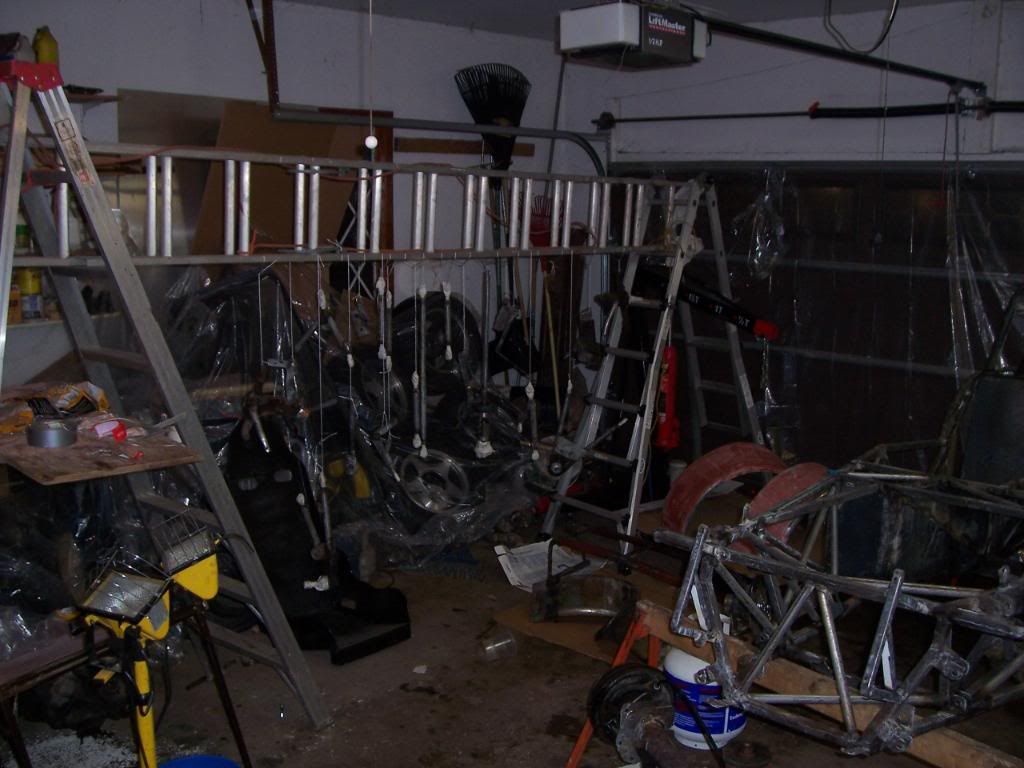
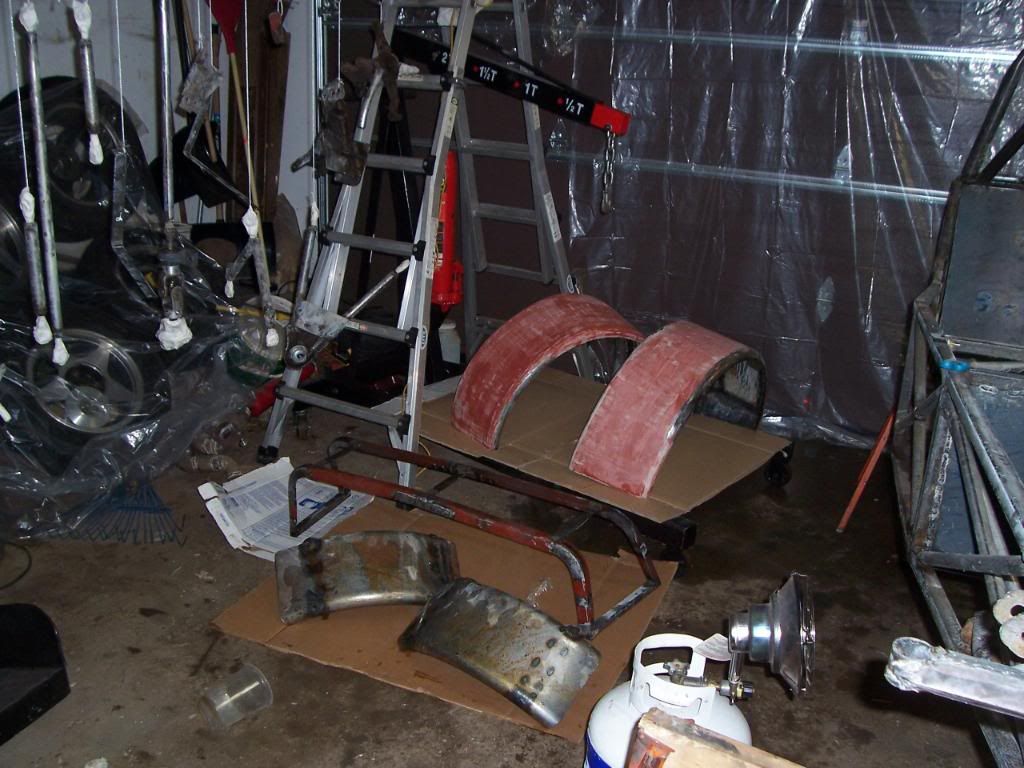
I was able to position 3 ladders so that I could suspend parts to be painted. All of these little parts were cleaned/ etched in a sink in my basement.
Image

Before painted, I had to run the heaters for about 45mins to get the garage up to temperature. I shut they off before painting to avoid a potential explosion. I used my spray gun to apply the paint. My compressor is a decent compressor, even though its 30 years old, and it is able to recover and turn off, even with continuous spraying. But after about 5 on/ off cycles, when the motor would try to start up, it would blow the breaker on my. (breaker on a power bar). So, that slowed me down a bit, because I had to stop for a couple minutes whenever my compressor would blow the breaker.
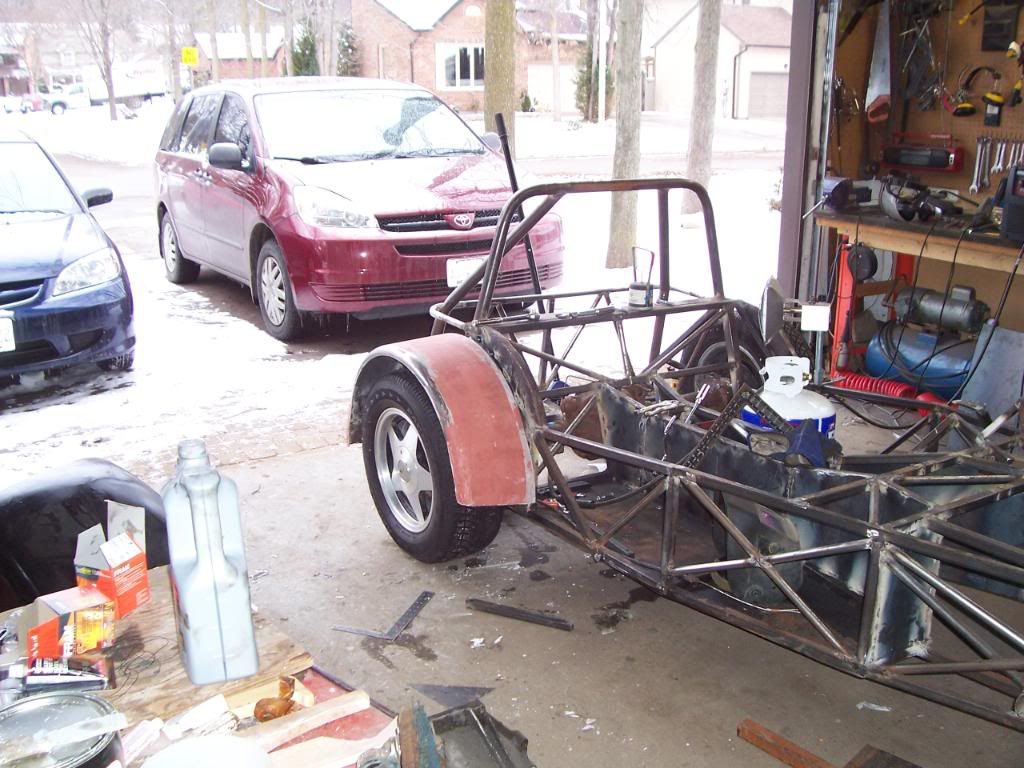
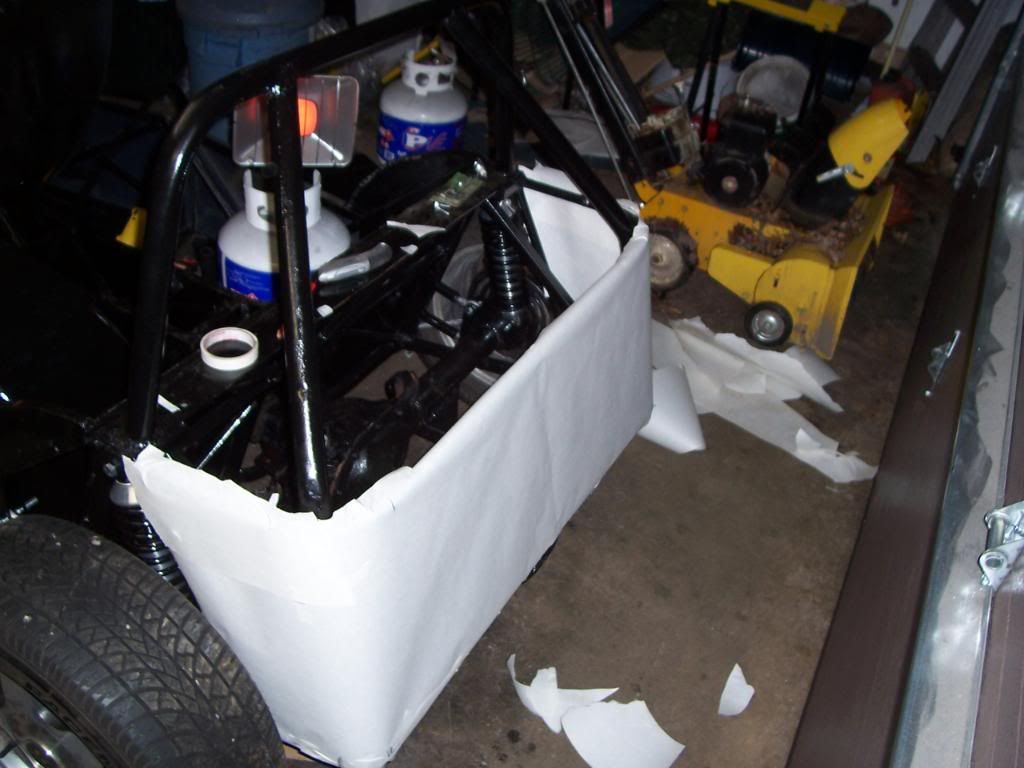
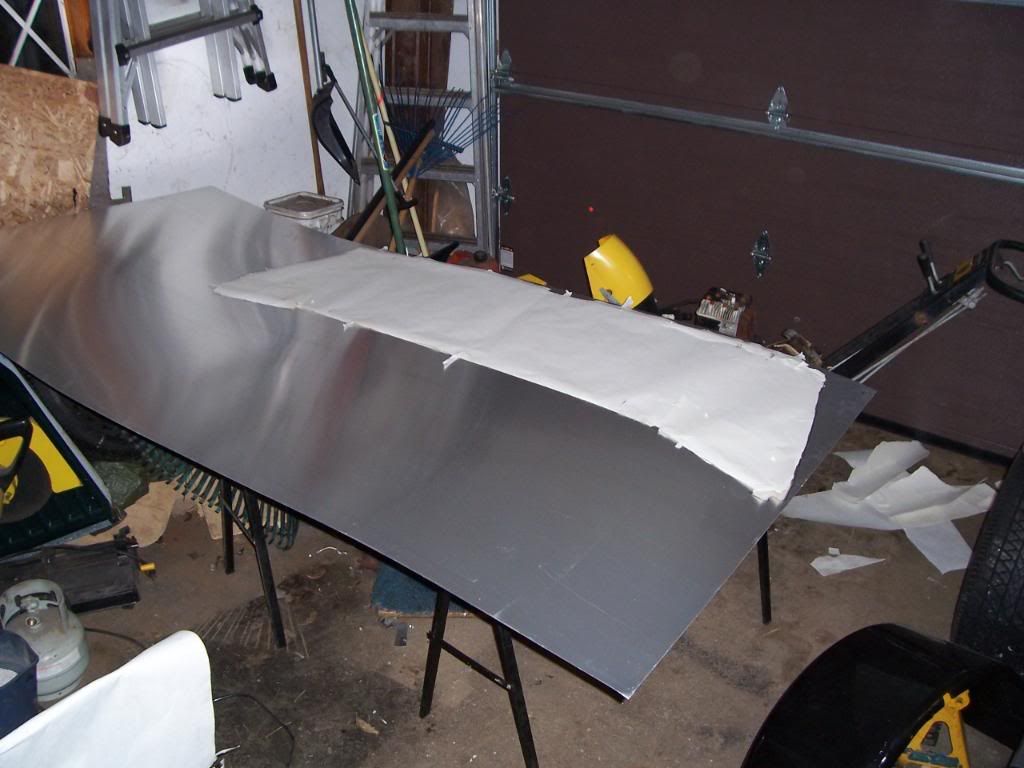
Fenders and scuttle ready for paint:
Image
Image
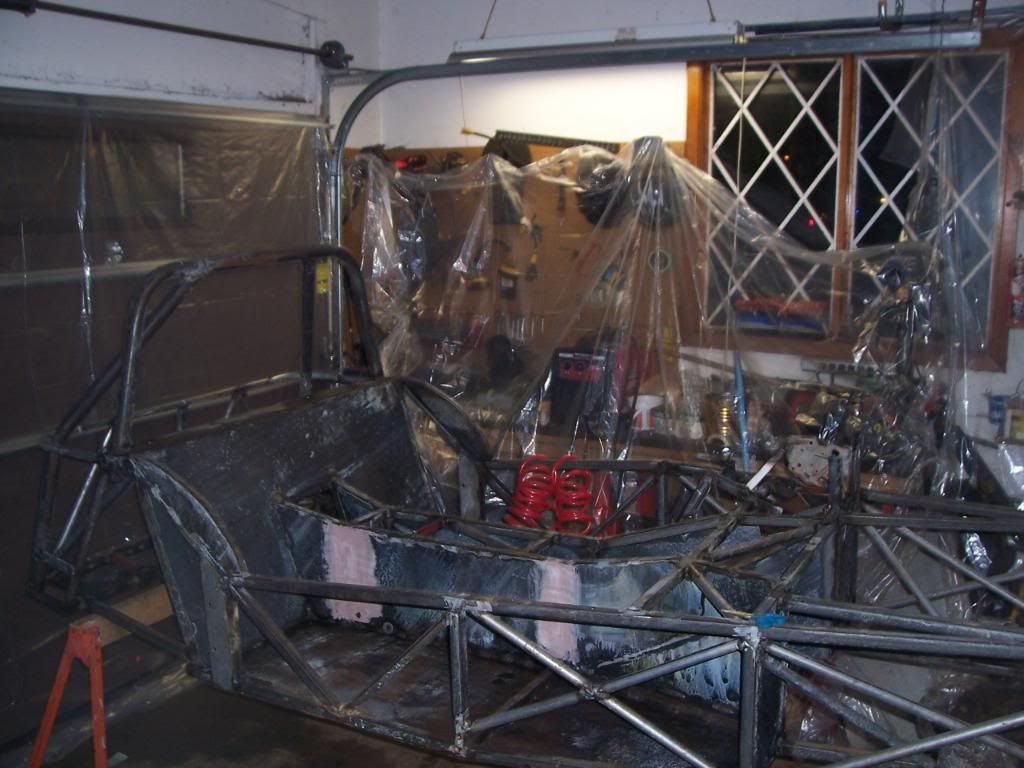
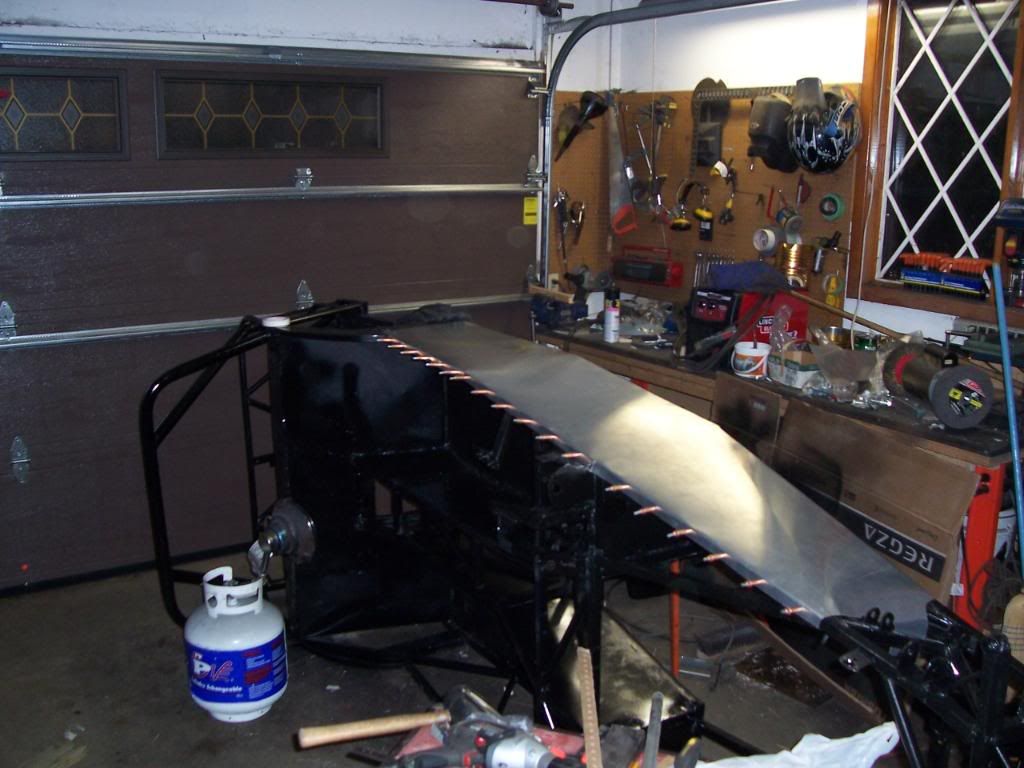
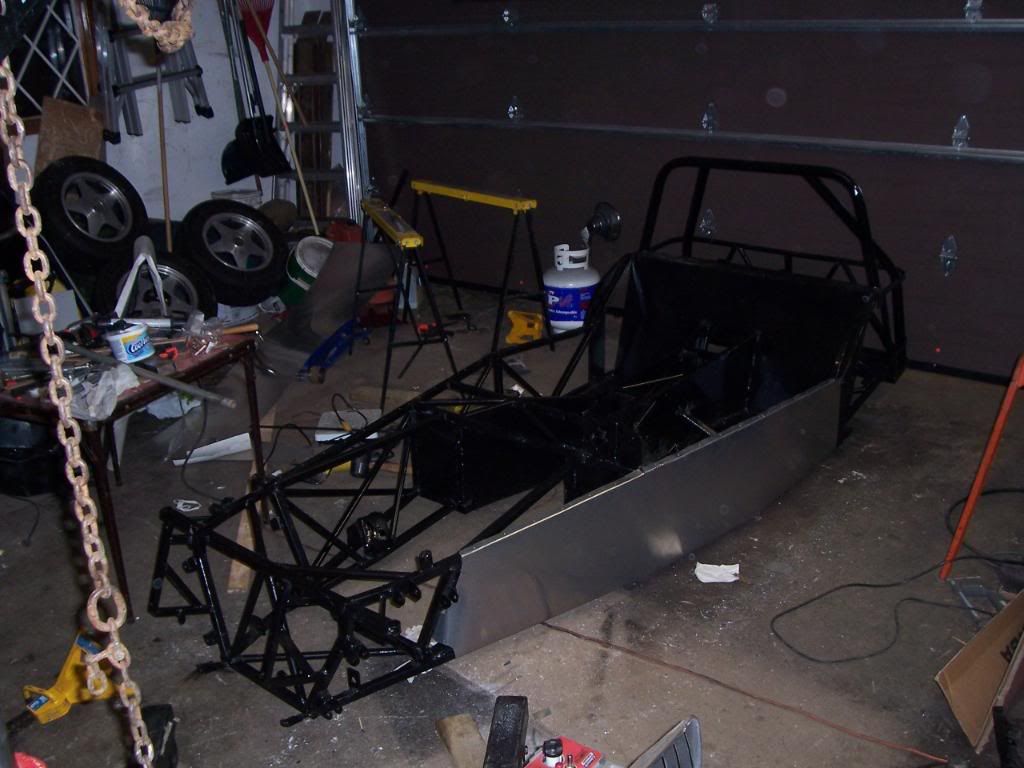
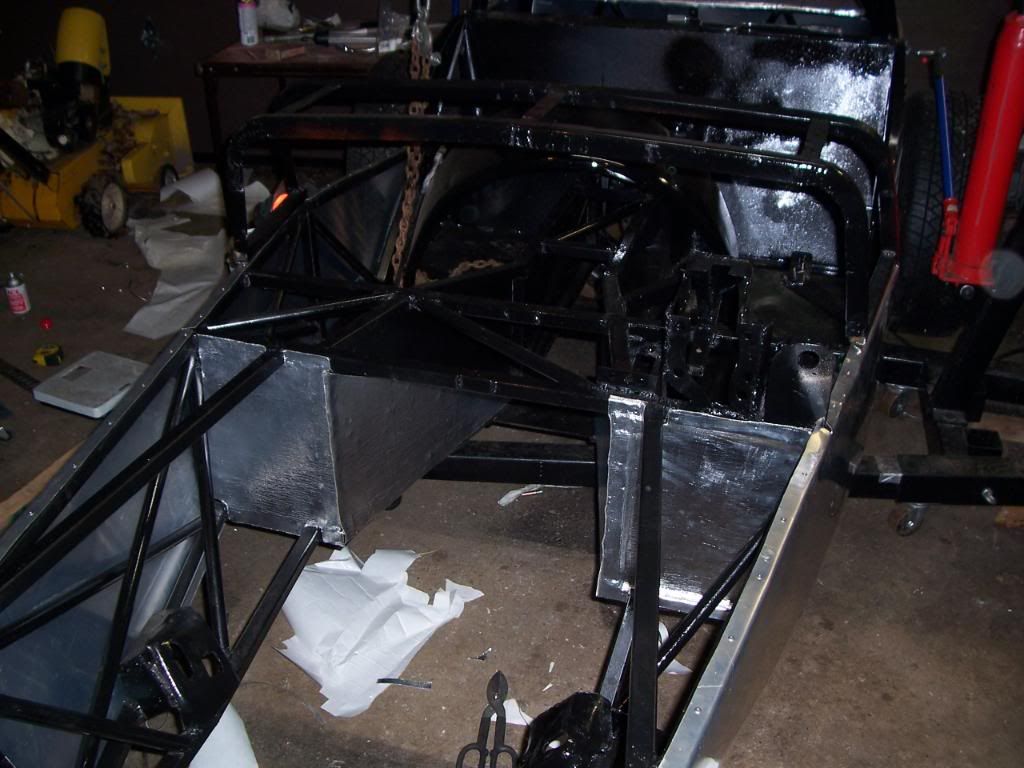
I got my first coat on Tues night at about 12am, after spending 10hours preparing for it. Yesterday (Wed), I got home around noon, and proceeded to flip the frame upside down and paint the bottom. By 10pm last night, I flipped the frame back around, and did another 1/2 coat on the top, finishing up all the paint I had. I bought 1 quart and a 4OZ can.
After every coat, I'd open up the garage door, and let the fumes out, then put the heaters back on the frame to help the paint dry. The smell wasn't bad in the garage, but it definably managed to stink up the house.

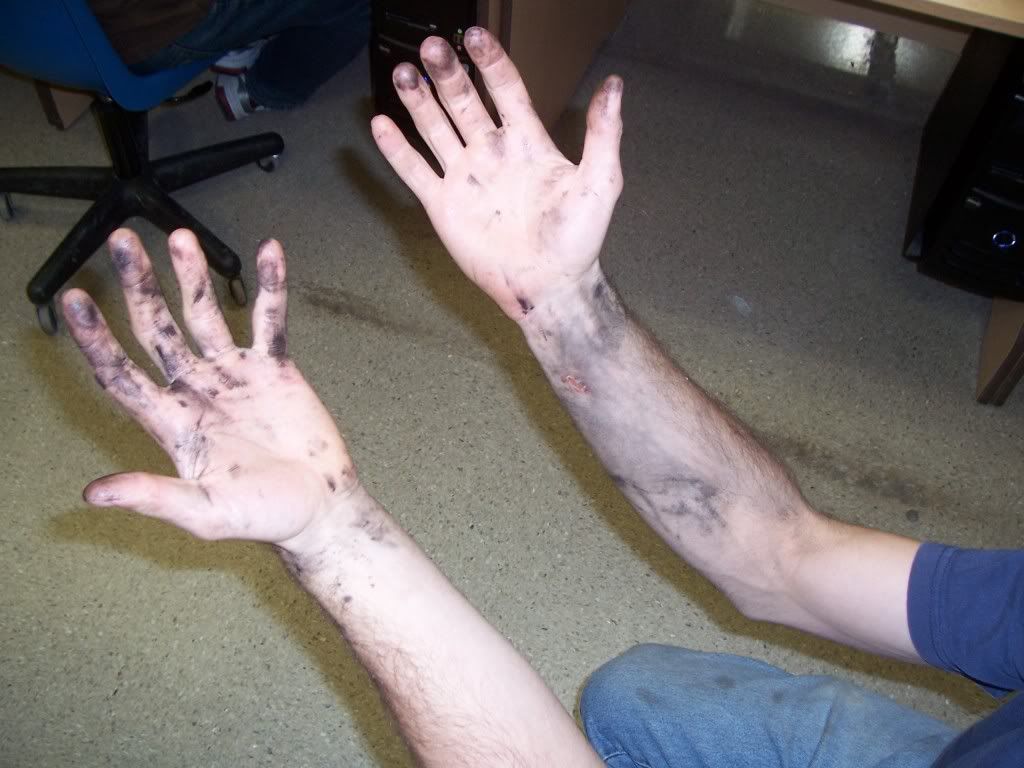
Despite my best efforts to stay clean from the paint, while cleaning up my gun, I spilled paint all over my hands and right arm. I was so frustrated. This stuff does not come off. Looks like I will have black hands for the next couple weeks. :roll:
I'll take a picture of them later.

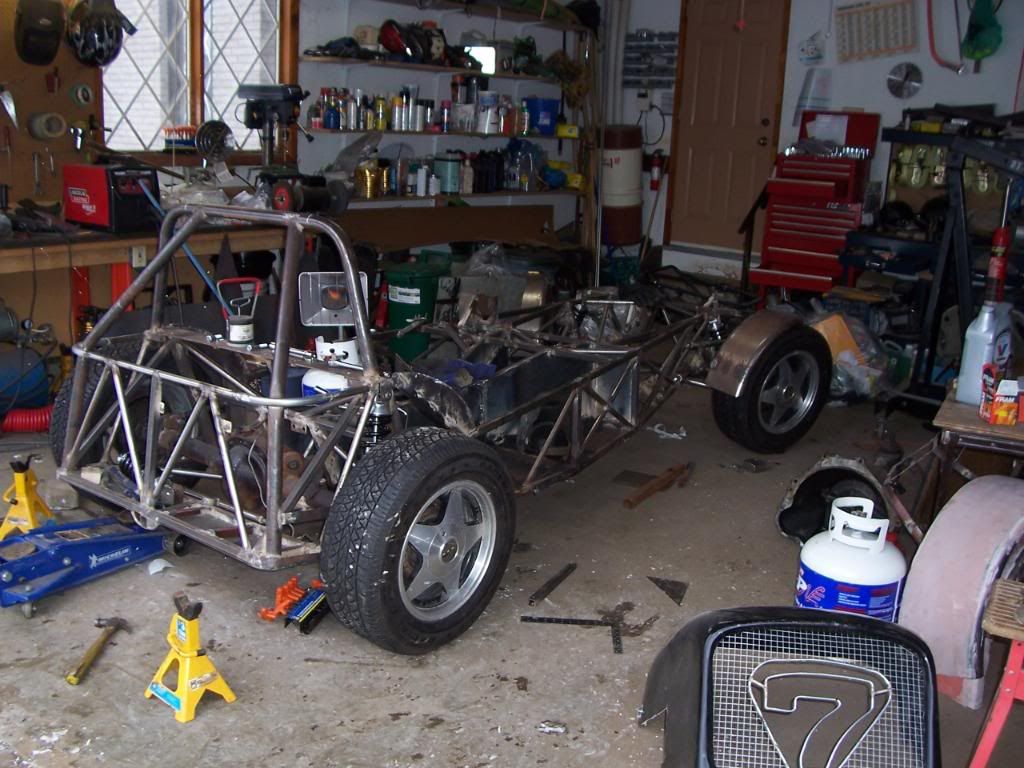
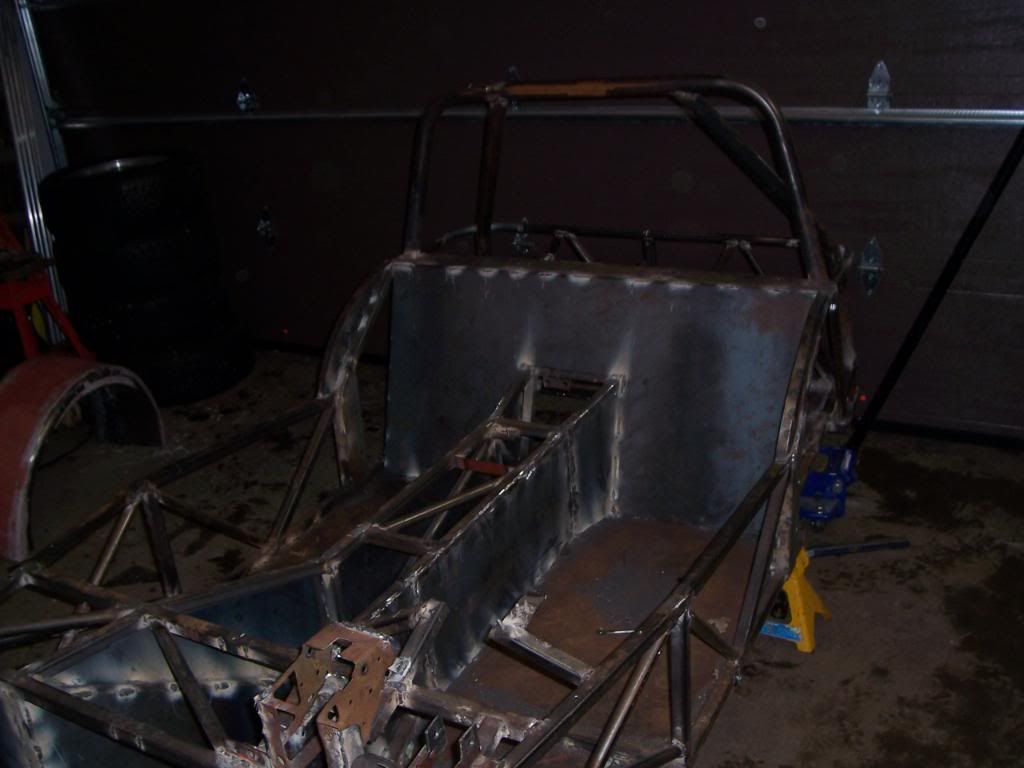
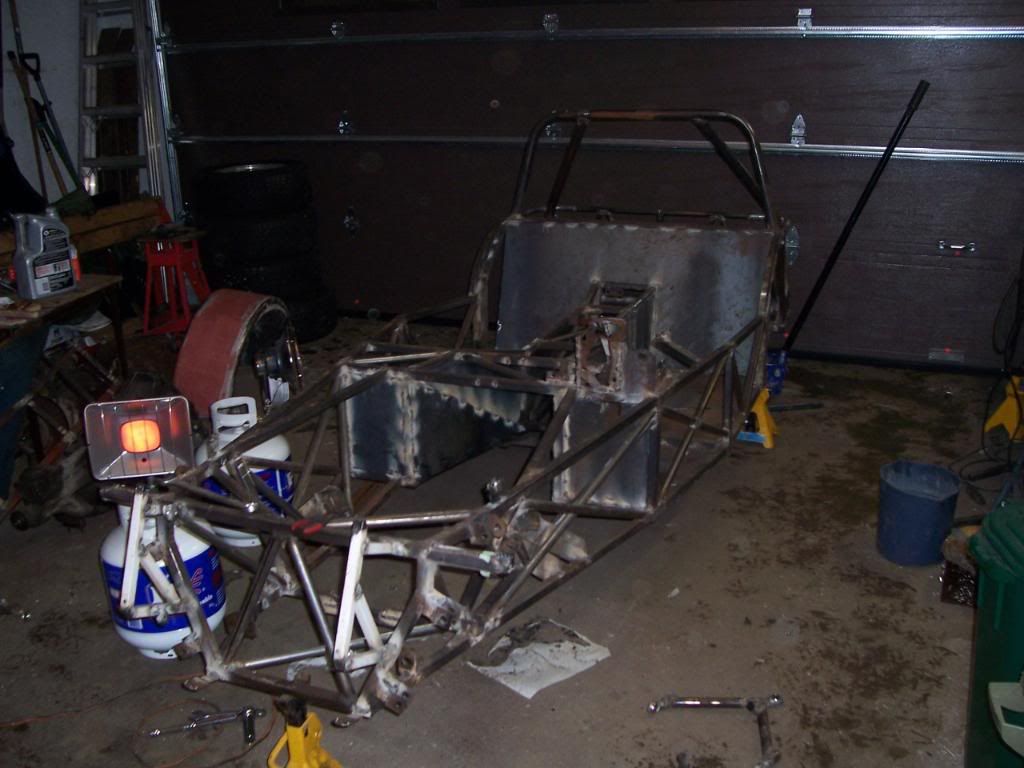
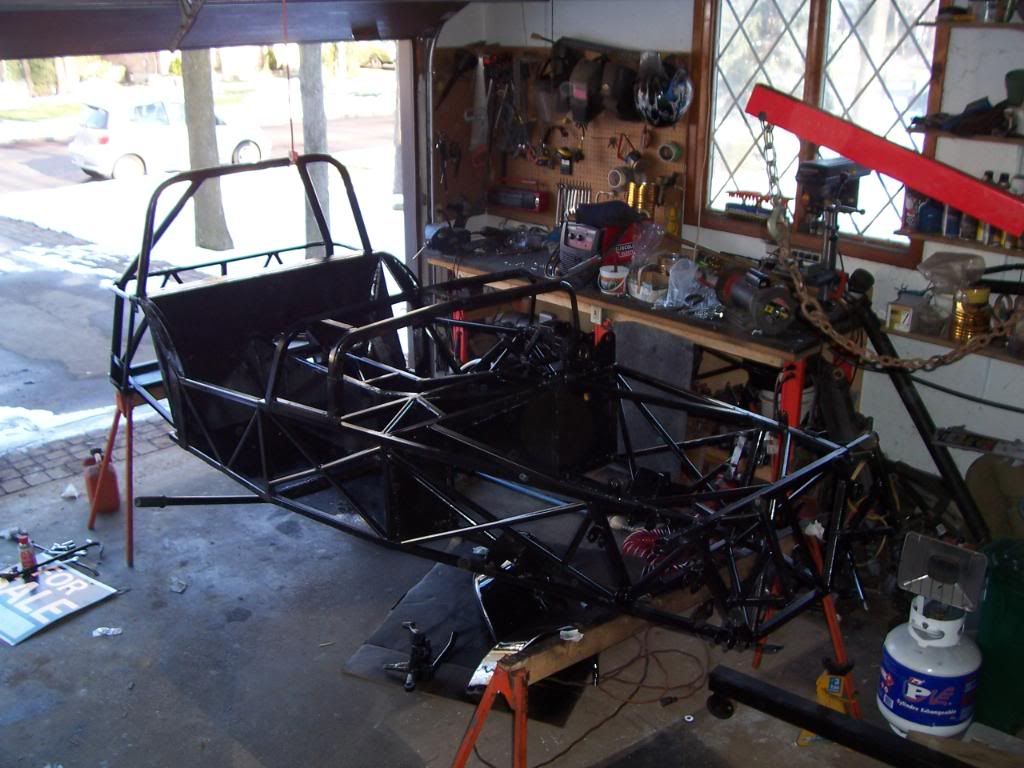
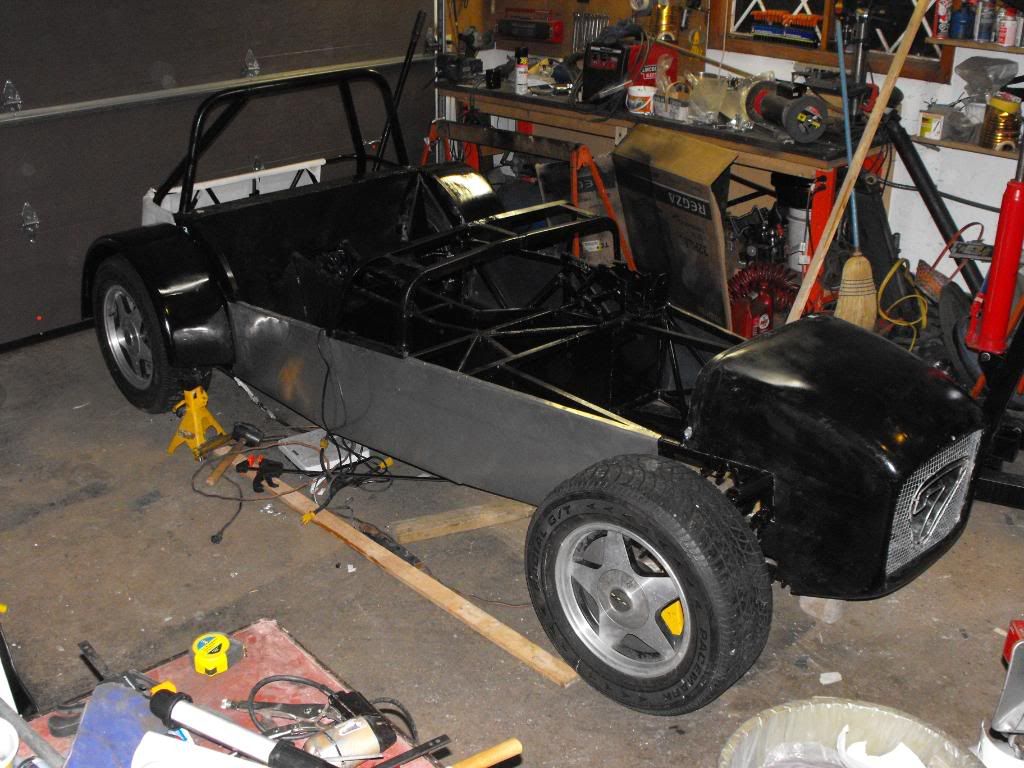
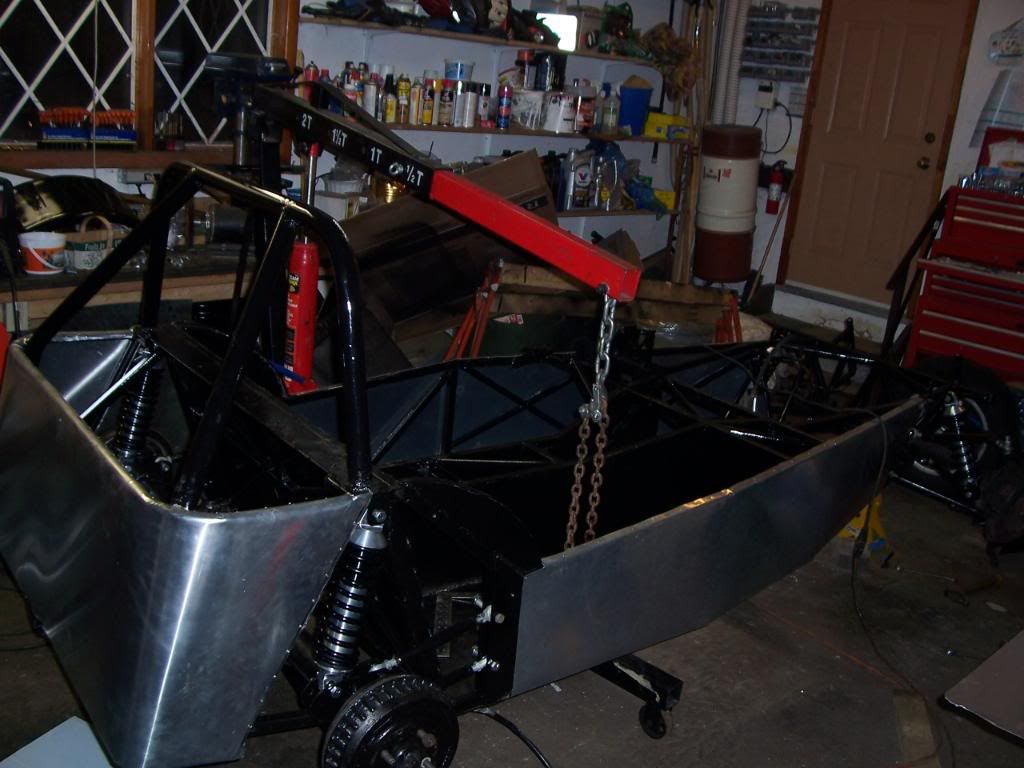
I have to wait till Sat afternoon till I can start putting things back together. I have all the supplies needed to start the body work, so I will most likely do that first. This is what is looked like last night just after the last coat:
Image

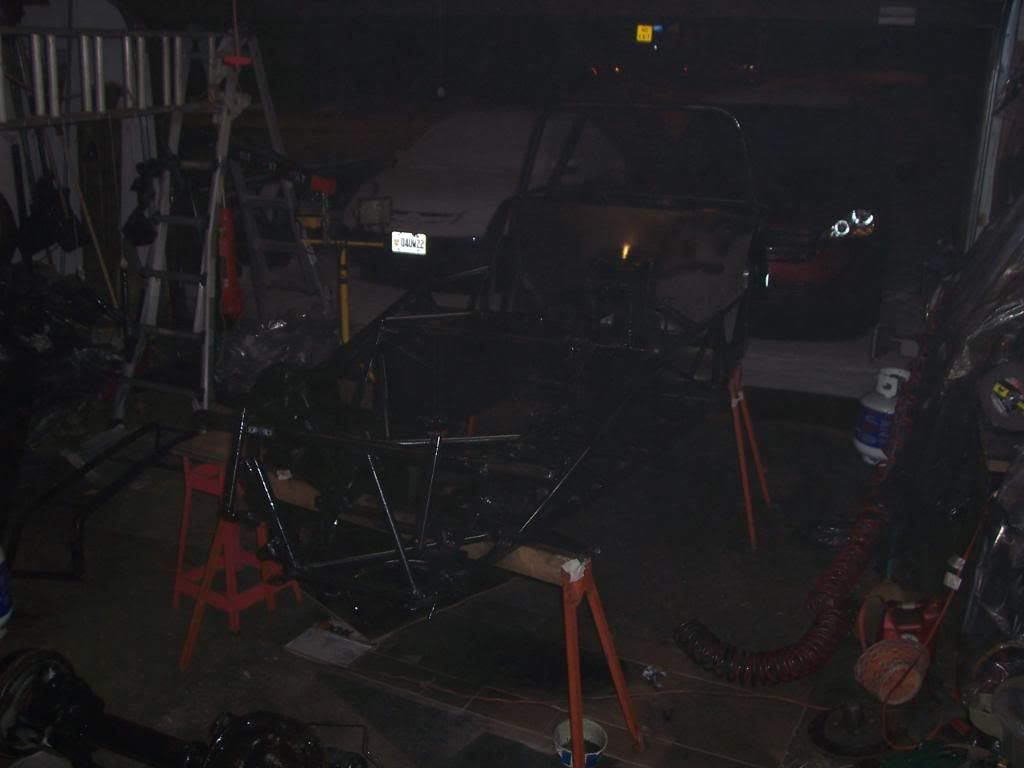
I know its a bad picture, because of all the mist in the air, but its the only one I have.

In all, there were 30 parts painted. The frame, fenders, differential, scuttle, a-arms, etc

_________________
"The decision to build a car is not one reached through a rational mindset. It is a decision that is made because we have to do it! It makes no sense, but neither does love, children and taxes" -Sam Buchanan

My Build Log: http://www.locostusa.com/forums/viewtopic.php?f=35&t=3054


Top
 Profile  
Reply with quote  
 Post subject:
PostPosted: November 27, 2008, 12:28 pm 
Offline
User avatar

Joined: November 17, 2007, 1:30 am
Posts: 573
Location: Guelph, Ontario, Canada
Got a picture of my hands. Lovely, I know. I tried very hard to get it off, but NOTHING works.
Image

_________________
"The decision to build a car is not one reached through a rational mindset. It is a decision that is made because we have to do it! It makes no sense, but neither does love, children and taxes" -Sam Buchanan

My Build Log: http://www.locostusa.com/forums/viewtopic.php?f=35&t=3054


Top
 Profile  
Reply with quote  
 Post subject:
PostPosted: November 27, 2008, 1:47 pm 
Offline
Weight watcher
User avatar

Joined: March 7, 2006, 6:15 pm
Posts: 2401
Location: Northridge, CA
maxlessca wrote:
Got a picture of my hands. Lovely, I know. I tried very hard to get it off, but NOTHING works.
Image

You obviously tried with the wrong tools... If you have a chop saw with a wood blade it should take your hands off in no time :lol:

Nice work!

Moti

_________________
Moti

My R1 powered Locost build log

Visit the Blackbird Fabworx Facebook Page!


Top
 Profile  
Reply with quote  
 Post subject:
PostPosted: November 30, 2008, 1:24 am 
Offline
User avatar

Joined: November 17, 2007, 1:30 am
Posts: 573
Location: Guelph, Ontario, Canada
Today was a big day for me and my car. The car is starting to look really good. I got a better picture of my painted frame:
Image

I weighed the frame today using an old spring scale. The scale said 240lbs for what you see in the picture above. Thats with 14ga steel plate everywhere that you see steel plate, and the 1"x1" tubing is .100" wall. I don't know the accuracy of that scale, but I think it sounds right

Today, I cut and attached the side panels. I used the Cleco's and stainless steel rivets that I bought from Aircraft Spruce. I had a friend come over to give me a hand. He's into airplanes, so this work was right up his alley.
Image

1st panel attached:
Image

After getting the side panels on, I decided to put the differential in, before I started doing the rear panel. To finish the rear panel, I need to get more paper, so I can get the curves right (I ran out). It was time consuming to get the differential back in. This is the first time its been out of the frame. I used the shop crane to help work it into the rear through the bottom:
Image

And finally, I secured the differential in place and put the shocks in. I added the fenders, and put on my new wheels. This is what I get:
Image

This is exciting! Its starting to get its own look.

_________________
"The decision to build a car is not one reached through a rational mindset. It is a decision that is made because we have to do it! It makes no sense, but neither does love, children and taxes" -Sam Buchanan

My Build Log: http://www.locostusa.com/forums/viewtopic.php?f=35&t=3054


Top
 Profile  
Reply with quote  
 Post subject:
PostPosted: November 30, 2008, 1:46 am 
Offline

Joined: August 27, 2008, 10:56 am
Posts: 237
maxlessca wrote:
Got a picture of my hands. Lovely, I know. I tried very hard to get it off, but NOTHING works.
Image


Goo Gone. That should do it.

_________________
Old car restoration experts, help me out. I've got a 1977 Capri that will need some serious attention. Pics of the restoration project http://1977caprirestoration.shutterfly.com


Top
 Profile  
Reply with quote  
 Post subject:
PostPosted: December 7, 2008, 11:35 am 
Offline
User avatar

Joined: November 17, 2007, 1:30 am
Posts: 573
Location: Guelph, Ontario, Canada
I had a busy day yesterday, but it was the most exciting day I've ever had in the build!

First, I had to finish off the body panels. As I did with the other panels, I started by making a paper pattern:
Image

And transferred it onto my Aluminium:
Image

Since the Aluminium was 0.032" thick, it was easy to bend around the curves.
Image

Good thing I bought a lot of Cleco's to hold the Aluminium in place. It took hours to get to this point.
Image

And here's the the rear all riveted on. Using stainless steel rivets really works your hand hard. I used about 100-150 for the rear panel, and my hand was ready to fall off after.
Image

There are still a couple small spots I need to put Aluminium panels, but that can wait. I wanted to get the 3 big ones done when I could flip the frame on its side.
The exhaust pipes go within 1/2 of the foot area, so I knew heat would be a problem, so I added insulation:
Image

I reassembled the front suspension components, and mounted the brake calipers for the first time. I will re-surface the rotors and get some new pads in the new year.
Image
The last time the engine will go into the car. (for now at least)
Image
When looking at this box, wiring looks very scary:
Image
It didn’t take me long to pull out wires and start hooking things up:
Image
After hooking up all the grounds, and connections, I filled the engine will oil, and hooked up the battery (very excited at this point). I turned the key, and nothing happened. After about an hour of troubleshooting, I wasn’t any future ahead. So, determined to hear this engine run before I went to bed, I hooked the starter motor directly to the battery. I first checked to make sure there was spark. (there was). So, I poured a bit of gas into the intake, and tried starting it. Vrooooom!!!! It roared to life for all of 5 secs. It was amazing. I had no cooling system, no fuel system, no exhaust and no key start, but it ran! I will have to go over the entire wiring, as expected.
And, for your viewing pleasure, my first start:
http://www.youtube.com/watch?v=Fhri9LxpsGM
You can see the RPM’s on the instrument cluster.
I have a lot of work to do, just to get the engine to start from the key. I look forward to having the engine run on its own....

_________________
"The decision to build a car is not one reached through a rational mindset. It is a decision that is made because we have to do it! It makes no sense, but neither does love, children and taxes" -Sam Buchanan

My Build Log: http://www.locostusa.com/forums/viewtopic.php?f=35&t=3054


Top
 Profile  
Reply with quote  
 Post subject:
PostPosted: December 7, 2008, 12:42 pm 
Offline
Man of Constant Hazard
User avatar

Joined: February 20, 2006, 11:18 am
Posts: 3186
Location: Lexington, KY
What...no dancing, white boy?

-dave

ps. Sounds good, Jon. Keep at it! :D

_________________
...nowadays people are so intellectually lazy and lethargic that they can't build ANYTHING with their hands. They'll spend hours watching whiny people marooned on an island, but won't spend a second adding anything to the world. -weconway
Visit my [Locost 7 build log]


Top
 Profile  
Reply with quote  
Display posts from previous:  Sort by  
Post new topic Reply to topic  [ 313 posts ]  Go to page Previous  1, 2, 3, 4, 5, 6, 7, 8 ... 21  Next

All times are UTC - 5 hours [ DST ]


Who is online

Users browsing this forum: pmatolcsy, TheRookie and 45 guests


You cannot post new topics in this forum
You cannot reply to topics in this forum
You cannot edit your posts in this forum
You cannot delete your posts in this forum
You cannot post attachments in this forum

Jump to:  
POWERED_BY