Steering rack mods and mount.
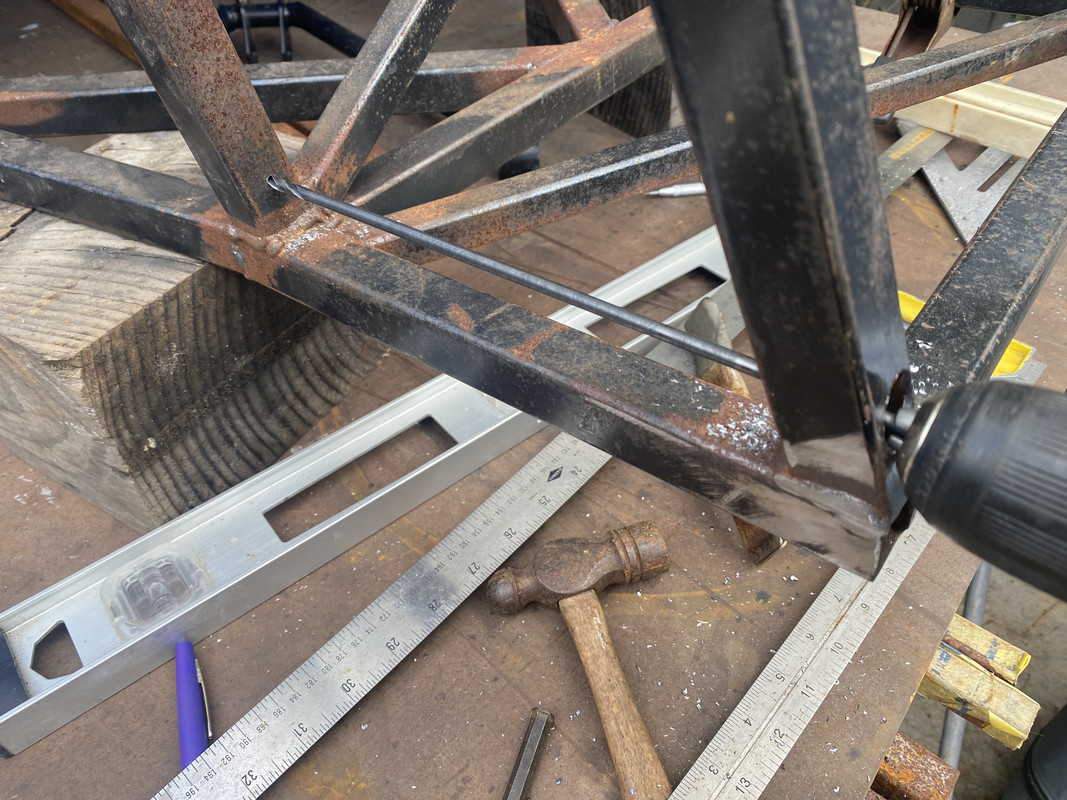
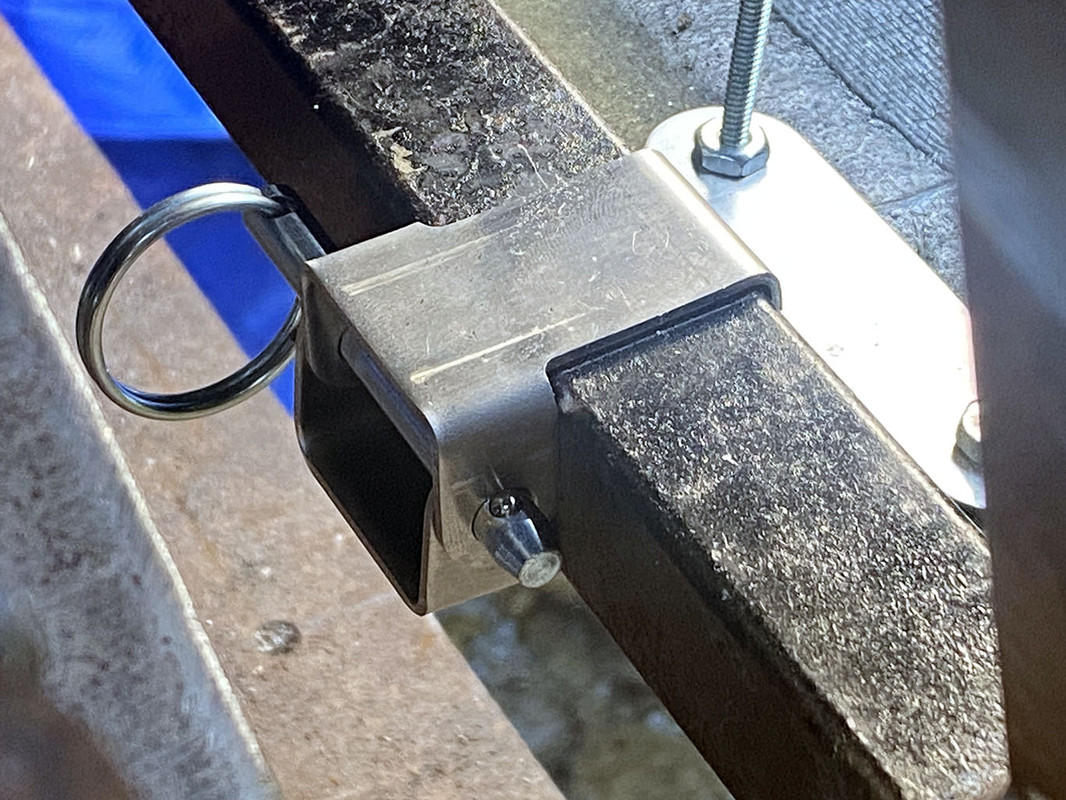
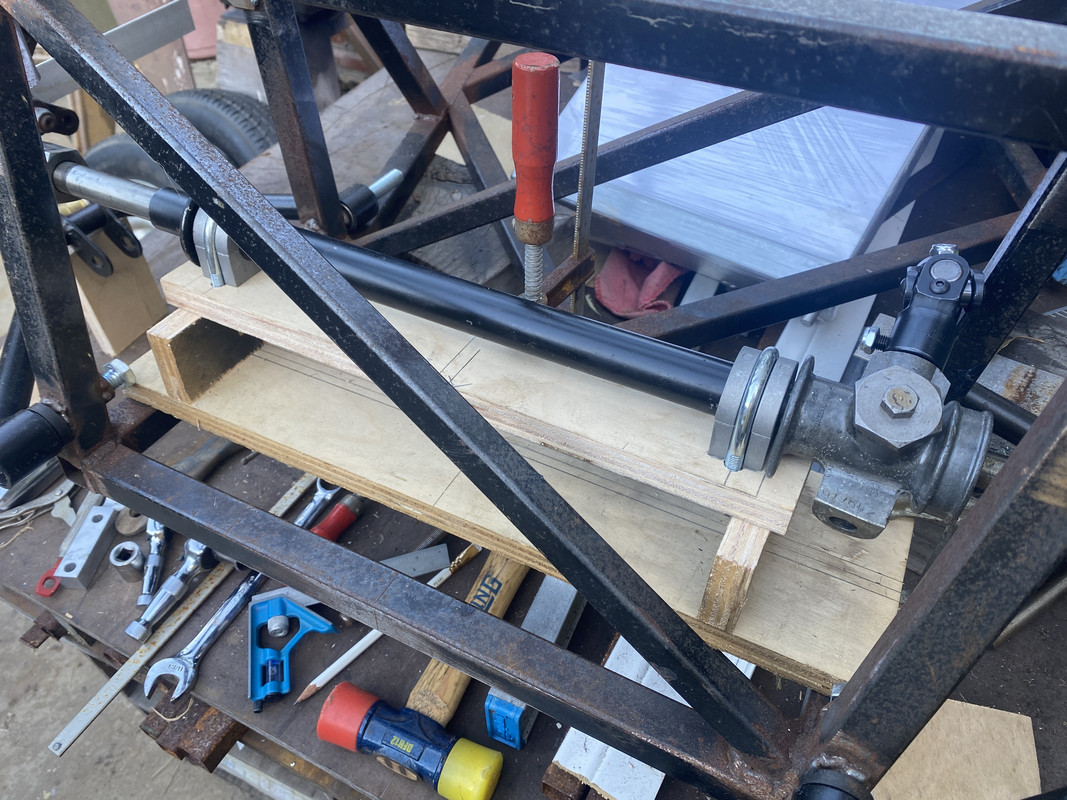
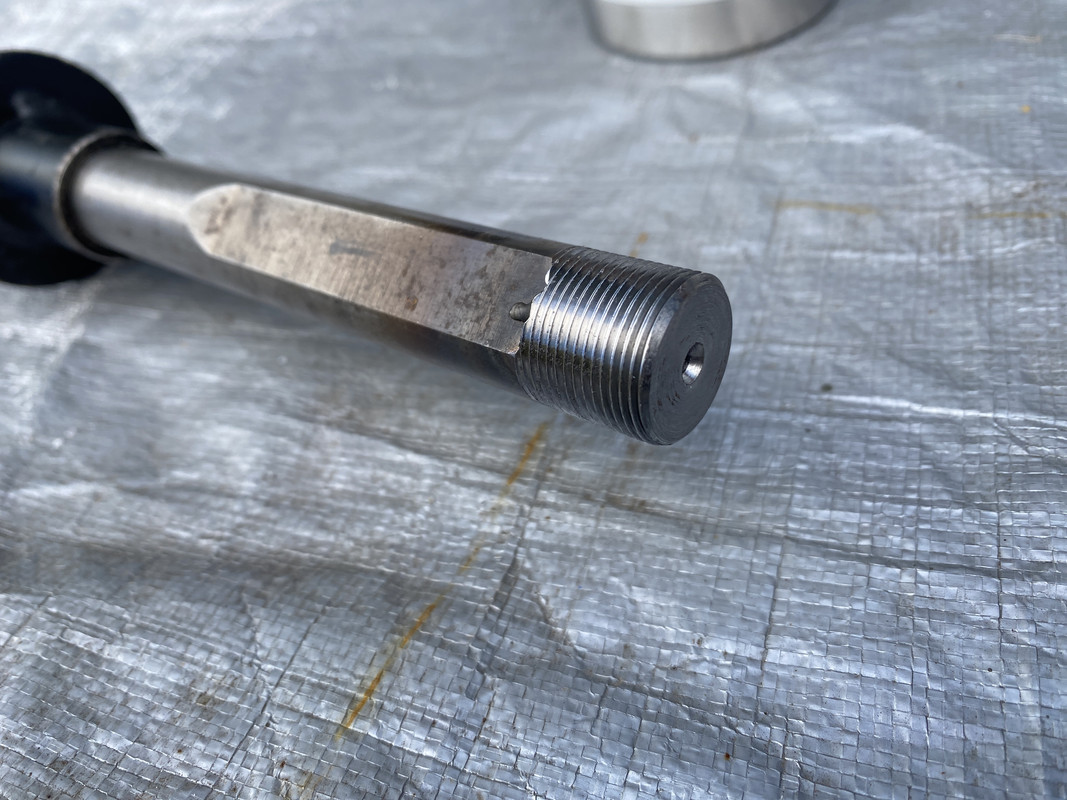
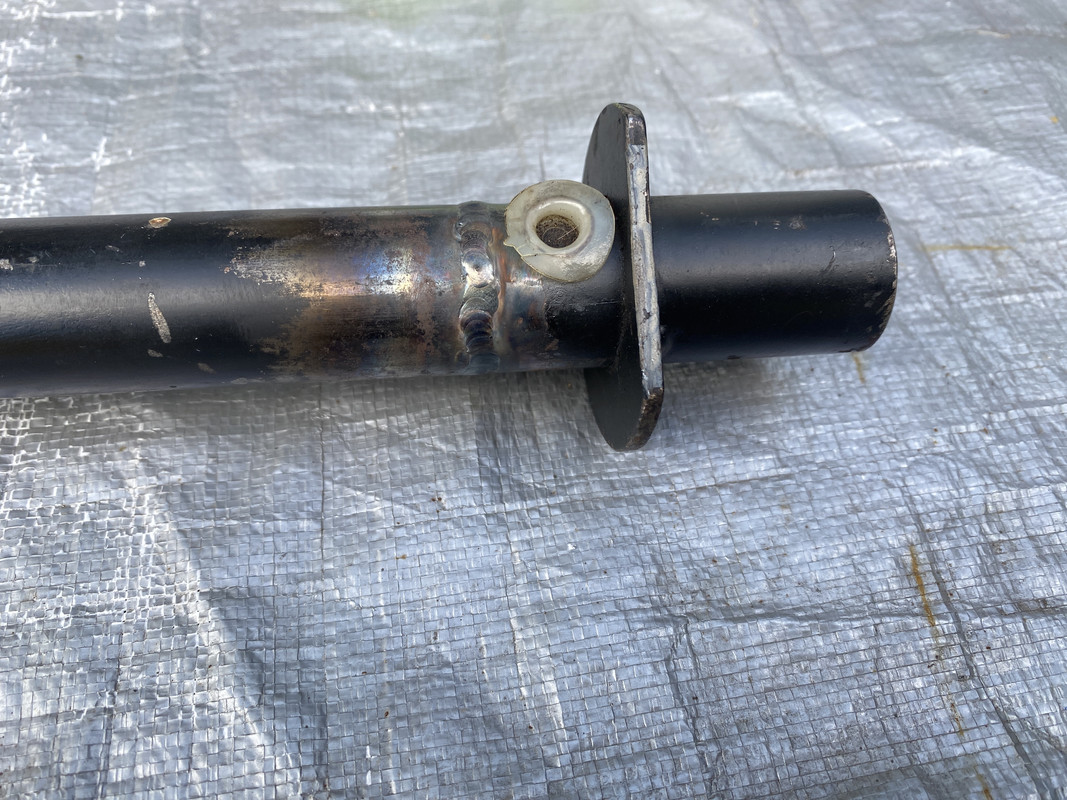
I did some mocking up of steering rack placement. Without working out the geometry, I was hoping my Spitfire rack would be acceptable unmodified. Bump steer turned out to be pretty significant, which I guess I could have figured out ahead of time! So I ended up having the rack shortened based on my Vsusp dimensions. I had a local machine shop cut the shaft, weld up to fill the machined flat and re-thread the end. Rack tube was cut and re-welded, leaving the bushing in place.
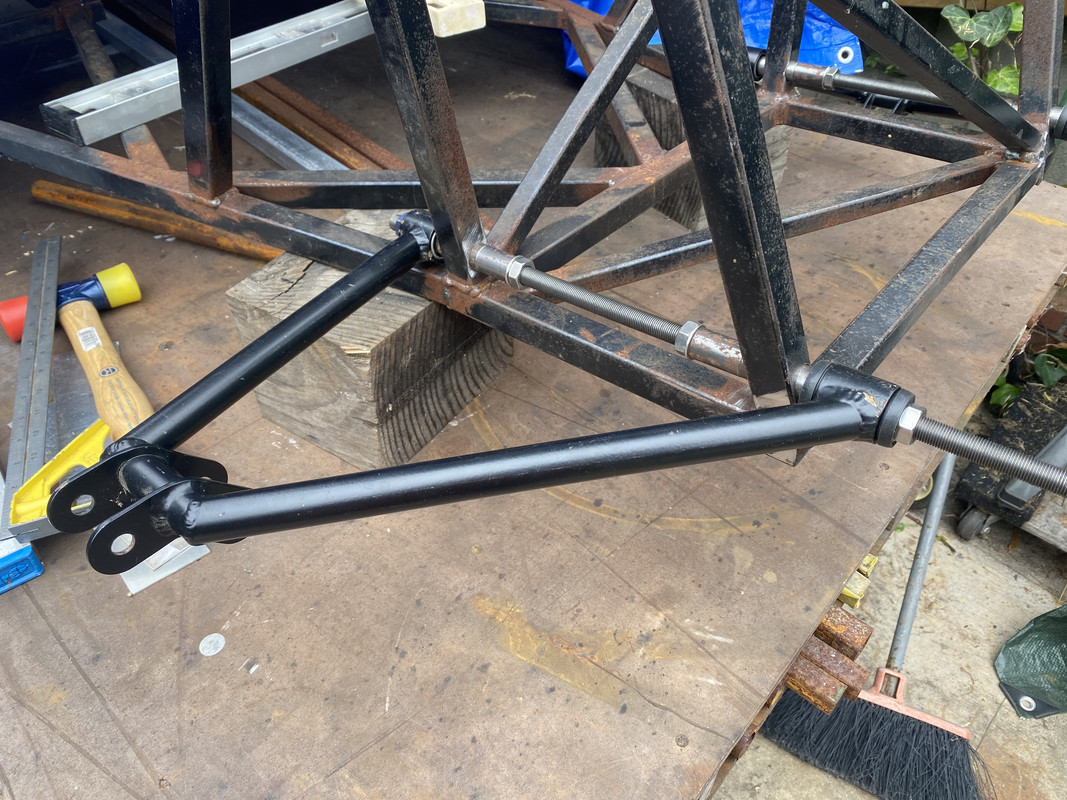
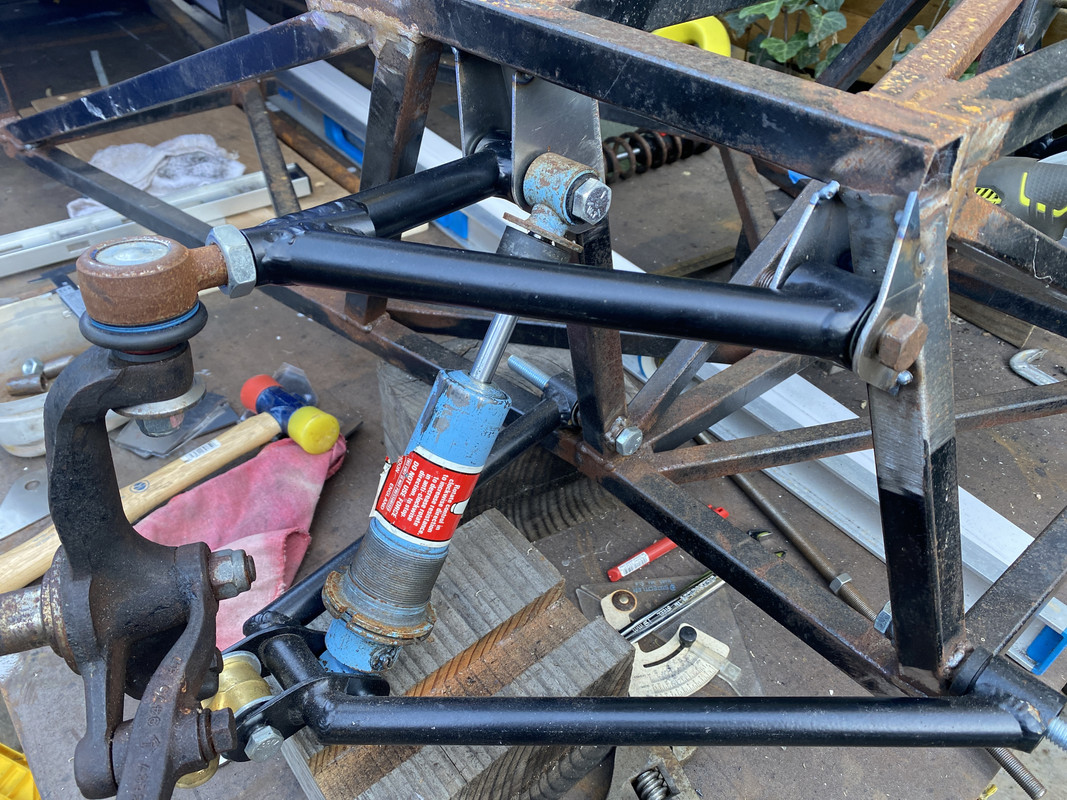
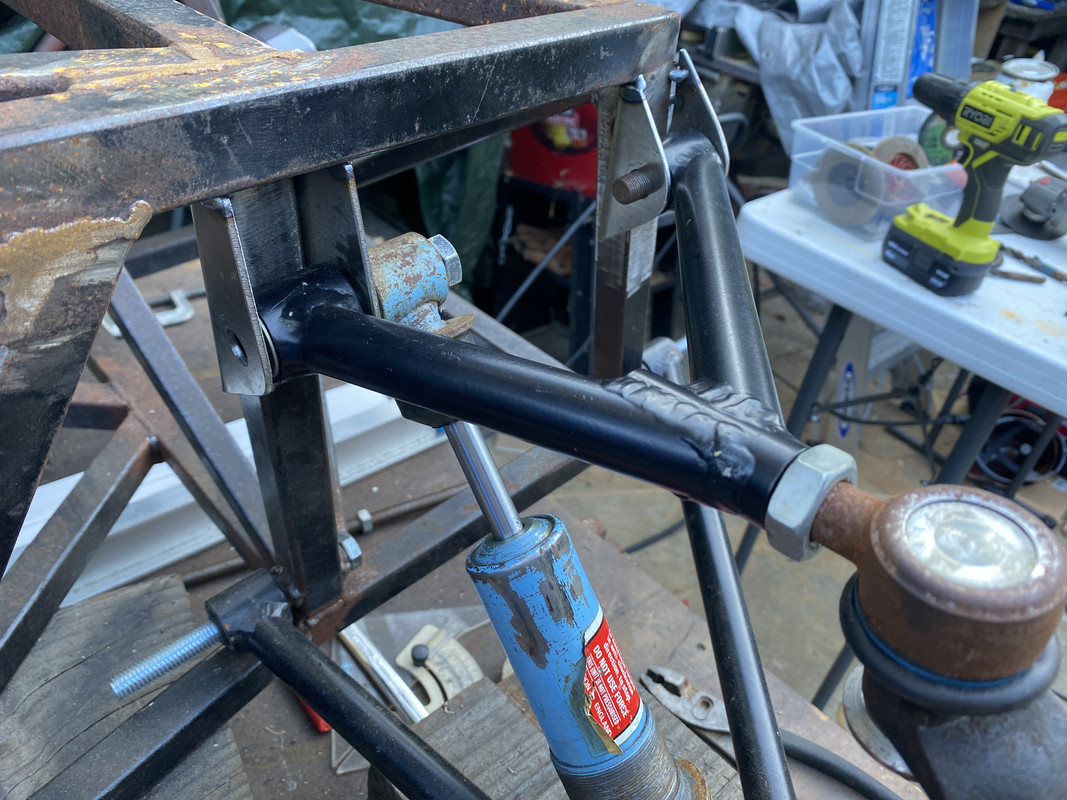
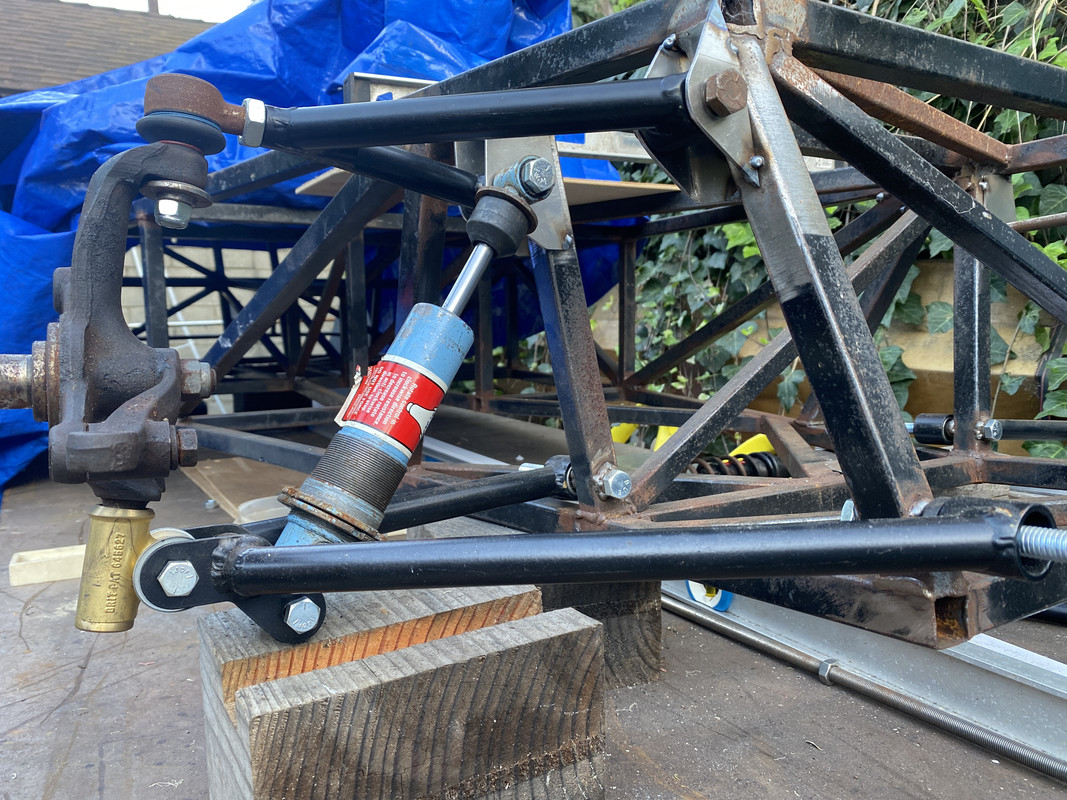
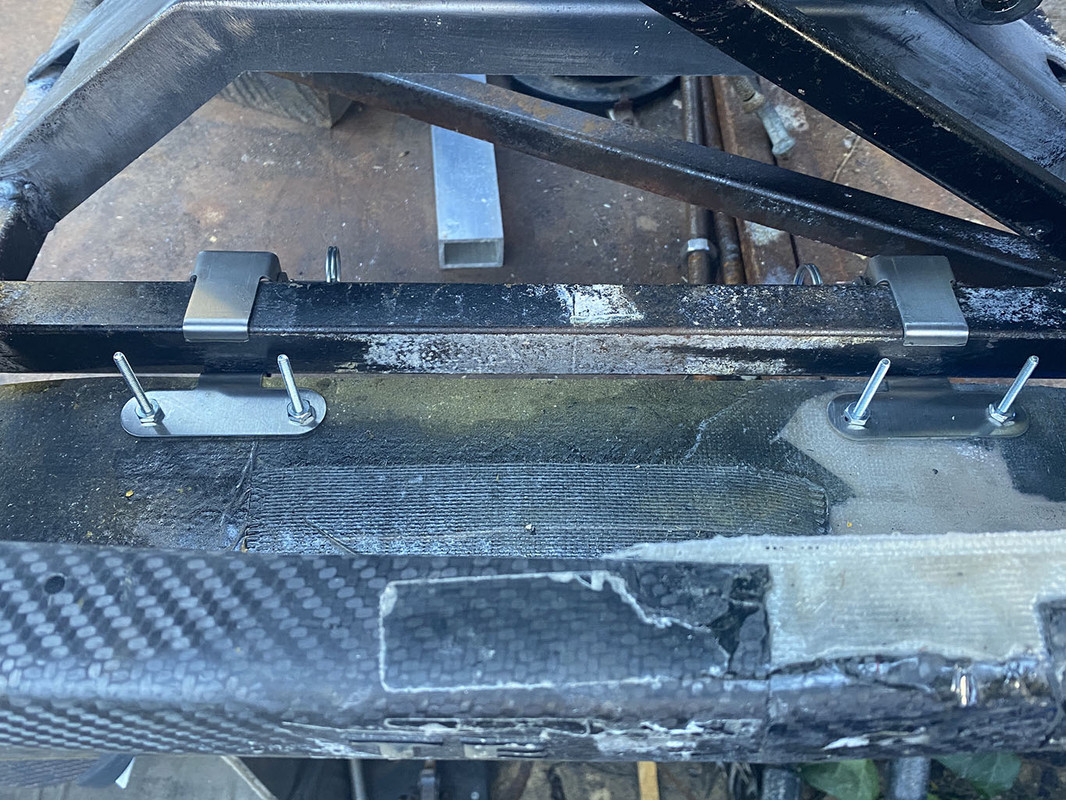
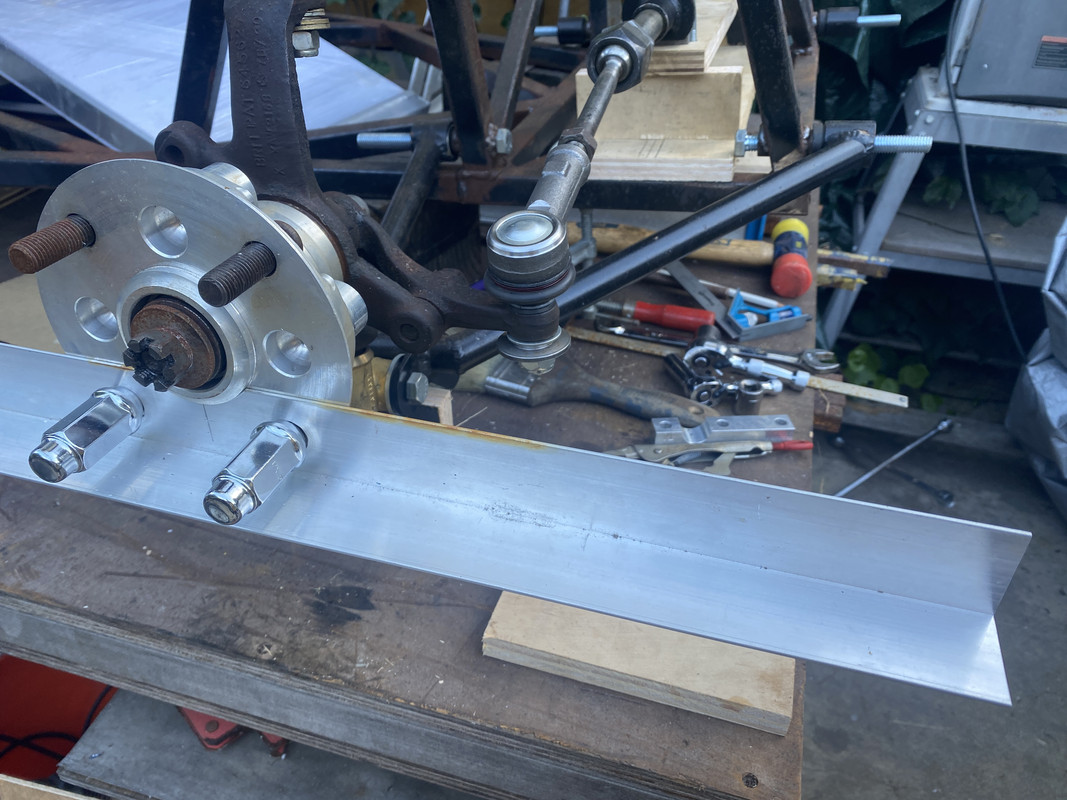
With the new shortened rack, I started trying to dial in the height, it turned out to be much more sensitive to location than I expected. With the rig in the pictures, I would set toe at 0" at ride height, then check toe (with a tape measure) at 2" of bump and 2" of droop. Not as sophisticated as dial indicators at multiple intervals of suspension travel, but at least it's showing me extremes at this point, and I feel like I can read the tape down to 1/32" or less. Once I got it close, I started testing with .050" shims. The best I could do was to get it similar at full bump and droop, ending up at about 1/8-3/16" total toe out (difference at front and rear of tire centerline). Based on what I've read (no shortage of articles and threads on the topic!) it seems a little high, and that toe in would be preferred for stability. I don't want to start another bump-steer thread, but happy for any feedback. So with those numbers I decided to install the rack mount a little low to give me room for dialing in with more precision at final assembly. At that point, if needed, I may have to revisit rack length.
Ackerman at 10° of steering on the outside wheel results in +1°-1.5° on the inside wheel.
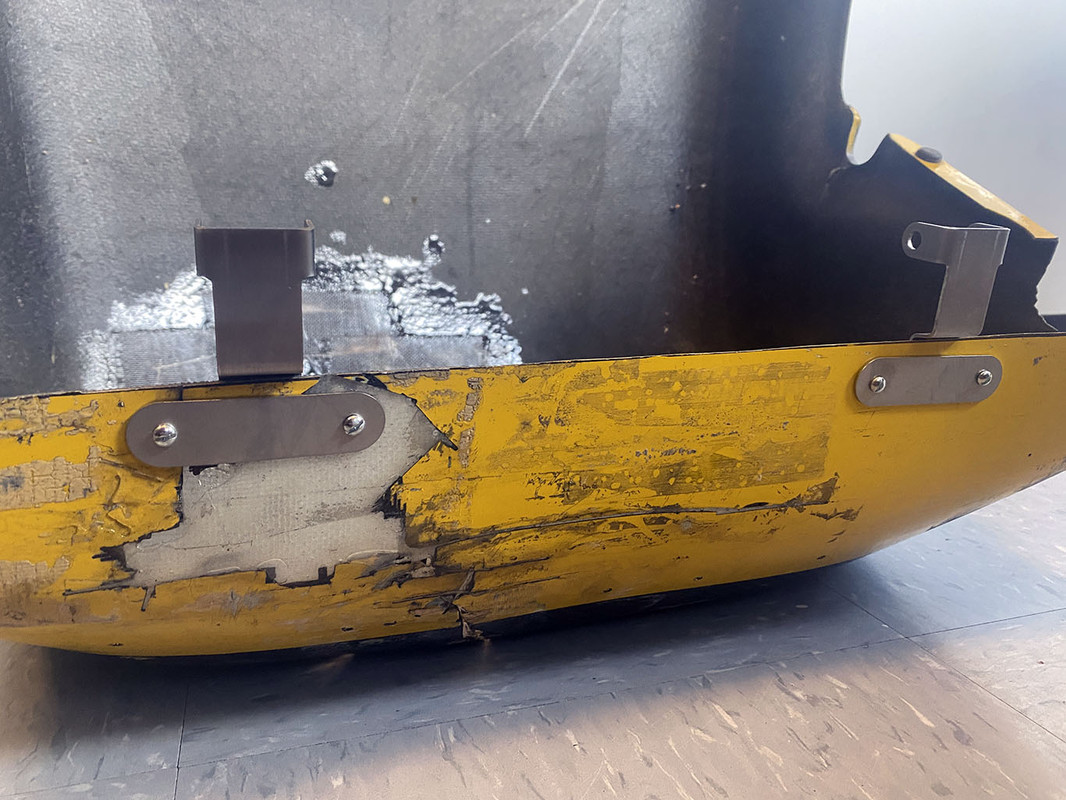
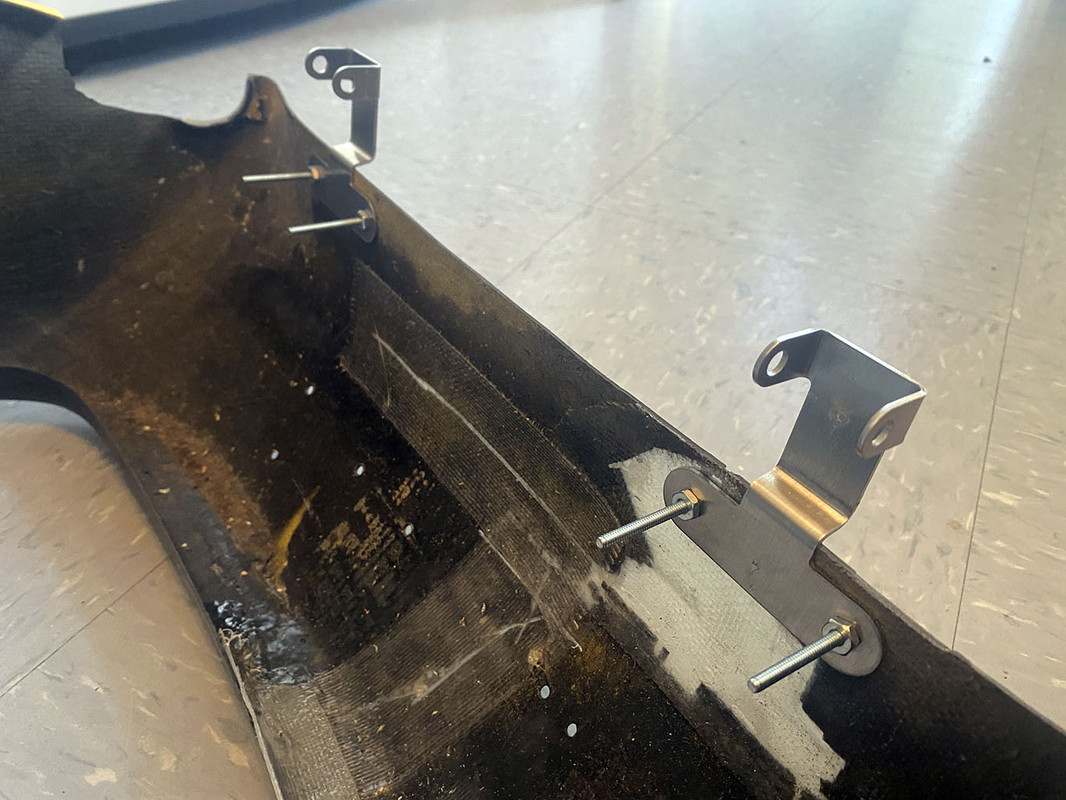
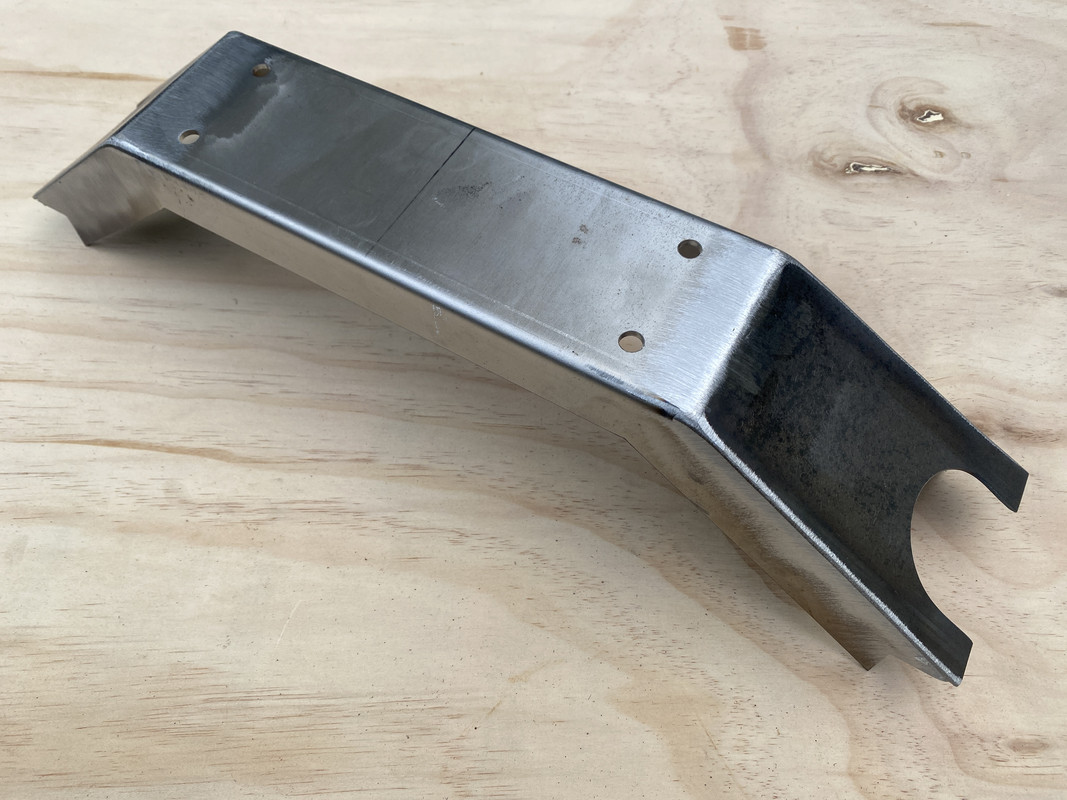
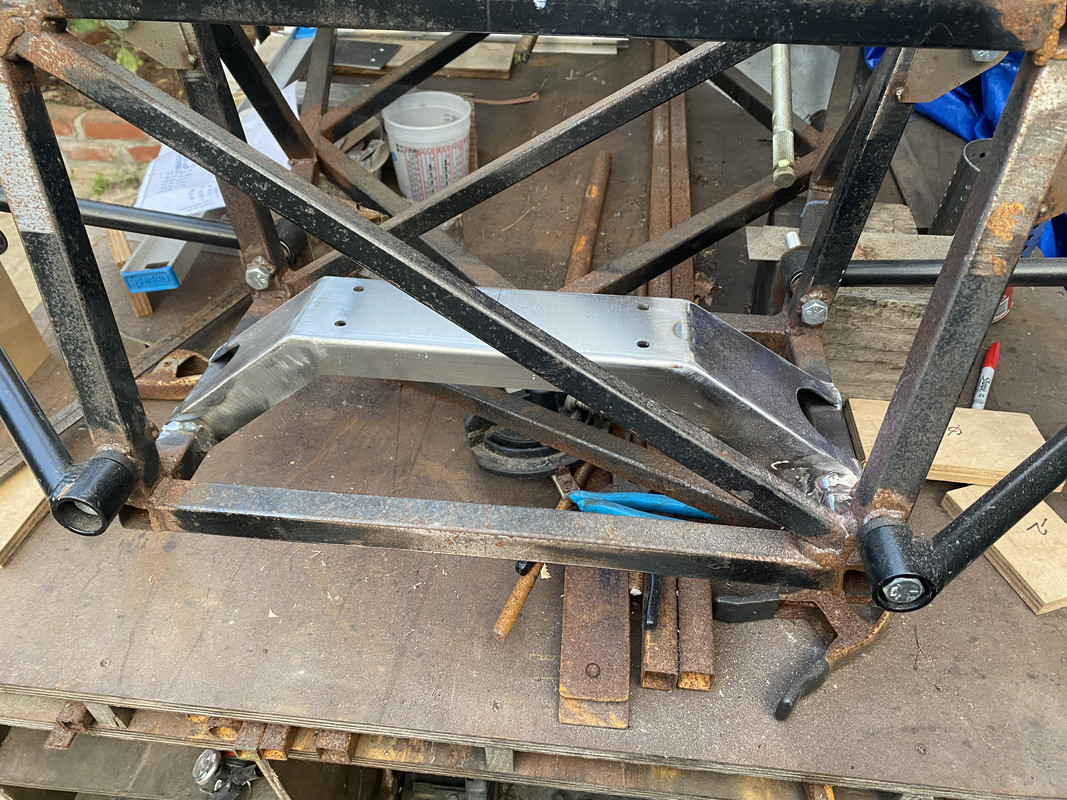
The rack mount center section was a SendCutSend piece with the side bracing added by me. Not the most economical route, but with limited time, it's helping me make some progress. After welding the mount in place I realized I forgot about lower radiator hose routing, but I think it will just sneak through, might need a little relieving to prevent any rubbing. Radiator mount is next, so we'll see.
Unmodified Rack:
Shortened Rack:


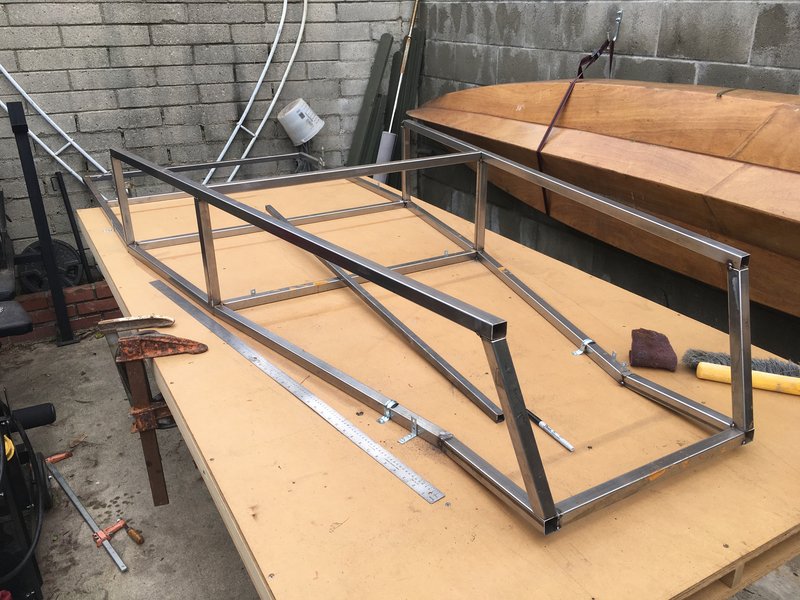

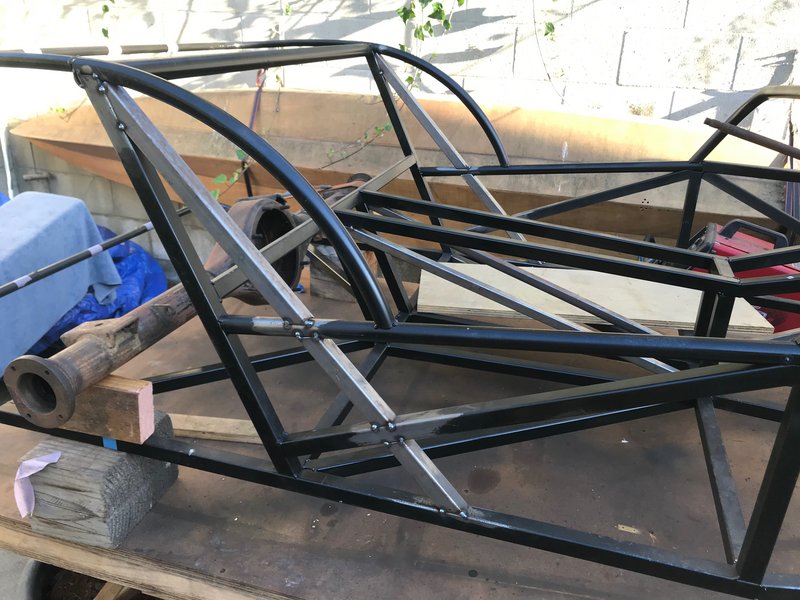
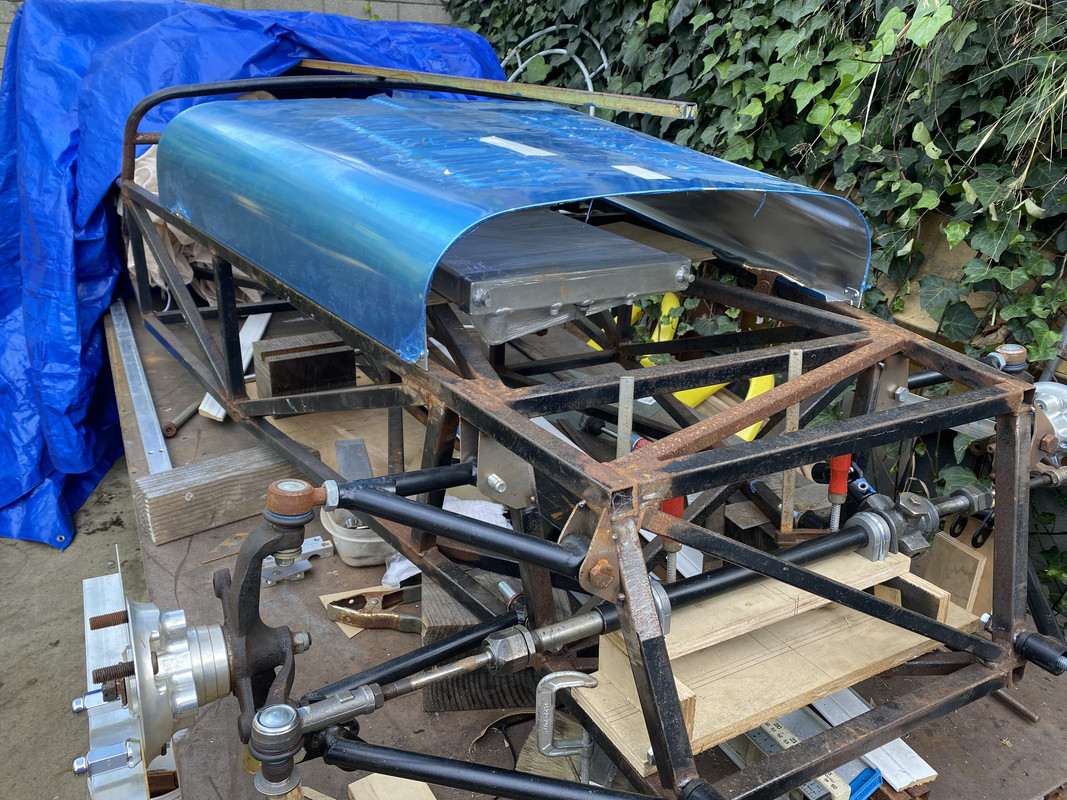
 It's underway!
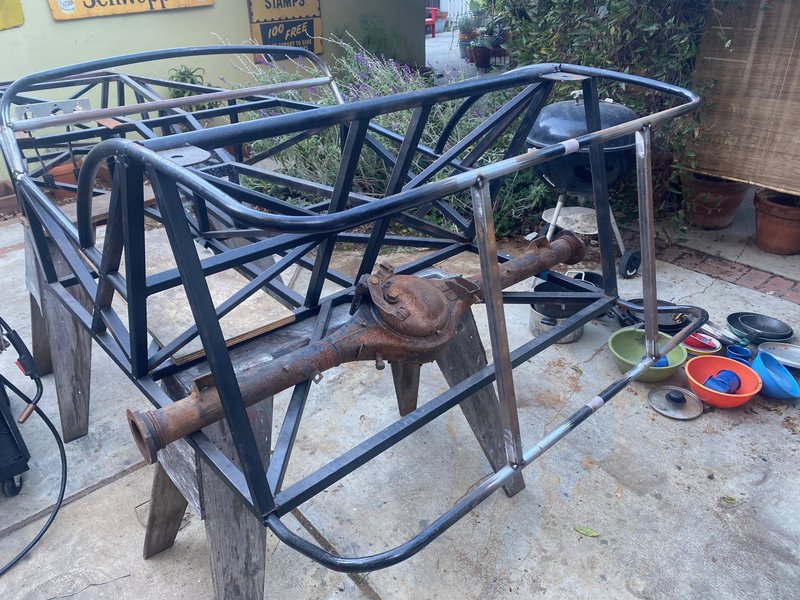