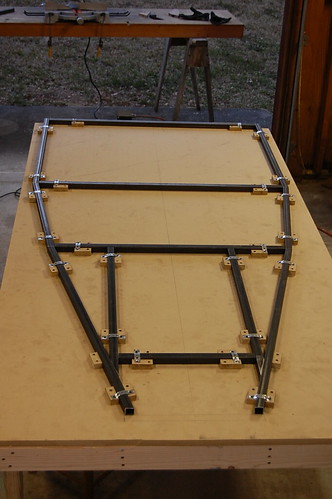
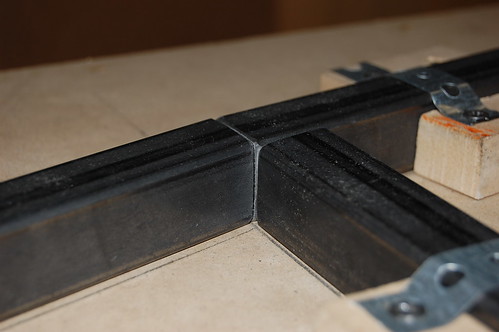
The Haynes Book talks about using 25mm tubing and I assume that the 'Merican stuff is 1 inch (25.4mm). Have you noticed any problems in measurements so far? Are you cutting the tubes to the book length or cutting to the measured dimensions that the outside frame establishes?
Actually mine measures 25mm exactly. There were a couple tubes that Gibbs has you install after the fact. Some of those tubes needed a bit of adjustment. Well within the 2mm tolerances of the 'new book'
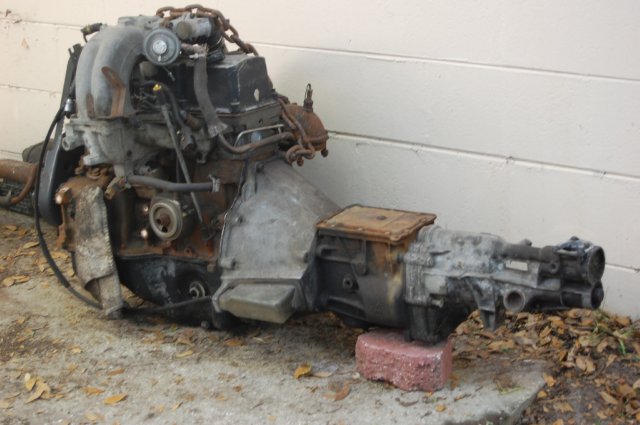
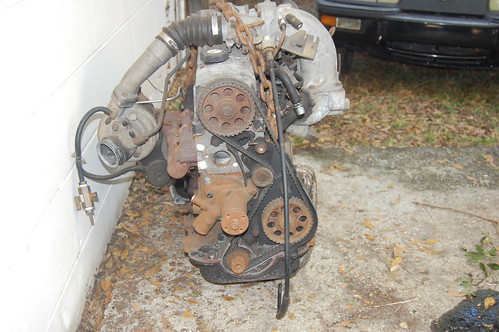
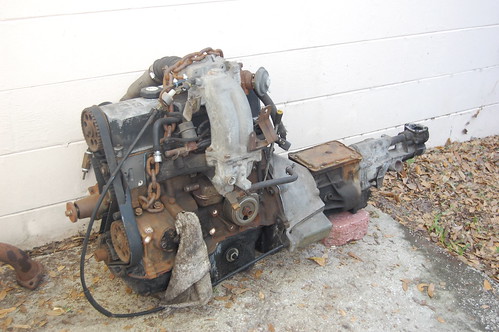
The engine with all the crud is the spare. The actual engine I will be using is in fairly good shape.
I will be rerouting the intake/crossover to the front maybe via an intercooler.
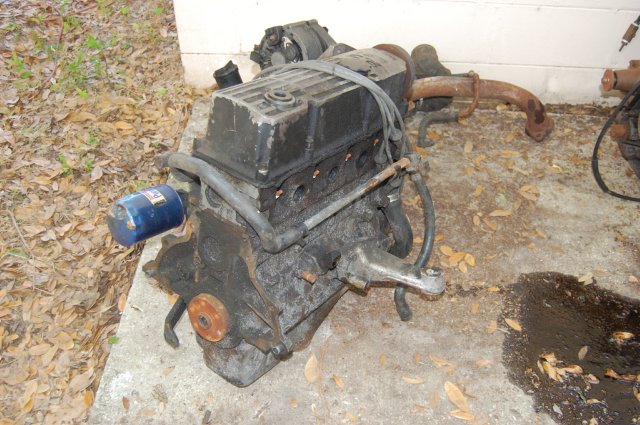
Supposedly the engine I will be using has been rebuilt. I pulled the head off and everything seems pretty clean, cyliders honed etc. but try as I might I couldn't rotate the engine. I pullled the pistons and I think whoever rebuilt it used rings the wrong rings as they were TIGHT.
I was considering a bead blast cabinet but I'm not sure where I'd put it. I may have to suffer and squeeze it in my shop. Wrinkle red would be cool.
"Patience is something you admire in the driver behind you and scorn in the one ahead. "
Mac McCleary